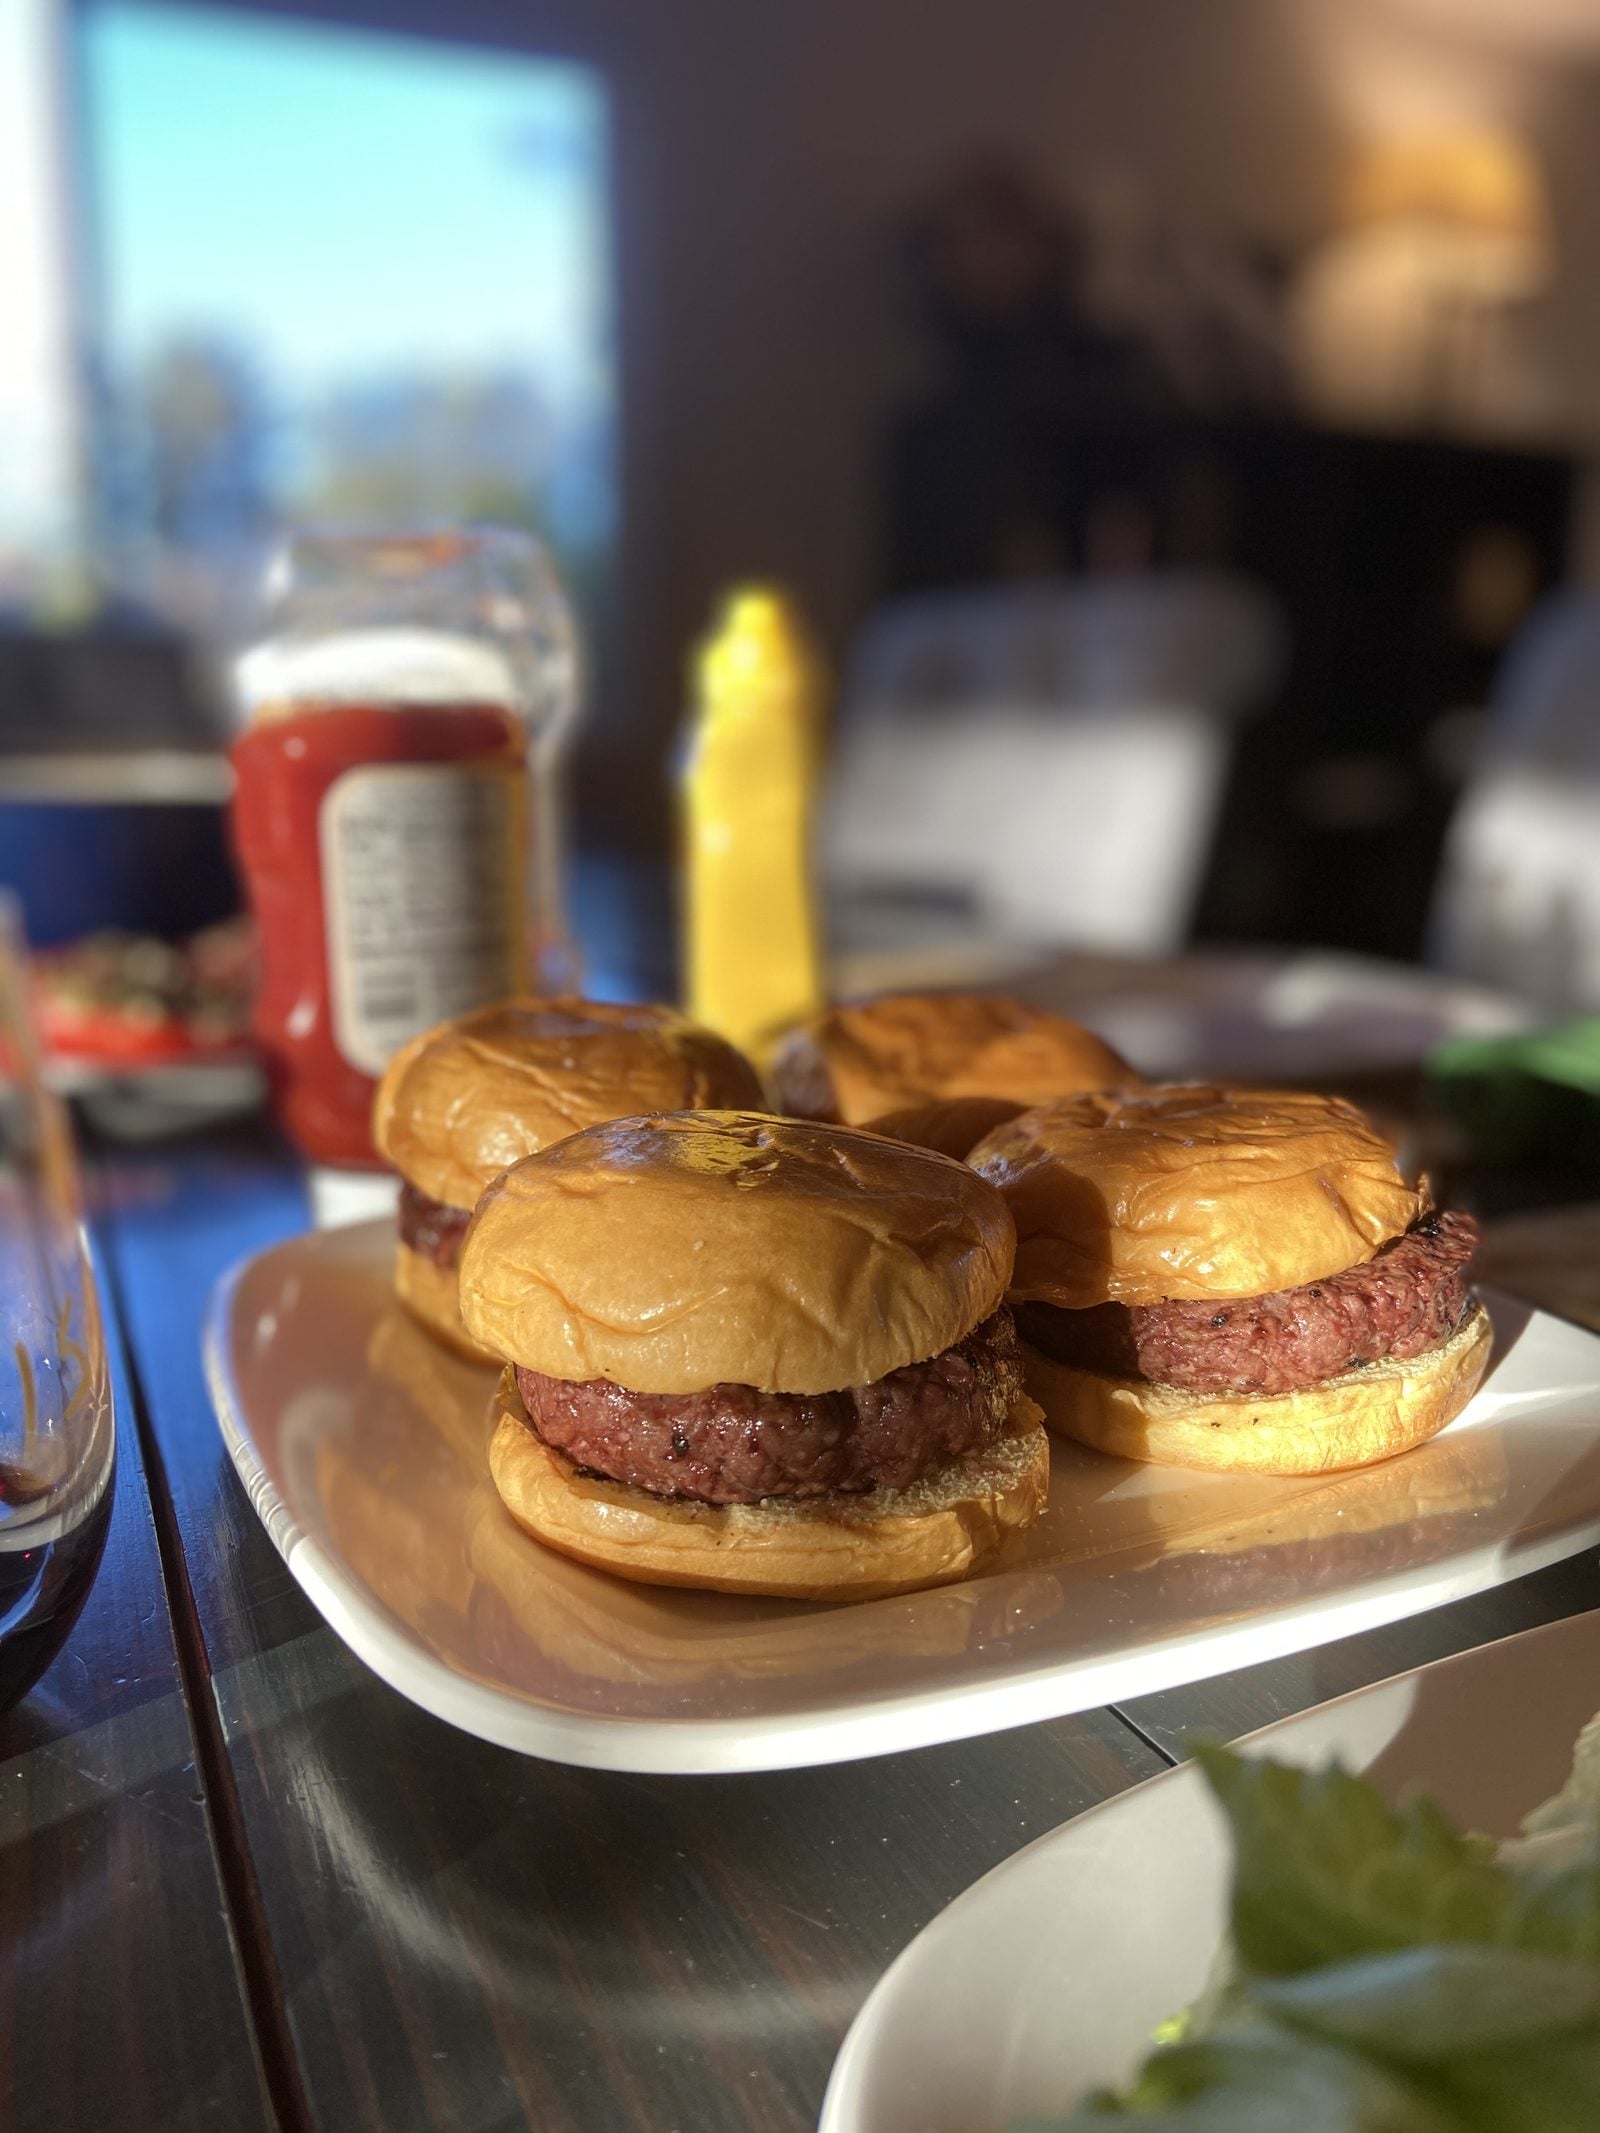
I enjoy foods that feel silly and answer like smash burger sliders. Indeed they are small, but they imitate diner-style burgers by featuring lacy, brown crusts, juicy centers, and melted cheese that seeps into every nook and cranny. The first time I made them for friends I set out a tray of them, then turned to grab pickles, and when I turned back the tray looked… a lot lighter. Nobody confessed. I respected the silence.
What makes sliders particularly enjoyable (and the danger to your self-control more pronounced) is that there is no end to the “one more” logic. Another one, because they’re small. Another one, since the edges are so crisp. There’s still sauce so I’ll take one more. This recipe emphasizes speed and repetition. It involves taking a hot pan or griddle, quick smashing burgers, melting cheese quickly, and preparing a straightforward burger sauce that tastes like a drive-thru sauce but is less sweet and more sophisticated.
Contents
TL;DR (Quick Summary)
- What you’re making: Classic smash burger sliders with thin patties, crisp browned edges, melty American cheese, and a tangy house sauce.
- Why it works: High heat + a firm smash creates maximum Maillard browning and those frilly, crunchy edges while keeping the center juicy.
- Time: 15 minutes active, about 25 minutes total (including prep and toasting buns).
- Flavor profile: Beefy and peppery, salty cheese, tangy-sweet sauce, sharp pickles, buttery toasted buns.
- Key tips: Use 80/20 beef, keep it cold, smash once and don’t fuss, and scrape with a metal spatula to keep the crust.
- Best equipment: Cast iron skillet or flat-top griddle; stiff metal spatula (or a burger press).
Ingredients
Smash burgers have a simple structure, but that just means that the details become more important. The greatest advantage is fat. I stand by the 80/20 rule for sliders because the patties are thin and cook quickly, and the lean meat goes from “fine” to “sad” in about 30 seconds. Buns matter, too. Buns that are soft toast better than you’d expect, and toasting is non-negotiable; it acts like a little dam that holds back sauce so your slider doesn’t become a sponge.
Master Ratio (Easy To Scale)
- Beef: 2 ounces (55 g) 80/20 ground beef per slider
- Seasoning: 1 generous pinch kosher salt + 1 small pinch black pepper per slider (season after smashing)
- Cheese: 1/2 slice American cheese per slider (or 1 full slice if you like it gooey and shameless)
- Buns: 1 slider bun per slider
- Sauce: about 1 tablespoon per slider
Example: You will need 24 ounces (1 1/2 lb) of beef, 6 slices of American cheese (torn in half), 12 buns and about 3/4 cup of sauce to make 12 sliders. If you’re providing for a group that “doesn’t eat much,” go ahead and quietly prepare 16 sliders. Trust me.
Ingredient Choices That Change Flavor
| Ingredient | Option | What it changes | My note |
|---|---|---|---|
| Ground beef | 80/20 chuck | Juicy, beef-forward, best crust | The classic. If you only follow one suggestion, make it this. |
| Ground beef | 85/15 | Slightly drier, still workable | Compensate with extra sauce and don’t overcook even a little. |
| Cheese | American | Ultra-melty, nostalgic | It melts like a dream, which is the whole point on a thin patty. |
| Cheese | Cheddar | Sharper, less melt | Grate it or use thin slices; thick cheddar can sit there stubbornly. |
| Buns | Potato rolls | Soft, slightly sweet, excellent toast | My favorite for sliders. They brown evenly and taste “snacky.” |
| Buns | Hawaiian rolls | Sweeter, more dessert-adjacent | Good with spicy sauce or lots of pickle to balance the sweetness. |
| Pickles | Dill chips | Clean tang, crunch | Go heavy. Sliders can handle it. |
| Pickles | Bread-and-butter | Sweeter, rounder | If your sauce is more mustardy, this can work nicely. |
Slider Sauce (Highly Recommended)
- Mayonnaise: 1/2 cup
- Ketchup: 3 tablespoons
- Yellow mustard: 1 tablespoon
- Dill pickle relish: 2 tablespoons (or finely chopped pickles)
- White vinegar or pickle brine: 1 teaspoon
- Garlic powder: 1/2 teaspoon
- Smoked paprika (optional): 1/4 teaspoon
- Black pepper: a few cracks
Mix it together and let it rest while you start cooking. It’s as if it needed a moment to remember what it is, and starts to improve after about ten minutes.
Instructions
Makes: around 12 sliders
Total time: around 25 minutes
1) ***Prep your station (this recipe moves fast)***. Set out buns, cheese (if using American tear slices in half), pickles, and sauce. For the cooked patties, line a plate with parchment paper. If you’re going to add onions, slice them as thin as paper now. Open a window if you can. Smash burgers are a bit smoky as if they’re announcing their presence.
2) Prepare the sauce. Combine mayo, ketchup, mustard, relish, vinegar (or pickle brine), garlic powder, and paprika (if using) and pepper in a small bowl. Taste and adjust: add more relish for tang, add more ketchup for sweetness, add more mustard for bite.
3) Portion the beef, but don’t over-handle it. Divide cold ground beef into 12 loose balls, each weighing approximately 2 ounces. Roll them tightly, but not too much so they hold together. Don’t knead. Overworked beef produces tight and springy burgers and nobody invited tight and springy to dinner.
4) Toast the buns. Take a cast iron skillet or griddle and place it over medium heat. Spread a light layer of butter on the buns and toast them cut-side down for 1 to 2 minutes or until golden brown. Set aside. If you skip this, the buns will soak up the juices and become oddly soggy. I learned this through an annoying experience.
5) Heat the pan hard. Set the heat to medium-high or high and let the skillet heat for about 2 to 3 minutes. As soon as the beef touches the metal, look for that sizzle. If using cast iron, I prefer a slight sheen of oil (not a puddle).
Smash, season, and commit. In batches, place 3 to 4 beef balls in the hot pan, leaving space. Take each ball and firmly smash them with a stiff metal spatula (or burger press) into a thin patty approximately 3 inches wide. Keep the pressure for 10 seconds to set in contact. Sprinkle kosher salt and black pepper on top. If you’re using onions, sprinkle a little bit on each patty just after smashing them, so they cook into the meat.
Allow the crust to develop, then scrape and flip. Cook for 60 to 90 seconds and do not disturb them. You will notice that the edges turn brown and begin to look lacy. With each spatula, slide underneath each patty and scrape to get the crust (this is the good part). Flip and put cheese on top right away. Cook an additional 30 to 60 seconds, just until the cheese melts and the patties are cooked through. Smash burgers are thin, so they cook quickly.
8) Construct the sliders while they’re fresh.
9) Serve immediately.
Popular Variations
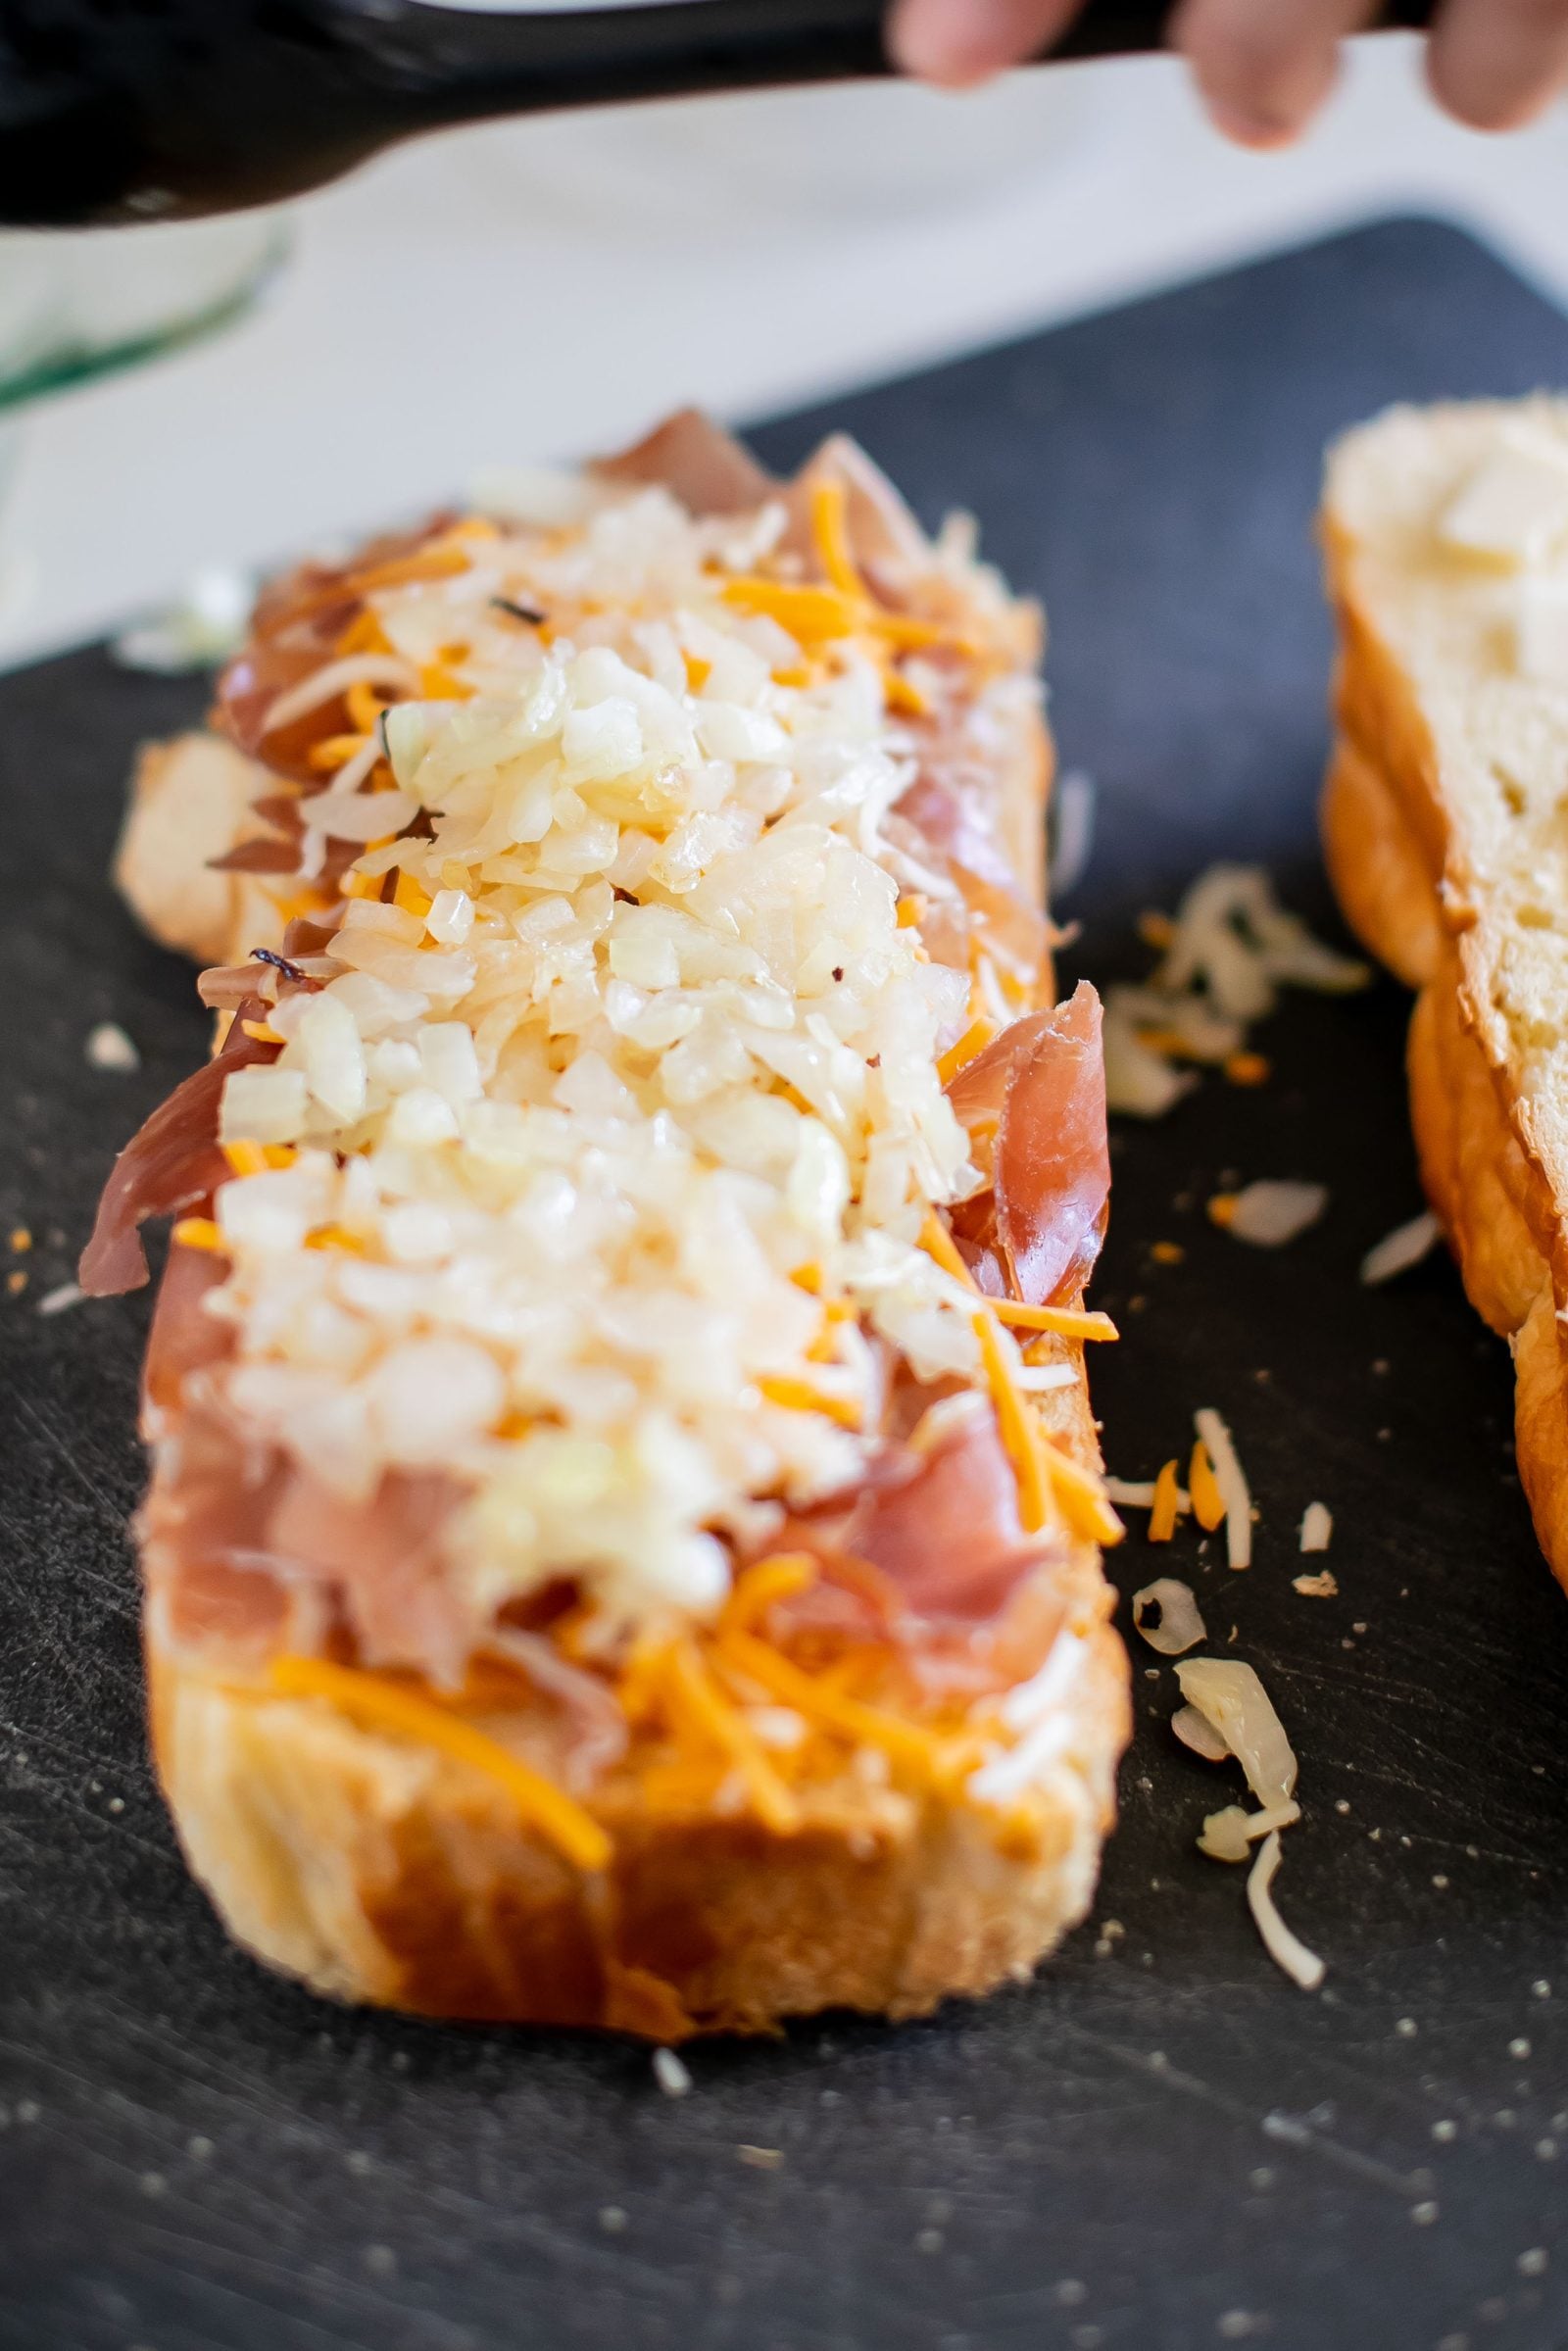
- Oklahoma-style onion smash sliders: Add a generous mound of shaved onions onto each smashed patty, press lightly, then flip so onions fry in the beef fat.
- Jalapeno ranch sliders: Swap sauce for ranch mixed with chopped pickled jalapenos and a squeeze of lime.
- Double-stack sliders: Two thinner patties per bun, one slice of cheese in the middle. It’s absurd, in a proud way.
- “Breakfast” sliders: Add a fried egg (or just a runny yolk) and a swipe of hot sauce. Messy but unforgettable.
- BBQ bacon sliders: Use a smoky BBQ-mayo sauce and add crisp bacon. Go lighter on pickles.
- Spicy smash sliders: Mix a little cayenne into the salt, or add chili crisp under the patty (careful, it can make the bun slippery).
Pairing And Serving Ideas
- Fries, obviously: shoestring, crinkle, or oven fries with extra pickle brine sprinkled over the top (oddly good).
- Counterpoint salad: a sharp cabbage slaw with vinegar and celery seed, not creamy.
- Party tray move: serve sliders with little cups of extra sauce and a bowl of pickles like it’s a pickle bar.
- Drink pairing: cold lager, fizzy cola with lime, or sparkling water if you’re being responsible (I support you).
- Kid-friendly side: corn on the cob or simple fruit. Sliders can feel like a carnival; lean into it.
- Game day: keep patties warm and let people build their own with different cheeses and toppings.
Troubleshooting And Pro Tips
- My patties are sticking: The pan might not be hot enough, or you’re flipping too early. Let the crust form, then scrape decisively with a metal spatula.
- No crispy edges: You didn’t smash thin enough, or the heat was too low. Smash once, hard, on a ripping hot surface.
- Burgers taste dry: Use 80/20 beef, keep the cook time short, and don’t press after the initial smash (pressing later squeezes out juices).
- Buns get soggy: Toast them and assemble right before serving. Also, don’t drown the bun in sauce unless you enjoy structural collapse.
- Cheese won’t melt: Use thinner slices, cover the pan for 15 seconds, or add a tiny splash of water and cover to steam-melt.
- Too smoky in the kitchen: Reduce heat slightly and wipe out excess fat between batches. Also, turn on the fan before you start, not after the panic begins.
- Seasoning feels flat: Salt matters more than you think on thin patties. Use kosher salt and season right after smashing so it adheres.
- Batch cooking tip: Keep finished patties on a sheet pan in a 200°F (95°C) oven for up to 20 minutes, but expect a slight loss of crispness. I still do it for parties.
Nutrition And Storage Basics
Smash burger sliders use beef, cheese, buttery buns, and a mayo-based sauce, and for that, they are a guilty pleasure. If you want a lighter plate while not losing the whole point, make them smaller (2 ounces is already reasonable), keep the sauce portion the same, and add something sharp and fresh alongside such as slaw, sliced tomatoes, or a pile of pickles. The saltiness and tanginess combine to make a small slider feel whole.
Storage is possible, but these are best straight from the pan with the edges still crackling. You can keep the leftover cooked patties (not including the bread) in an airtight container in the refrigerator for up to three days. Reheat in a hot skillet for a minute or two on each side to regain some browning, or use an air fryer for a quick crisp. Toast and store the buns at room temperature. Sauce improves after the first day and keeps for 5 to 7 days in the refrigerator.
Examples
Weeknight case: I prepared these on a Tuesday when I was exhausted and a bit grumpy, which is typically when dinner ideas go to die. Everyone seemed to have good spirits, for reasons that are beyond me, after twelve sliders. The secret was to toast the buns first and then cook the patties in two quick batches. It was under twenty minutes from when we received our raw beef to our first bite, and the kitchen smelled like a smart choice.
Party case: I put together a slider bar with sauce, pickles, shaved onions, and two cheeses for a small backyard hang. I kept the patties warm in a low-temperature oven and assembled orders as they came in so the buns didn’t get sloppy. A friend said they were “not a burger person” but ended up eating three and even asked what brand of pickles I used. That’s evidence enough that the sliders did their job.
Actionable Steps / Checklist
- Buy 80/20 ground beef and soft slider buns (potato rolls are ideal).
- Mix sauce first and let it sit while you cook.
- Portion beef into 2-ounce loose balls; keep cold.
- Toast buns cut-side down in butter; set aside.
- Preheat cast iron or griddle until very hot.
- Smash once, hard; season immediately.
- Cook 60 to 90 seconds, scrape and flip, add cheese, finish 30 to 60 seconds.
- Assemble immediately with sauce and pickles; serve right away.
Glossary
- Smash: Pressing a beef ball onto a hot surface to maximize contact and browning.
- Maillard reaction: The browning that creates deep, savory flavor and crisp edges (what you’re chasing here).
- Lacy edges: Thin, frilly, crisp bits around the patty created by a hard smash and high heat.
- Scrape flip: Sliding a metal spatula under the patty while scraping to keep the crust attached.
- Steam-melt: Adding a tiny splash of water and covering the pan briefly to melt cheese fast.
- 80/20: Ground beef with 80 percent lean meat and 20 percent fat; ideal for juicy smash burgers.
FAQ
Can I make smash burger sliders on a nonstick pan?
It is possible, but you often get less crust, and have to watch the heat since some nonstick coatings don’t like that. The crisp-edge playground is made of either cast iron or carbon steel.
Do you season the meat before making balls?
I don’t. If left salted for too long, ground beef can take on a tighter, more sausage-like texture. For the best texture, season the surface immediately after smashing.
How thin should I smash for sliders?
Aim for enough thickness that the patty is wider than the bun and has a somewhat ragged appearance around the edges, approximately 1/4 inch (or a little less). Buns are able to deal with overhang, and that overhang transforms into delicious, crisp treasures.
What is a good cheese choice if I dislike American cheese? Thin-sliced options like cheddar, provolone and pepper jack will work. When it comes to meltability, grated cheese is an ingenious workaround. America remains the most collaborative.
Can I do these in advance for a party?
Yes: you can portion beef balls and mix the sauce up to a day in advance. Cook patties close to when you plan to serve them. If you have to store cooked patties, hold them in a warm low oven and assemble just before service.
How do I keep the smoke down?
Use medium-high heat instead of max-high, wipe away excess grease when you do batches and clean the oil so the burn time isn’t too long and so you get brown quickly without the oil being too hot.
Final Thoughts
Smash burger sliders are one of those cooking projects that make you feel professionals and after cooking some smash burgers you are going to plate them. Your taste test is likely to become dinner, so keep the beef cold, the pan hot, and the buns toasted.