
For a long time, I never bothered making pita, because I thought the “pocket” in the pita was some kind of secret magic trick that no one was going to tell me. But one rainy day, I finally decided to give it a shot, and to my surprise, I watched a disk of dough inflate like a little bread balloon in a hot skillet. I was so excited that I actually exclaimed “Oh!” out loud. That little puff is the whole point, and it was steam trapped in the layers of dough, and it did its magic.
This pita bread recipe is built for real kitchens. Most reasonable people would bake it on a preheated sheet pan, but if you like a more dramatic (so do I!) look to your bread, you can do it in a cast iron skillet. The bread will come out nice and soft, with a chewy texture and toasty freckles like a good deli. The pocket will be reliable if you respect a couple things. Heat and rolling thickness. All other terms are negotiable.
The Quick Rundown
- What you’re making: Pita bread is soft and flexible, and has a real pocket for stuffing (or ripping and swiping through hummus).
- Why it works: In the presence of a moderately hydrated dough, complete gluten development, and a cooking surface that is very hot, rapid steam inflation and a clean pocket will occur.
- Timing: It will take about two hours in total (this includes rising time of between 60 to 90 minutes) and about 10 to 15 minutes in active cooking time.
- Flavor profile: Gently wheaty and lightly tangy (more if you do a longer rise) with some toastiness from the high heat cooking.
- Key tip: Make sure to roll each pita evenly to a thickness of 1/4 inch. Then, cook/heat them on a very hot surface because if your pan is warm, you will end up with a flatbread instead of pockets.
- Best method: Use a skillet when you want to add some char and drama; use an oven on a preheated pan for ease and consistent puffing of the batches.
Ingredients
Pita is a simple bread, which means every ingredient counts and would annoy you if you chose to ignore it. Certain types of flour are more chewy or fluffy, certain types of yeast will increase the speed of rising and add different flavors, and the amount of water in the dough will affect how tender it is. Unless you’re a fan of regret, then salt is not optional.
- Flour: Bread flour provides the most consistent pockets. It’s got that satisfying chew. All-purpose works too, it’s just a little softer and a touch less dramatic in the puff.
- Water (warm): Try to keep the temperature around 100 to 110°F. Hot water could kill the yeast, but water in this range will friendly to the yeast.
- Yeast: Instant yeast is the easiest to use. Active dry yeast is also fine, just wake it up first.
- Salt: Essential for flavor and dough strength.
- Olive oil (optional but recommended): Adds some tenderness and a slight fruitiness. You can skip it for a slightly firmer, chewier pita.
- Sugar or honey (optional): This little bit will help enhance the browning of the food and also assists with fermentation. This is not sweet but is helpful.
Master Ratio (Easy To Scale)
- 100% flour (by weight)
- 65% water (warm)
- 2% salt
- 1% instant yeast
- 2% olive oil (optional)
- 1% sugar or honey (optional)
Example: In the case you use 500 g flour, then you’d need 325 g water, 10 g salt, 5 g instant yeast, and (optional) 10 g olive oil and 5 g sugar. It’s simple to misinterpret the ratio with a lot of people, especially since someone says “Could you pass the bread?” like it’s an easy request.
Ingredient Choices That Change Flavor
| Choice | What to Use | Flavor + Texture Result | Notes for Puffing |
|---|---|---|---|
| Flour | Bread flour | Chewier, stronger, more “bakery” feel | Most reliable pocket due to higher protein |
| Flour | All-purpose flour | Softer bite, slightly less chew | Puffs well if kneaded thoroughly; don’t under-knead |
| Partial whole wheat | Up to 25% whole wheat flour | Nuttier, warmer, slightly denser | May need 1 to 2 tbsp extra water per 2 cups flour equivalent |
| Fat | Olive oil | Tender, supple, a little richer | Helps flexibility; doesn’t hurt puffing |
| Sweetener | Honey or sugar (small amount) | Better browning, faint roundness | Not required, but helpful in pale ovens |
Optional Toppings and Finishes
- Flaky salt: Sprinkling some salt right after cooking (especially for skillet pitas) gives them the vibe of authentic restaurant bread.
- Za’atar: Drizzle some oil on the pita for the delicious aroma of herbs that will have you begging for labneh.
- Toasted sesame seeds: Gently press the rolling dough for a crunch.
Instructions
With this method, you get a dependable pocket and an adaptable pita. I’m offering both cooking methods for the reason that there are moments when you want to prepare several portions all at once, and there are other moments when you want to position yourself at the stove and get the sense that you’re operating a small bread entrepreneurship.
1) To prepare your dough, combine 3 1/2 cups (420g) bread flour, 2 tsp (7g) instant yeast, and 2 tsp (10g) fine salt. Finally, mix in 1 tbsp (12g) sugar (optional). Add 1 1/3 cups (315 g) warm water and 2 tbsp (30 g) olive oil. Stir with a spoon until the mixture looks a bit messy, then use your hands to mix it together and make sure all the dry flour is incorporated. If the mixture seems stiff, add water one teaspoon at a time. If the mixture is too sticky, add flour one tablespoon at a time.
2) Knead the dough for 8 to 10 minutes by hand or 6 to 7 minutes using a stand mixer on medium-low speed until the dough has a springy texture. It should go from lumpy to smooth and elastic. The dough should also slowly bounce back when poked. This step seems long until you under-knead the dough and see your pitas refuse to puff out of spite.
3) First rise. Put the dough in a bowl that has a little oil in it. Then cover it, and let it rise until it has doubled in size. This will take about 60 to 90 minutes if it’s warm in the kitchen. It may take up to 2 hours in a cold kitchen. If you want more flavor, let it rise in the fridge for 8 to 24 hours. After this, let the dough warm up to room temperature for 45 minutes before shaping.
4) Divide. Place dough onto the counter and deflate big air bubbles, and divide into 8 equal pieces for standard pitas (or 10 for smaller). Fold the edges of each piece under to create a tight ball. Cover with a towel and let rest for 10 to 15 minutes to relax the gluten. If you skip this step, you’ll fight the rolling pin, and trust me, you’ll lose.
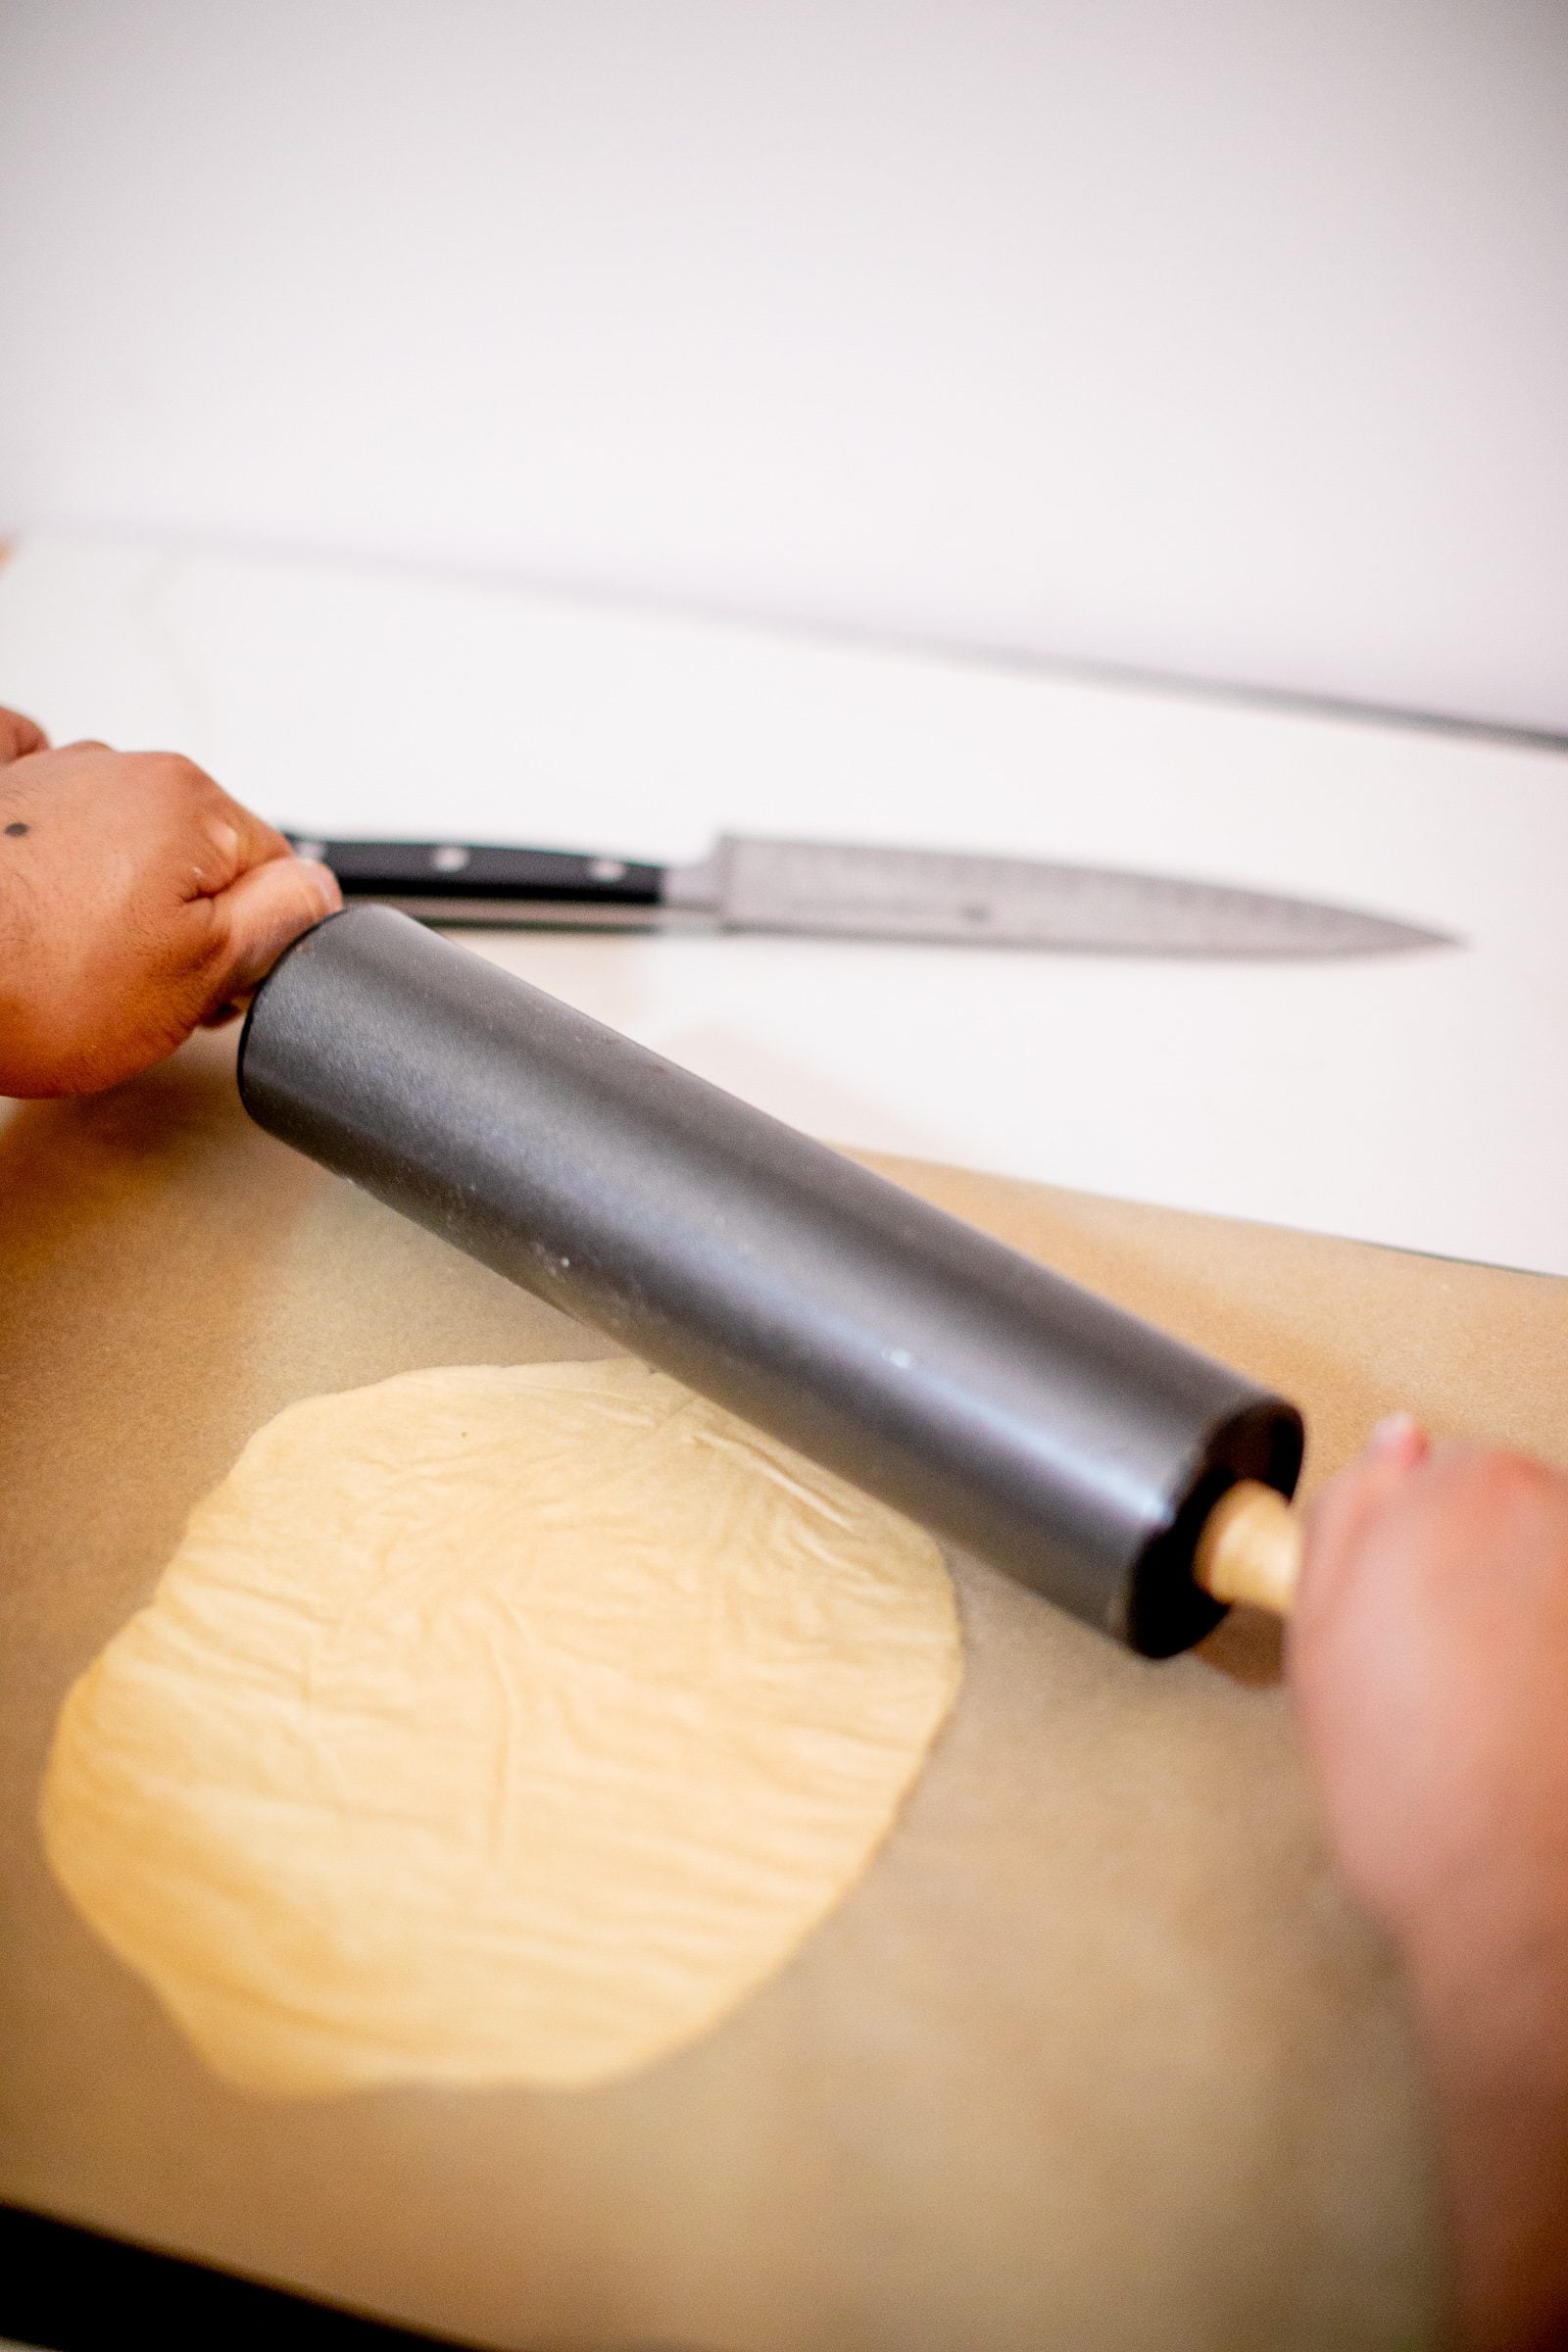
5) Roll evenly, 6 to 7 inches wide and uniform in thickness. If you want pockets, the thickness is everything. If it’s too thin, it will crisp-bake like a cracker. If it’s too thick, it will just be a bready pillow with no hollow center. While you work, cover the rolled rounds to keep them from drying out.
6) Select your cooking method and preheat your oven to the highest setting. If using the oven method (great for large batches): put a sturdy baking sheet (or pizza stone/steel) in the oven and heat to 500°F for a minimum of 20 minutes. It’s all about the heat, not your emotions.
- Skillet method (blistered + fast): Heat a cast iron skillet (or heavy nonstick) over medium-high heat until it is very hot. A single drop of water should skitter around and evaporate.
- Oven: Carefully place 2-3 rounds on the hot surface (be sure to be quick during this step). Cook for 2-3 minutes and they will puff up quite a bit. If necessary, flip them and cook for 1 additional minute. Transfer to a basket lined with a towel, and cover immediately to keep them soft.
7) Cook. Place a round in the hot, dry skillet. Cook for 30 seconds to 1 minute or until bubbles form. After 1 minute, flip the pita and it should puff up. Flip it again and cook for 30 seconds to 1 minute to finish cooking and help with full puffing. To assist the pita in puffing, you may want to use a spatula to press around the edges to keep the steam in the center. Once finished, stack the pitas and cover them with a towel.
8) Soft pitas and serve. Always keep wrapped for 10 minutes. The steam in the pouch makes the pitas go from “why is this bread shattering?” to “pleasantly flexible.” If you’re going to stuff them, slice off the top edge and use your hand to gently open the pocket.
Variations Worth Trying
- Whole wheat pita: Substitute up to 25% of the flour for whole wheat flour and add a little more water.
- Greek-style pocketless pita: Roll them a little thicker (about 1/3 inch) and cook them in a frying pan with a little oil. Don’t try to get them to puff up completely.
- Za’atar pita: Best as a dipper: Brush the rounds with olive oil and sprinkle za’atar before baking.
- Garlic herb pita: Finish with flaky salt and add 1 teaspoon of garlic powder and one teaspoon of dried oregano to the dough.
- Spelt blend: For a sweet and nutty flavor, replace 10% to 20% of the flour with spelt. Keep an eye on the hydration as spelt absorbs liquid differently.
What Goes Alongside
- Hummus topped with olive oil and a dusting of smoked paprika (some things never change).
- Shredded lettuce and spicy shawarma chicken or seasoned chickpeas and zesty pickles.
- Although it may sound weird, it totally works.
- Warm pita + scrambled eggs + harissa for a breakfast that feels like travel.
- When finished toasting, cut them into wedges, brush them with oil and serve them as pita chips along with baba ganoush.
- Stuff it with falafel, tahini sauce, tomatoes and any other crunchy thing in your fridge!
Common Stumbles, Easy Saves
- No puff? It is possible your heat is too low, or your pita is rolled unevenly. Try preheating your device for longer and be more consistent with the 1/4-inch thickness.
- Pita puffs but pocket tears when you open it: It could be that it is dried out too much or overcooked. After it is finished cooking, wrap it in a towel and let it steam to soften.
- Dough keeps shrinking back while rolling: Let the dough sit for 10 minutes, gluten can be a little tight.
- Pita is tough: To much flour can lead to dry, overcooked dough. It is important to keep the dough a little tacky because rolling it out too much can lead to an increase in flour, as well as cooking the dough quickly enough to prevent it from becoming too dry.
- Outside browns before inside sets: Either the pan is too hot, or you’re cooking too long on each side. Turn the heat down a bit and cook for a shorter amount of time.
- Pale, anemic pitas: Try using a hotter surface. If desired, you can add sugar or honey, or bake your item on a hot stone or steel that you have preheated.
- Uneven bubbles: Docking (poking holes in the pastry) prevents it from puffing up, so don’t do that here. Instead, roll the pastry evenly and ensure the surface remains hot.
- Flour on the outside burns in the skillet: You can use a pastry brush to remove excess flour.
Nutrition and Storage Notes
Pita bread is an easy bread to make. It requires very few ingredients such as water, oil, and of course some flour. The amount of calories, sugar, and fat depend on several factors including recipe variations, pita size, and the chosen type of flour. However, pitas usually have about the same nutritional value as a small sandwich roll. Whole wheat pita bread has a better taste and adds more fiber. This can help it feel more like a main dish than a side bread.
You can keep pitas in a sealed bag at room temperature for two days. For longer periods of time, it’s best to use parchment paper to separate the pita pockets so that you can grab one without having to dig into the others.
To warm them straight from frozen, place them into a dry skillet for 1 to 2 minutes on each side or, alternatively, you can wrap a portion in foil and heat them in a 350°F oven for about 10 minutes. If a pita starts to stiffen, you can typically bring it back to life with a quick reheat followed by a short resting period under a towel.
Times I’ve Made This
Situation with shawarma on Wednesday evenings: These were done after a long day from getting frustrated with emails. I rolled the pitas and while the chicken was marinating, I individually cooked each one in a cast iron and then kept them warm under a towel like little warm secrets. Everyone became too focused on eating to have a conversation. That kind of compliment is the one I enjoy the most.
Batch baking for a crowd: A buddy had a lunch with hummus and salad, and said I should “just bring pita.” I gave the oven technique a shot and did three at a time on a preheated sheet pan. They puffed up like good little airbags. My salad didn’t get much love, but it was rude (and understandable) that the bread was the first to go.
The Before-You-Cook Rundown
- If you want the easiest and most reliable pockets, use bread flour.
- Knead for 8 to 10 minutes using your hands, until the mixture is smooth and elastic.
- Allow the dough to rise to double its size when proofing for the first time.
- Before you start rolling, let the dough balls rest for 10 to 15 minutes.
- Roll each round evenly to 1/4-inch thickness.
- Preheat your oven to 500°F (or a stovetop skillet at an 8 setting) until it is hot.
- Cook fast; don’t dry them out.
- Immediately wrap them in a towel to soften them with steam.
Terms Worth Knowing
- Hydration: The percentage of water relative to flour by weight influences how soft and chewy the dough is and affects how easy it is to work with the dough.
- Proof (rise): The fermentation rest period allows yeast to create gas and flavors that causes the dough to expand.
- Gluten development: The steam helps the pita bread to puff up and create a pocket.
- Resting the dough: Resting after dividing relaxes the gluten and makes rolling easier and more consistent.
- Stone/steel: A thick baking surface retains heat and assists pitas in quickly puffing up in the oven.
- Docking: Poking holes in the dough can help prevent bubbles forming during baking. This is useful when making crackers, but not when making pita pockets.
Questions I Get
Can I make pita dough ahead of time?
Yes. After mixing, refrigerate for 8 to 24 hours, plus a short initial time at room temperature (15 to 20 minutes). Remove the dough and allow it to come to room temperature a bit. Next, divide, rest, roll, and cook. Your patience will be rewarded, plus it feels like this will fit into your schedule better.
Do I need a stand mixer?
No. Personally, I find the hand-kneading to be wonderfully calming and a good workout. If you’re using a mixer, don’t over-flour the dough to make it “clean.” A little sticky is good.
Why did my pita flatten and bubble without forming pockets?
This is probably from heat that was either not enough or uneven rolling. A pocket forms when the outer shell solidifies too quickly and the steam inside causes the center to expand. If the surface heats up slowly, steam will escape from any openings and you will instead get bubbles instead of a balloon.
Can I use active dry yeast instead of instant?
Yes. Rather, use the same amount, but first melt it into the warm water with the sugar and let it sit 5 to 10 minutes until it becomes bubbly, then stir.
What is the best way store pitas so that they remain soft when served?
After they finish cooking, stack them and cover with a towel. When holding for long periods, (like for guests), you can place the towel-covered stack in an oven set to a very low temperature (about 200°F) for thirty minutes max.
Closing Thoughts
Making pita bread is an amazing feeling because of how simple it looks. The best part continues to be the massive puff that forms in the middle. Then it really feels like a small domestic superpower. The secret is to keep the oven or pan heat high, roll each pita evenly, and let them steam under a towel after they come off the heat.
