
I’ll admit I used to buy flour tortillas without thinking, until the day I tried rolling a store-bought one around scrambled eggs and it split like dry paper. That simple act of treachery was the catalyst for the rapid worsening of my predicament.
While some of the stages can be simplified, it’s important to pay attention to the resting of the dough, the cooking time, and the temperature of the skillet while cooking. This will create a soft and flexible tortilla that will make you feel like it can do anything, such as patching a drywall or tending to a sourdough starter.
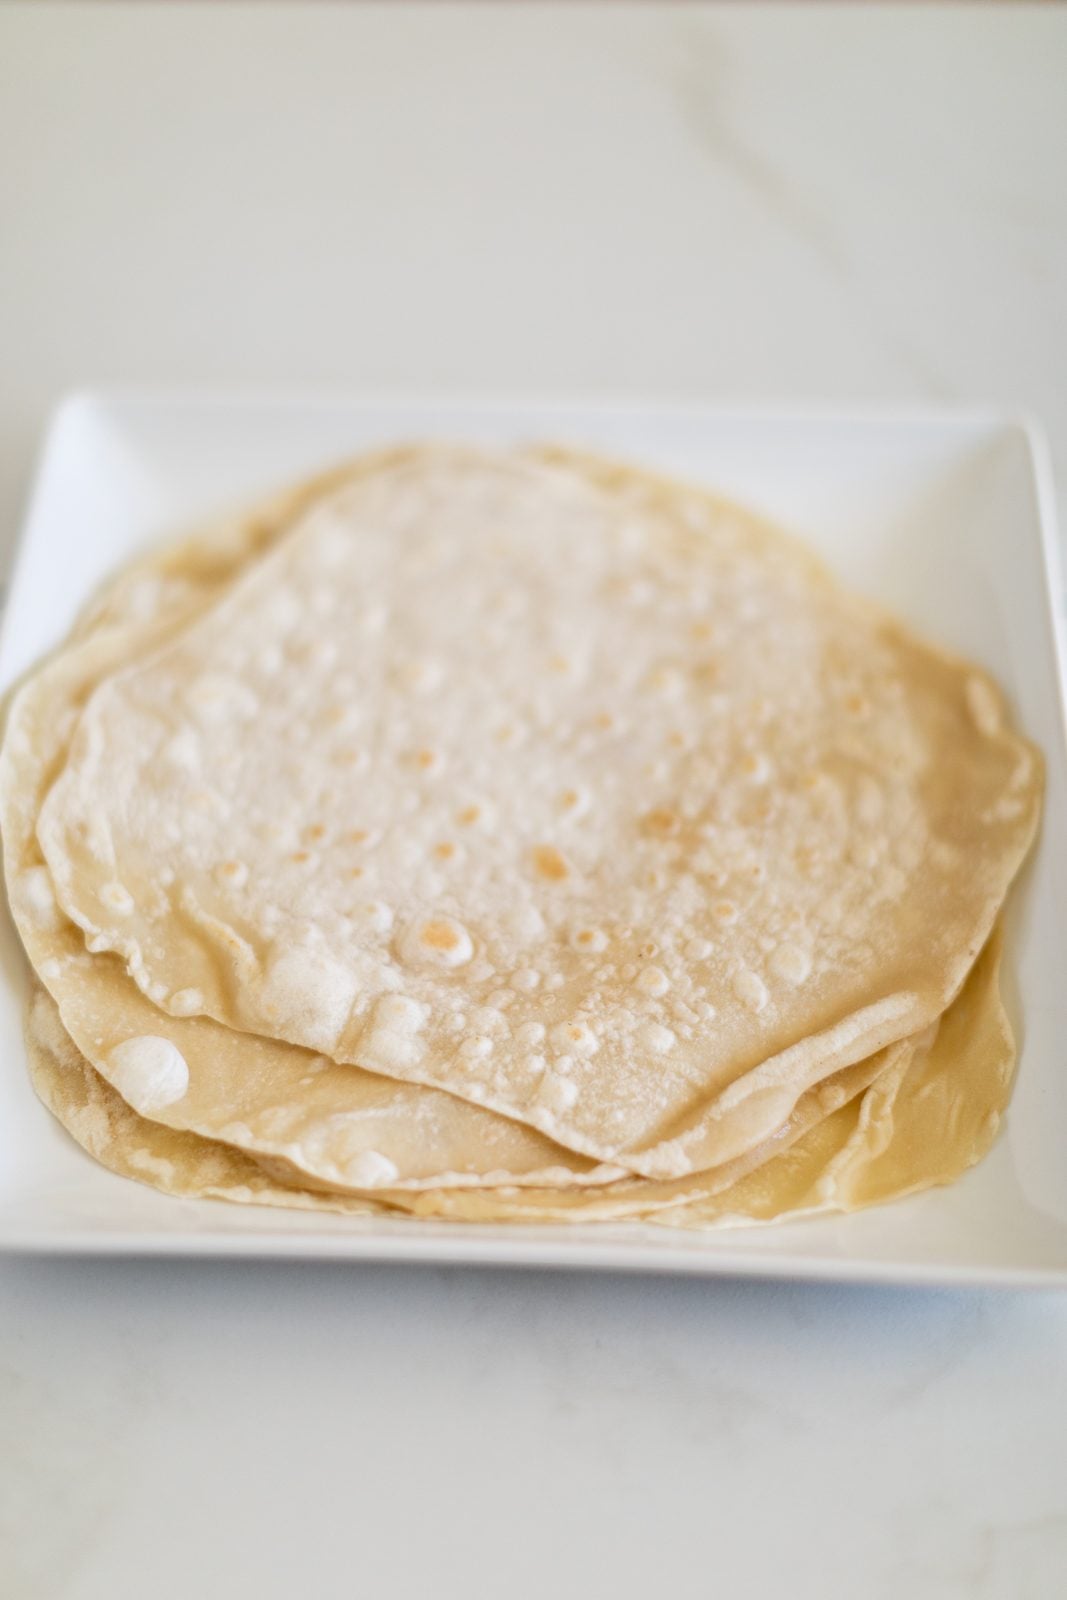
There is a nice mild wheaty sweetness and a slight richness (not cracker) on the tortillas. They fold well and do not crack. Small blisters can be seen forming on the skillet as they bubble. If you properly wrapped the tortilla, it will stay fresh for days. The first batch mixing in my kitchen was delightful since I got to experience the smell of raw flour mixed with toasty bread. One of my friends walked in and even asked, “why does it smell like an actual restaurant?” I guess that is my goal.
The Short Version
- What you’re making: Soft and flexible flour tortillas that have light blistering and a slight chew.
- Why it works: Warm water helps dough to hydrate quickly, while fat coats the flour to provide tenderness to the dough and resting allows gluten to relax so that rolling is a much easier task.
- Time: Approximately 10 minutes for mixing, 20 to 30 minutes for resting, and 15 minutes for cooking (for eight tortillas).
- Flavor profile: Warm wheat, slight salt, buttery/lardy richness (depending on fat), faint toast from the skillet.
- Key tips: Avoid excessive flour when rolling; ensure the pan is properly heated for cooking; wrap in steam immediately after cooking to maintain softness.
Ingredients
Every ingredient serves a purpose. The flour may seem simple, but it gives the mixture structure. The addition of salt improves flavor and the baking powder adds a touch of fluffiness to the dough. The warm water helps the mixture’s tenderness and ease of use while the cool water does the opposite. One recommendation I have is to use warm water. Dough can easily become unworkable, and in that case, you will probably feel like you are fighting the dough.
- All-purpose flour (preferred): Dependable, gentle, and simple to roll. Unbleached has a bit of a wheat scent, but both are okay.
- Fine salt: Don’t skip it. No matter what you put in them, tortillas that don’t have salt taste like cardboard.
- Baking powder (optional): I appreciate a non-standard approach for a little sweetness and a slight puff.
- Fat: Neutral oils, melted butter, lard and shortening each change tenderness and flavor (table below).
- Warm water: Consider a temperature that is bathwater warm: Approximately 105 – 115°F. Warm, not hot.
Master Ratio (Easy To Scale)
- Flour: 1 part by weight
- Water: 0.55 to 0.65 parts by weight (begin with the lower value and increase as required)
- Fat: 0.08-0.12 parts by weight
- Salt: 0.015-0.02 parts by weight
- Baking powder (optional): 0-0.01 parts by weight
The dough can be made using 300 grams of flour, 165-195 grams of warm water, 25-36 grams of fat, 4.5-6 grams of salt, and 3 grams of baking powder. Depending on how thick you want each tortilla, this mixture will make about 8 medium-sized (8-9 inches) tortillas.
Ingredient Choices That Change Flavor
| Choice | Best for | Flavor & texture effect | Notes / swaps |
|---|---|---|---|
| Lard | Classic softness & pliability | Rich, savory, tender; rolls beautifully | Use leaf lard for clean flavor; 1:1 swap with butter/shortening by weight |
| Melted butter | Cozy, dairy-forward tortillas | Buttery aroma; slightly more prone to browning | Salted butter is fine: reduce added salt slightly |
| Vegetable/avocado oil | Neutral, easy weeknight batch | Soft and flexible; less “bready” flavor | Great for vegan tortillas; add 1-2 tsp more oil if dough feels dry |
| Shortening | Very tender, very forgiving dough | Mild flavor; pillowy texture | Good if you want softness over character |
| Whole wheat flour (partial) | Nuttier tortillas | More flavor, slightly less pliable | Swap 25-40% of flour; increase water by ~5-10% |
Recommended Batch (Makes 8 tortillas, about 8-9 inches)
- 300 g (2 1/2 cups) all-purpose flour, additional flour for dusting
- 6 g (1 tsp) fine salt
- 3 g (3/4 tsp) baking powder (optional)
- 30 grams (2 tablespoons) of lard (butter or any neutral oil can be used as a substitute)
- 180 grams (approx 3/4 cup) warm water, plus an extra 1 – 2 tbsp if needed
Instructions
1) Mix the dry ingredients. You may take a medium size bowl and add your flour, salt, and if needed, baking powder. It may sound ridiculous but I spend around 30 seconds to prevent 1 pocket of salt that would ruin a tortilla.
2) Combine with the fat. Begin with the lard (or other fat source you want to use). With the lard/shortening, take some with your fingers and rub it into the flour until you achieve a sandy texture with chunks that are pea sized. Then drizzle in the melted butter (or oil) and fork it in. This isn’t exactly like pie dough, but the idea is to have the fat evenly distributed, rather than having it in large clumps.
3) When warm water is added, a dough ball is created. Using warm water (along with a fork or spatula), begin forming the dough into a shaggy ball. Then, press the shaggy ball firmly into a cohesive mass using your hands. If the dough still won’t come together, add one tablespoon of warm water to any dry bits still sitting at the bottom of the bowl. The dough should ideally feel soft and sticky, like a post-it, but not as sticky as glue. If the dough is too dry, you will have difficulty rolling it out, and if it is too wet, it will stick to everything.
4) Carefully set the dough into the bowl, then let it rest for 2-5 minutes. Do not add any flour to the bowl. If the dough is tight and not smooth and elastic, it might take a lot longer and we want to avoid that. Cover the bowl using a plate, lid, or cloth, and then wait for about 20-30 minutes. Patience is the key here. This will help with all your baking needs, as you will go from saying ‘Why does this keep shrinking back’ to ‘Oh, that’s nice’.
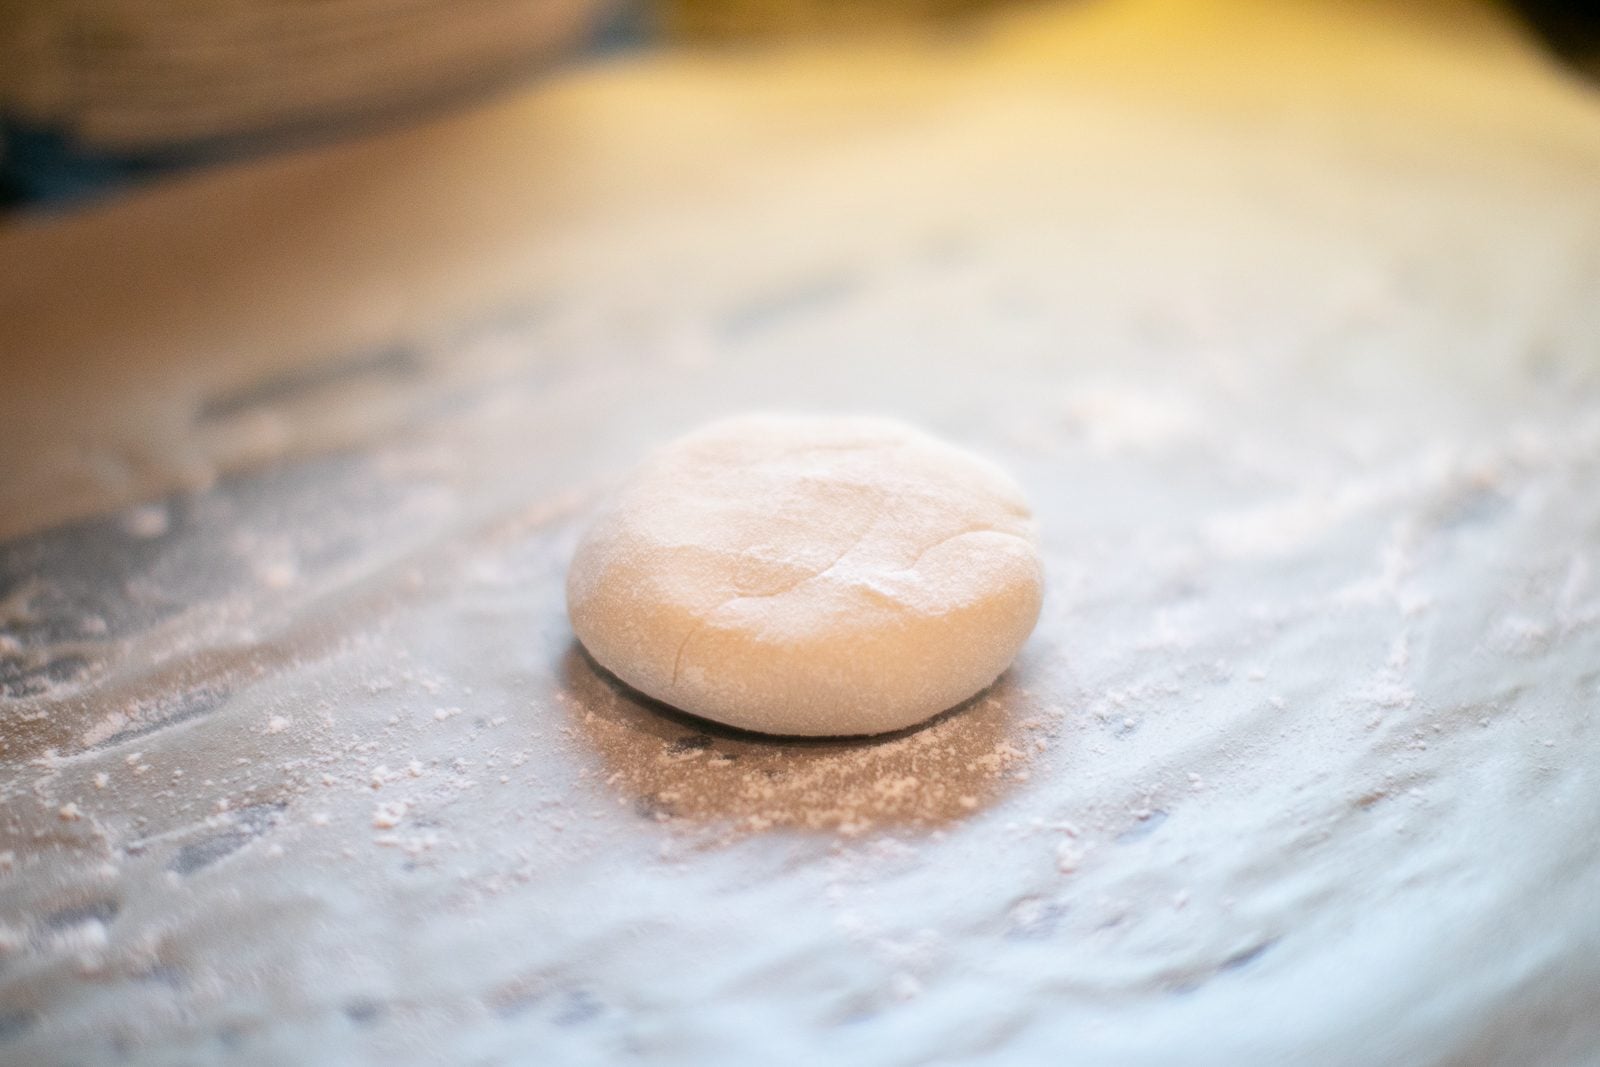
5) Portioning and Shaping. Split the dough into eight equal pieces (64-65 grams each). For each piece, make a tight ball and then slightly flatten it to create a puck. Also, as you go, ensure the pucks don’t dry out by keeping them covered with a towel.
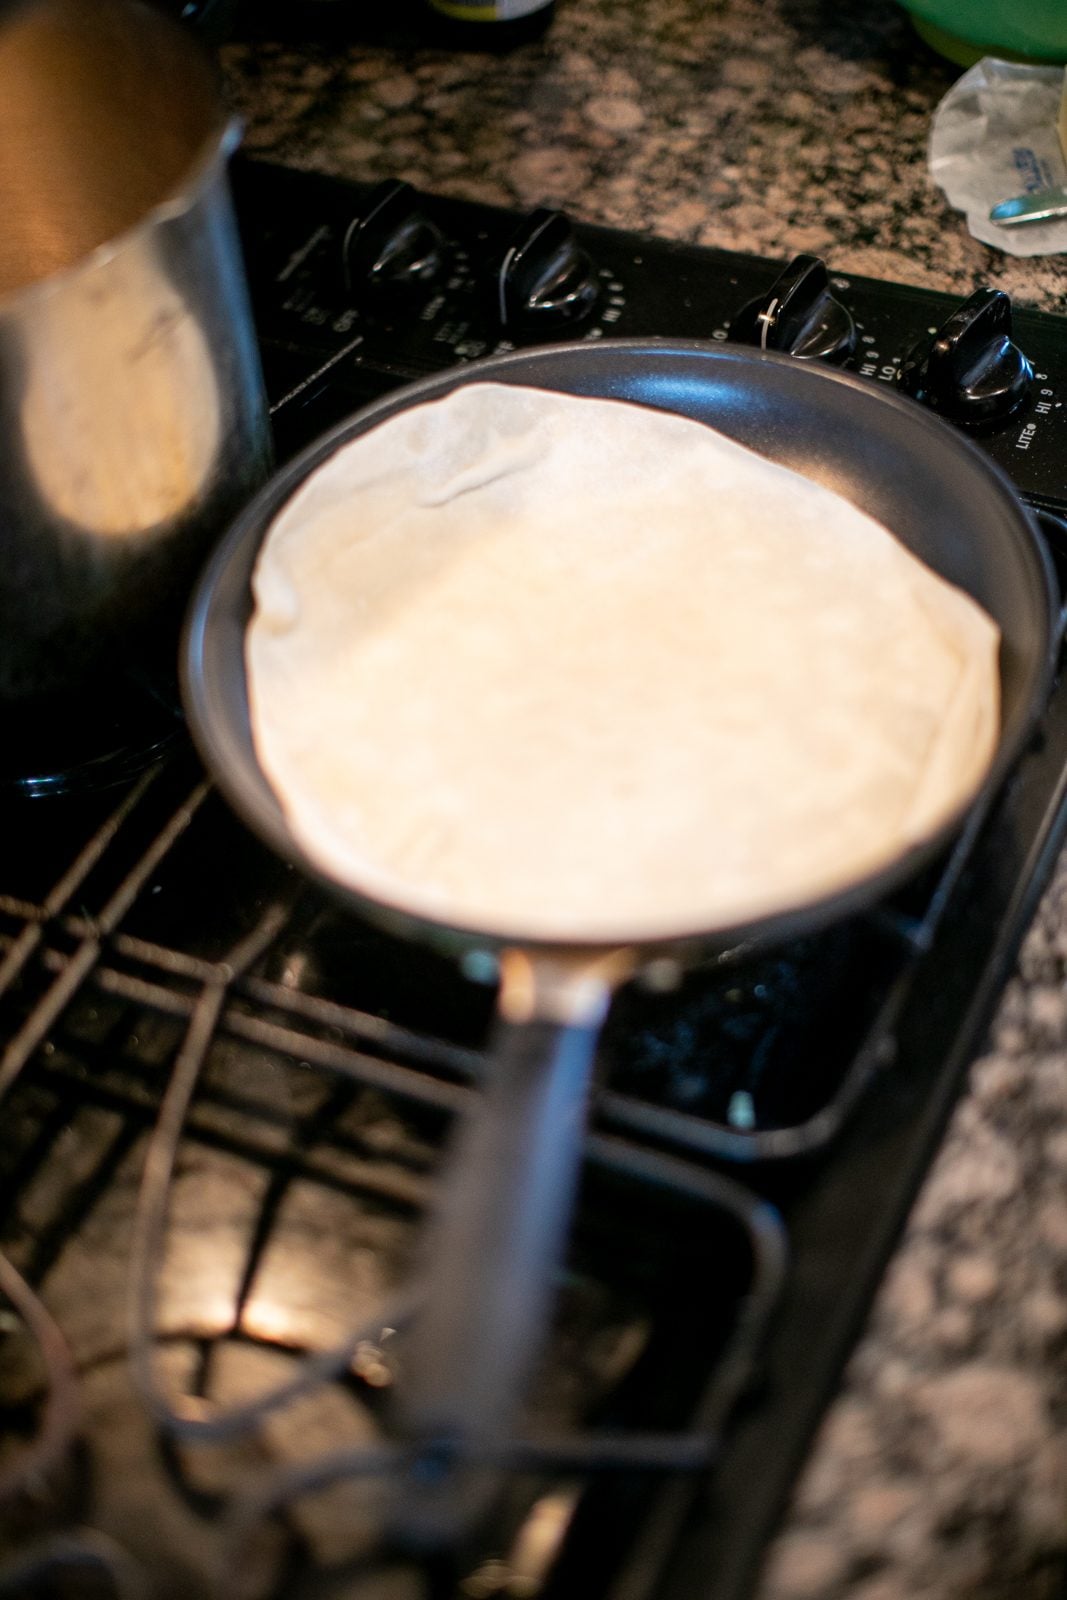
6) Heating Up The Cooking Surface. To oil the underside of your cast iron or heavy-duty nonstick pan, use a small amount. Place the pan onto the heat source and turn the heat to medium-high. The pan may take a long time to reach the optimum temperature for even cooking of the tortilla shell so little air pockets form and pop every 15 to 20 seconds. A good estimate for the heat source would be about 1 notch below fully opened.
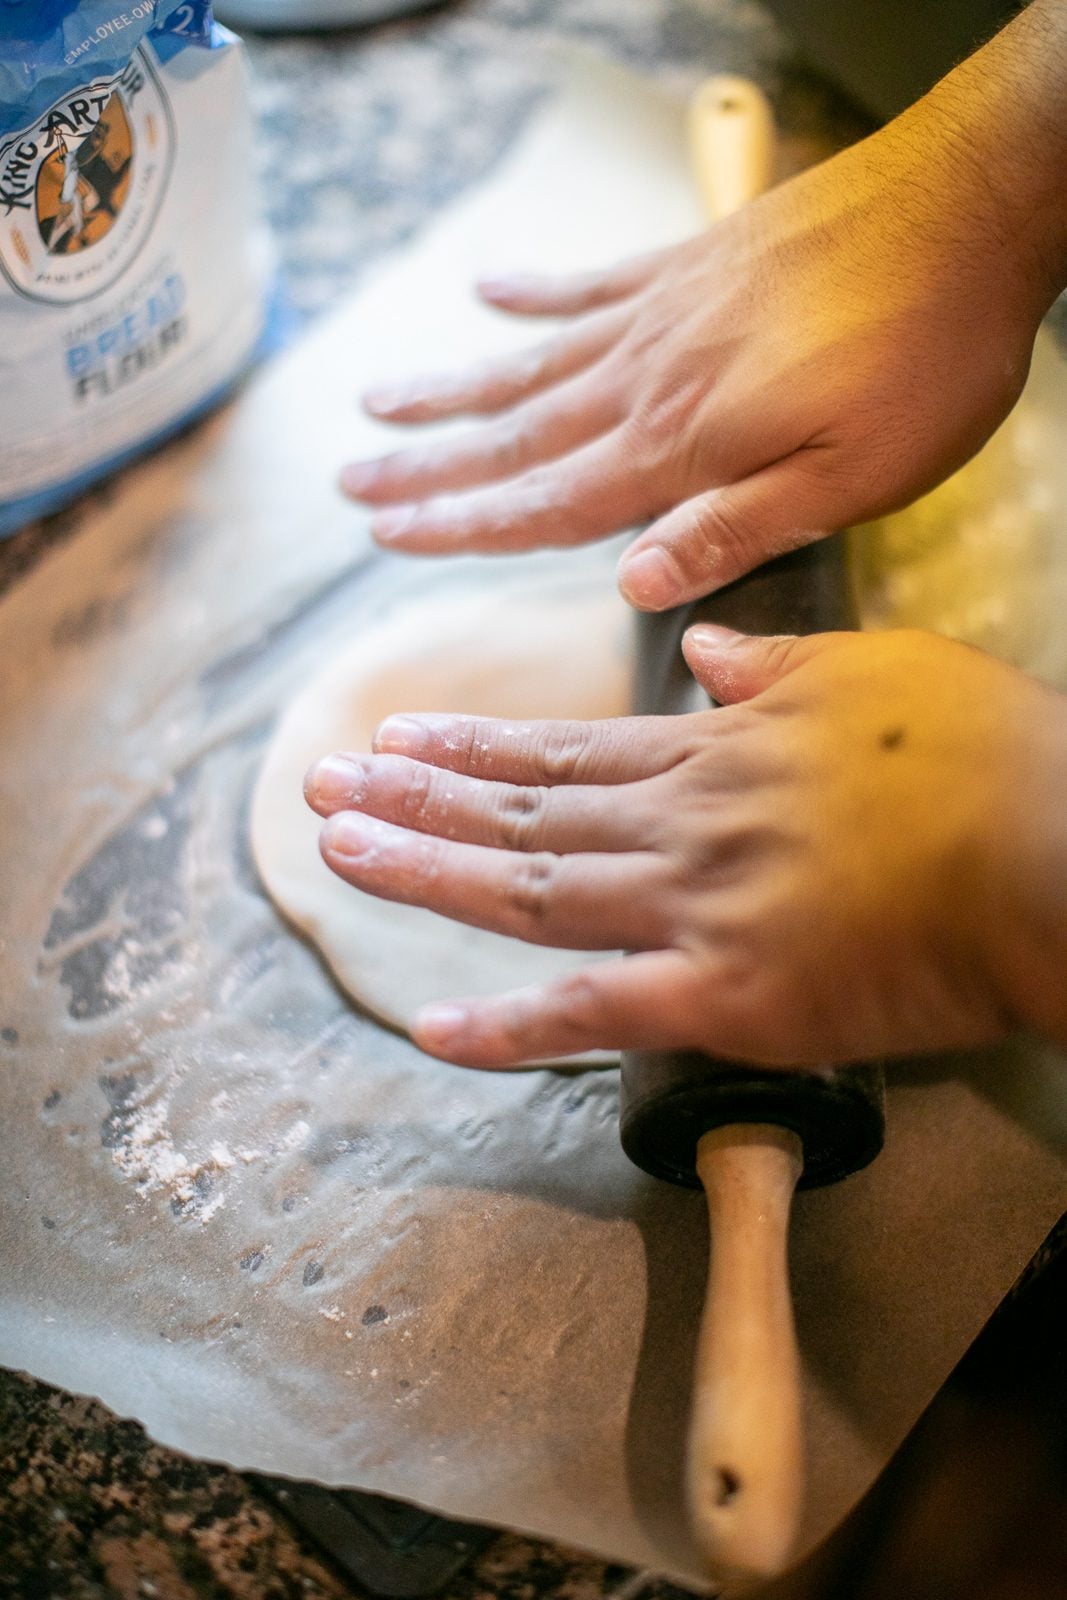
7) Thinly Roll. Dust the work surface and the rolling pin with flour. Take a puck of dough and roll it out into a circle of about 8-9 inches wide. When rolling out the dough, you may find it necessary to use additional flour to avoid sticking, but too much flour will coat the tortillas and leave them stiff, like they’re wearing a raincoat.
8) A tortilla may burn if it is cooked too long or at too high of a temperature. So make sure to only give it a few seconds on one side. Place the tortilla in the skillet and wait for small bubbles to form. Then, flip it over. Once both sides are cooked and the tortilla has puffed up with bubbles, it is done. If you’d like to add some extra charring to the tortilla, flip it again and add about 5 to 10 seconds more cooking time. Overall, the tortilla should be toasty but not so much that it is burnt to an extreme level.
9) Softening using steam. After removing the tortillas from the skillet, you can begin by wrapping your first one with a clean towel or placing it into a tortilla warmer. In fact, the best approach is to maintain the stack covered so that some of the steam makes the tortillas flexible and prevents them from hardening into flying discs. Do this with the remaining dough.
Riffs That Work
- Extra-soft burrito tortillas: Roll them out a bit thicker (not paper thin) and use either lard or shortening for the ultimate tenderness.
- Whole wheat blend: Substitute 25-40% of the flour for the whole wheat variety and increase the amount of water as necessary to achieve a softer dough.
- Vegan tortillas: Use avocado or vegetable oil and keep everything else the same.
- Garlic-chile tortillas: Mix 1/2 teaspoon of garlic powder and 1/4 to 1/2 teaspoon of chili powder (subtle, not fiery) into the flour.
- Herby skillet wraps: For a green-speckled tortilla, you can add 1 tablespoon of finely chopped chives or cilantro (pat them dry)
What Goes Alongside
- Breakfast tacos with scrambled eggs, crispy potatoes, and a sharp salsa verde.
- Chicken fajitas with onions and peppers: plus a squeeze of lime over the finished tortilla (yes, over the tortilla).
- Quesadillas can be made with cheese and roasted veggies that you used beforehand. For an extra crunch, lightly oil the pan before cooking.
- “Wrap Night” at home with homemade hummus, grilled chicken, cucumber, pickled onion and your favourite sauce!
- Quick dessert: spread some butter on it, add a sprinkle of cinnamon sugar, fold it over, and toast it in the skillet.
Common Stumbles, Easy Saves
- Tortillas are stiff: The dough may have been too dry, the pan may have cooled too soon and dried out the dough, or the dough may not have been covered after cooking. Perhaps next time add a little more water and keep the pan wrapped.
- Dough keeps shrinking while rolling: It requires additional resting time. Give it another 10 minutes; gluten will relax if you let it sit longer.
- Tortillas aren’t puffing: It is not considered a disaster. For puff, it is dependent on heat and the evenness of rolling. Ensure that the pan is hot enough and that the rolling is to the same thickness throughout.
- Burning before cooking through: The pan is too hot! Turn down the heat some. You want freckles, not burn marks.
- Gummy or dense tortillas: Over-hydration or undercooking the dough. Roll it a little thinner and cook it for a bit longer (but still in a quick manner).
- Floury exterior: There is a lot of bench flour when rolling out the dough. Be lighter on the flour and use a brush to remove it before placing it on the pan.
- Best softness trick: Cover the tortillas tightly to trap the steam.
- Make-ahead sanity: Divide and cover the dough into portions, then refrigerate for a maximum of 24 hours. Allow the dough to come to room temperature again before rolling.
Storage and Leftovers
Nutrition is affected by body size and what type of fat is being utilized. An instance would be a flour tortilla. A medium homemade flour tortilla has around 150 and 190 calories. Typically, tortillas made with lard or butter as opposed to oil will have higher calories. Additionally, the cost will vary based on how thick the tortilla is.
Tortilla wraps are often advertised as ‘diet food’, but they are made with basic ingredients (and no preservatives) like flour, water, fat, and salt, so they don’t have to perform shelf-life gymnastics.
After your tortillas have cooled, store them in an airtight bag. They will stay good for 1 day at room temp, 4-5 days in the fridge, and 2-3 months in the freezer. To reheat tortillas, you can use a dry skillet and heat each side for 15-30 seconds.
Another way to reheat them is to stack a damp paper towel with a few tortillas and microwave for 15 seconds at a time until heated through. If they seem a little firm when you are ready to heat them, don’t worry, the heat will make them soft. They just need some encouragement.
Times I’ve Made This
I believe I made these on a Tuesday, and I had little patience and groceries. Instead of using lard, I used oil, and I rolled the dough a little thicker than I usually do. The tortillas ended up being soft and sturdy, which is great for burritos with beans and cheese! Surprisingly I was able to reheat them really well the next morning. I think wrapping them in a towel right after they cooled down helped.
One of my friends attempted this recipe and claimed the tortillas were “weirdly tough”. While rolling them, I noticed some people putting flour on the surface as though they were attempting to prevent a sidewalk from freezing over. We used less flour on the bench, let the dough rest another 15 minutes, and turned up the heat on the skillet. The result was soft, pliable tortillas instead of tough ones. Same ingredients, but different treatment. That’s how touchy tortillas are.
The Short List
- Use warm water (not cold, not boiling).
- Make a soft, slightly sticky dough by adding water gradually.
- Knead 2-3 minutes until smooth.
- Let the dough rest for 20 to 30 minutes (or more if it is being difficult).
- Make sure to roll with as little excess flour as possible.
- Using a properly heated dry skillet, bubbles should form in 15 to 20 seconds.
- Stack and cover immediately to steam-soften.
- To achieve the best texture, reheat the product in a skillet and seal the bag to make it airtight.
Terms Worth Knowing
- Hydration: More water in the ratio usually means that the dough will be softer but it can become more sticky.
- Resting the dough: Allowing the dough to sit will enable the gluten to relax and for the flour to completely absorb the water, which will make rolling easier.
- Bench flour: An excess amount of flour can dry the surface, but used on the counter, it can prevent sticking.
- Puffing: Steam causes the layers to inflate during cooking; this indicates good heat distribution and even rolling (although this is not necessary for success).
- Freckling: The flavorful browned spots that form on a tortilla due to contact with a hot pan.
FAQ
Are none of the recipes supposed to include baking powder? In my opinion, cooking without baking powder is less direct and more soft, and an absence of baking powder creates a more direct taste for the mixture. Baking powder is one of the things that creates a more soft and puffy mixture. Tenderness is another word I would call it. If I want to be more traditional, then I would leave it out.
What benefits exist regarding the use of warm water in comparison to cold water? One benefit warm water offers is that it helps hydrate flour more quickly so the dough becomes more flexible. Warm water also assists with the distribution of fats, especially lard and shortening, and makes the process easier.
Certainly, if you have a stand mixer, you can also do this. Simply put in the dough hook and mix on low for about 2-3 minutes, or until the mixture is smooth. There is no reason to over-knead it. Tortillas are not the only thing that can be flexible in this world!
What’s your best trick for getting your tortillas round? An effective technique is to give the ball of dough a quarter turn each time you roll it. Try to keep the same amount of pressure. Every shape provides a unique taste. I won’t take offense if you describe them as rustic!
What can I do to keep my tortillas from cracking? The most probable causes for this issue include inadequate cooking time for the tortillas, excess dryness in the dough, or failure to store the tortillas in an airtight container immediately after cooking. For the next batch, attempt to increase the water content of the dough by 1 to 2 tablespoons, and ensure you wrap the tortillas immediately after cooking.
Can you freeze cooked tortillas? Yes! Just cool them completely, then stack them. If you wish, you can place parchment paper between layers. After doing this, seal them in an airtight bag and put them in the freezer. To keep the original texture after reheating, do this last step in a pan or skillet while still frozen.
Before You Go
Even if the rest of the meal is simple, making homemade flour tortillas will elevate the entire experience. Making the tortillas is worth the effort and shows that extra planning went into the meal, which makes it feel special. It does take a little time to learn how to make the tortillas, but you will eventually practice enough for it to feel like second nature to you. From then on, it will just be a mindless activity and you can relax while doing it. Making tortillas should be done for enjoyment more than for the end product.
