Pancakes have an odd effect on me. It isn’t that I become judgmental about the people around me, rather I become judgmental about the pancakes. When I see a pancake that looks rubbery, bland, and has the texture of sweetened burnt insulation, I get a little peeved. However, when they calm my raging soul by warming up the buttermilk pancake with a soft custardy center and a lacy brown edge, it feels like I regain my sanity and the world is finally at peace.
In my opinion, pancake box mixes are not real products. Making these buttermilk pancakes means I don’t have to spend time whipping the heck out of the pancake mixture. Sure, it takes some energy to stir the ingredients together, but then you just let the batter sit while your skillet heats up.
These pancakes are thick and you do not need to worry about them being heavy. They definitely contain a lot of buttermilk and I know that buttermilk does good things for the batter. It’s not there just for show!
Contents
At a Glance
- What you’re making: Classic buttermilk pancakes feature a tender crumb and mild tang with crisp and brown edges.
- Why it works: The batter rests for a bit to allow the flour to fully hydrate. This helps make the pancakes tender as opposed to chewy. The acidity in buttermilk tenderizes the gluten. The batter also gets a boost from baking soda as the buttermilk reacts with it.
- Timing: It will take me about 25-30 minutes to complete this cooking task, which includes: About 10 minutes of preparation time, 5-10 minutes of resting time, and 15 minutes of actual cooking time.
- Flavor profile: Subtle sweetness and a pleasant tang create a buttery essence that acts like a blank canvas, even though it has its own unique flavor.
- Key tips: Avoid overmixing, use a griddle at medium heat, look for bubbles and matte edges before flipping, let the batter rest, and don’t press pancakes down (I know you want to).
Ingredients
These ingredients can be easy to find, but there are still some other steps to take. Other specifics include fresh leaveners and real buttermilk. But that doesn’t mean you can go scorched earth on the butter, as those are usually included in the final stack. One time I decided to just ‘wing it’ and used a very old looking container of baking soda that I found in the far back of my cupboard. The pancakes ended up being as entertaining as an office desk eraser. Never again.
- All-purpose flour: AP achieves the delicate balance of creating a pancake that is fluffy, yet not too cakey. We’re not going for soufflé, but rather weekend comfort.
- Sugar: Sufficient to promote some browning and balance the tangy flavor of the buttermilk.
- Baking powder + baking soda: This combination provides dependable lift from the powder (along with additional rise and tenderness from soda reacting with buttermilk). If either is old, the pancakes will be sad.
- Kosher salt: Makes everything taste like more itself.
- Buttermilk: The star ingredient provides a wonderful blend of tenderness and tang. For this purpose, real cultured buttermilk is the best option. While “acidified milk” is an option, it does tend to be a bit more flat in flavor.
- Eggs: Room temperature isn’t required, but it helps them blend in smoothly.
- Unsalted butter (melted and cooled a bit): Let the melted butter cool slightly before mixing it in. If it’s still too hot when it hits the eggs, it can cook them into thin threads.
- Vanilla extract (optional): Although it’s not common in every household, I enjoy the subtle scent of baked goods.
Master Ratio (Easy To Scale)
- Flour: 1 cup (125 g)
- Buttermilk: 1 cup (240 g/ml)
- Egg: 1 large
- Butter: 2 tbsp (28 g), melted
- Leavening: 1 teaspoon of baking powder and a half teaspoon of baking soda.
- Seasoning: 1-2 tbsp sugar + 1/4 tsp salt
Example of Scaling: For a large group, it is necessary to increase some of the ingredients by doubling the amount used. This means to adjust flour from 2 cups to 4 cups, the same applies to buttermilk, 4 eggs, 8 tablespoons of melted butter, 4 teaspoons of baking powder, 2 teaspoons of baking soda, 4-8 tablespoons of sugar, and 1 teaspoon of salt. The capacity of the bowl is irrelevant, just be sure to stir gently.
Ingredient Choices That Change Flavor
| Ingredient/Option | What Changes | My Notes |
|---|---|---|
| Real cultured buttermilk | More tang, more tenderness, better lift with baking soda | This is the “classic diner” flavor. Worth buying. |
| Milk + lemon juice/vinegar (DIY “buttermilk”) | Some acidity, less complexity | Works in a pinch. Let it sit 5-10 minutes before using. |
| Brown sugar instead of white | Deeper caramel notes | Great if you’re serving with pecans or bacon. |
| Neutral oil instead of melted butter | Softer crumb, less buttery flavor | Fine, but you’ll miss the butter perfume. |
| Half whole-wheat flour | Nuttier taste, slightly denser texture | Add 1-2 tbsp extra buttermilk if batter feels thick. |
| Vanilla + a pinch of cinnamon | Warmer, “bakery” vibe | Not necessary, but cozy, especially in winter. |
For Cooking and Serving
- Butter or neutral oil: For the pan, butter gives the best flavor but tends to brown quickly, so mixing in a little oil helps.
- Maple syrup: (warm it, just do it).
- Extra butter: For The Stack, due to our current reality.
Instructions
Yield: roughly 10-12 pancakes (4-inch), serves 3-4
Total time: 25-30 minutes
1) Dry Ingredients: In a different larger bowl, merge 2 cups (250 g) of all-purpose flour, 2 tbsp of sugar, 2 tsp of baking powder, 1 tsp of baking soda, and 1/2 tsp of kosher salt. Whisking the dry mixture allows the leavening ingredients to be evenly distributed and creates a uniform taste to the batter.
2) If using, 1 tsp vanilla can be added as well. In another bowl or large measuring jug, mix together 2 cups (480 ml) buttermilk, 2 large eggs, and 4 tbsp (56 g) melted unsalted butter (remember to let the butter cool until warm, not hot).
3) Mixing must be done carefully and during a later point of the process. Add the liquid components to the bowl containing the solids. Using a spatula or wooden spoon, mix the components until the flour is mostly gone. Your batter should be shaggy and lumpy like pancake batter that isn’t quite ready. You would be right in thinking that. Over-mixing the batter so that it is smooth develops the gluten, causing the batter to be chewy instead of soft.
4) Wait with the batter. Five to ten minutes of resting time will give the batter time to relax and thicken. In this time, you can search for your so-called clean plates.
5) Prepare the pan. If you’re using a nonstick skillet, cast iron skillet, or a griddle, turn the heat to medium. Add butter (or a butter/oil mixture) and listen for some sizzling. We don’t want to set off the smoke alarm. If the butter starts to brown too quickly, reduce the heat and wait a minute.
6) I then pour the batter onto the griddle. Each pancake gets a quarter of a cup of batter. After two to three minutes, I check to see if the edges have set and turned a little matte and if bubbles are rising and popping across the surface. The first pancake is what I like to call the ‘calibration pancake.’ They are usually quite uneven. I eat that one standing up at the stove as a reward for my effort.
7) You should only flip the pancake one time. Once you do that wait about 1-2 minutes for the other side to turn golden brown. Also, while cooking, do not use the spatula to push down the pancake, as that will remove the fluff.
8) If you want to stay relaxed, it may be best to complete the pancake challenge all in one go. To help with this, you can place your pancake tray in the oven at 200°F. You may also add more butter to the pan during the rounds, if you’d like.
Ways to Change It Up
- Blueberry buttermilk pancakes: Immediately after pouring, add fresh blueberries to one side of the batter; don’t stir the blueberries into the bowl unless you want purple batter.
- Chocolate chip: Follow the same method as for the blueberries, using mini chips for better distribution.
- Lemon poppy seed: Include 1 tbsp of poppy seeds and the zest from 1 lemon, and serve it with extra butter and honey.
- Banana walnut: Incorporate 1 mashed ripe banana into the wet ingredients and gently mix in 1/2 cup of toasted walnuts.
- Extra-tangy: Increase the buttermilk by an additional 2-3 tbsp, and decrease the sugar to 1 tbsp; serve with butter, and real maple.
- Whole-grain-ish: Substitute half of the all-purpose (AP) with 1 cup (125 g) whole-wheat flour, and add 1-2 tablespoons of buttermilk, if necessary.
What Goes Alongside
- Classic: Warm maple syrup, salted butter, and a hint of flaky sea salt (you’ll have to trust me on this one).
- Bright: Yogurt and macerated strawberries (sugar, lemon, and strawberries)
- Decadent: Peanut butter + sliced banana + honey.
- Breakfast-diner plate: Breakfast sausage or crispy bacon with pancakes and black coffee.
- Not just sweet: Fried eggs and buttermilk hot sauce on the side. The buttermilk tang surprisingly goes well.
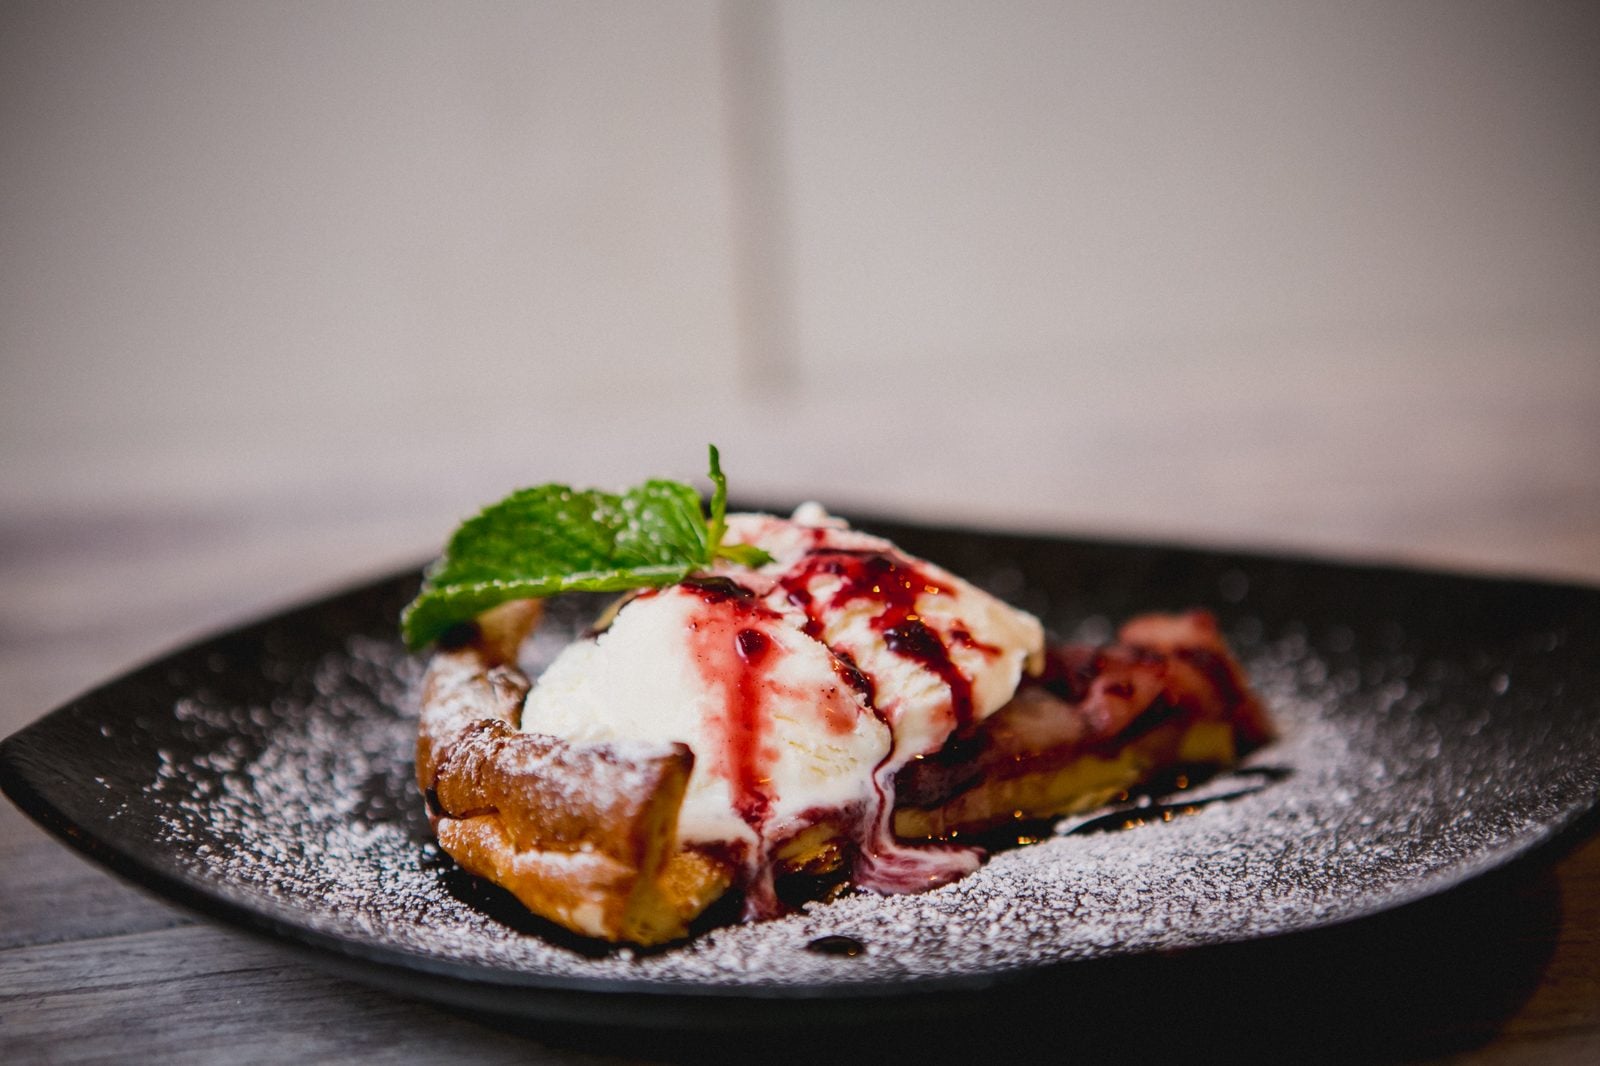
- For kids (or inner kids): Pancakes topped with a bit of whipped cream and some berries are a great way to keep it simple.
Fixes and Pro Moves
- My pancakes are flat: Before you start mixing your ingredients, remember to check the freshness of your baking powder and baking soda. It’s also important to check that your pan is not too hot. If it is, the outside of what you’re cooking/baking may brown too quickly and the inside may not rise as expected.
- They’re tough or chewy: You overmixed the batter. In the future, fold the mixture just until there are no remaining dry pockets of flour. Having some lumps in the mix is actually a good thing.
- They’re browning too fast: Lower the heat. Pancakes prefer medium, not bravado.
- They’re pale and blond: Your pan may be too cool or you may have used too little fat. Allow the skillet another minute to heat and use a small amount of fat to grease it.
- The centers are raw: If the pancakes are too thick, maybe the heat is set too high. You can adjust the batter thickness by adding 1-2 tbsp. of buttermilk, and then try cooking them a little longer over a lower heat setting.
- Uneven shapes: Batter will thicken over time. If you notice the consistency has changed, gently stir and add a little buttermilk if the batter has become more gloppy than pourable.
- First pancake is always weird: This is a natural law. This is referred to as the pancake tax.
- For crisp edges: Please add a bit more butter to the pan and avoid overcrowding it. The fat needs space to sizzle around the batter.
- For extra fluffy pancakes: It is slightly fussy but has a lot of charm. You should separate the eggs and whip the egg whites into soft peaks, and then fold them in at the very end.
Nutrition and Storage Notes
The nutrition of Pancakes is that they are soft and fluffy. The carbohydrates that are in the recipe provide that soft and fluffy texture, and the butter adds more flavor. The eggs in the recipe add a structural component to it.
The overall nutrition value of the recipe changes depending on the size of the pancakes and of course the toppings, because syrup is the most sugary and also very tasty. If you want your breakfast to be more filling consider a side of Greek yogurt, nut butter, or eggs.
For storage, an airtight container can be used to store pancakes.
The best option is to refrigerate them for 3 days. However, you can freeze them for 2 months. To regain the pancakes’ texture, you can put them in the toaster or an oven preheated to 350°F for about 6 to 8 minutes. If you microwave the pancakes, you will lose the nice crispy edges, and really, that’s kind of the goal.
Field Notes
I remember the first time I had these was on a Saturday with rain when the grocery delivery service “forgot” the syrup. When we used butter and a spoonful of strawberry jam, nobody commented. The buttermilk made the edges crispy enough that my youngest asked if I had put “cookies in the pan.” I didn’t correct the science and appreciated the compliment.
A friend of mine said she doesn’t like pancakes because they “taste like nothing.” While making these pancakes with her I actually had to push her to warm the maple syrup and add some salt to it. The taste is not really strong it’s just a little subtle but that’s all a pancake really needs.
Step-by-Step Recap
- Whisk dry ingredients in a big bowl.
- In a separate bowl, combine the buttermilk, eggs, melted (cooled) butter, and vanilla, and whisk until smooth.
- Incorporate the wet ingredients into the dry until just blended; do not worry about lumps.
- Rest batter 5-10 minutes.
- Heat pan/griddle to medium; lightly butter.
- When you see bubbles and matte edges, flip and cook the other side.
- You may keep them cozy in an oven at 200°F.
- Serve while hot with warm syrup and butter.
Cook’s Vocabulary
- Buttermilk: Natural acidity in cultured dairy products will tenderize batters and help baking soda create lift.
- Leavening: Baking powder and baking soda produce gas bubbles which cause pancakes to rise.
- Fold: A gentle folding technique that maintains the air in the batter and prevents overdevelopment of the gluten.
- Resting the batter: A brief pause allows the flour to fully hydrate, which helps the pancakes to cook up tender.
- Matte edges: The lightly dried and firm appearance around the edges of the pancake is your indication that the first side is finished cooking.
- Calibration pancake: The first pancake indicates whether the heat and greasing are correct (and is typically consumed right away).
Quick Answers
Can I prepare the batter in advance?
You can do the dry mix beforehand as long as you keep it in an airtight container. I prefer to complete all the batter preparations in an hour to prevent the leavening agents from becoming active.
While it is perfectly acceptable to store leavened batter in the refrigerator, keep in mind that the batter will not rise as much. It will still taste great, but it just won’t be as fluffy as it could be.
What if I don’t have buttermilk?
You can mix 2 cups of milk with 2 tablespoons of lemon juice or white vinegar. This mixture should sit for 5-10 minutes. Although this mixture will give you some of the acidity buttermilk has, it will likely taste a little more bland than the cultured buttermilk with added flavoring.
Why use baking soda and baking powder?
Baking powder works independently to create a reliable rise. Baking soda works in concert with buttermilk to create lift, tenderness, and additional browning to the bake. Together, the two are more reliable than either one on their own.
How can I tell if my pan is hot enough?
You can test the surface’s temperature by sprinkling some water on it. If the water dances, hops, and quickly evaporates, then the pan is at the right temperature. You can also test the temperature of the butter. If the butter is foaming or getting brown then the pan is too hot. You should shoot for a good heat level around medium.
Can I make these dairy-free?
Absolutely! Some compromises will need to be made. For the butter-free option, instead of using melted butter, you can use any neutral oil. For the plant milk, if you add lemon juice, that will give it some acidity and should work fine. You may lose some buttery taste, but it will still hold the softness and all the other good stuff.
One Last Thing
Pancakes help make your morning better and are really quick and easy to make. To start, you’ll need a whisk, bowl and pan, to start your batter you’ll need to mix all of the ingredients into the bowl – just remember not to over mix. Your batter may need to sit, and in the meantime, you can start preheating your pan to a medium heat. Let the batter rest while your pan heats, cook until the edges look matte, then pour over warm syrup and enjoy.