
I have to admit, I started baking sandwich bread out of frustration. The store-bought loaves were too soft and sweet, or too “artisan” which means that they are wonderful on day 1 and then become a challenge to eat on day 2. I wanted a loaf that would make my weekday lunches easier – with thin, even slices, a springy crumb that’s great for toasting, and a crust that doesn’t punish you for looking at it.
This is the loaf. It isn’t too complicated, but the rewards come when the small, delightful details are followed, like a dough that has been kneaded properly to a satin smooth finish and a rise with a warm cereal aroma, and a baked loaf that cools and cracks like it’s telling secrets. The first time I nailed it, I cut the loaf too early and the crumb stuck to the knife in protest. Lesson learned. Now I mostly let it cool and the slices behave like they were raised properly.
The Cheat Sheet
- What you’re making: Classic, soft, and homemade, this sandwich bread loaf has an even crumb and a gentle, slightly sweet dairy-wheat taste.
- Why it works: Butter and milk make the dough softer, the right amount of kneading gives the dough structure, and the two rises provide flavor, and a smooth, sliceable texture.
- Timing: Total time is 2-3 hours including rises, active time is about 15 minutes, and baking time is 30-35 minutes.
- Flavor profile: Toast that has a light sweetness and butteryness is perfect for something like peanut butter, turkey, or an over the top grilled cheese sandwich.
- Key tips: Do not rush the second rise, cool the loaf completely for neat slices, and aim for a somewhat tacky (not sticky) dough.
Ingredients
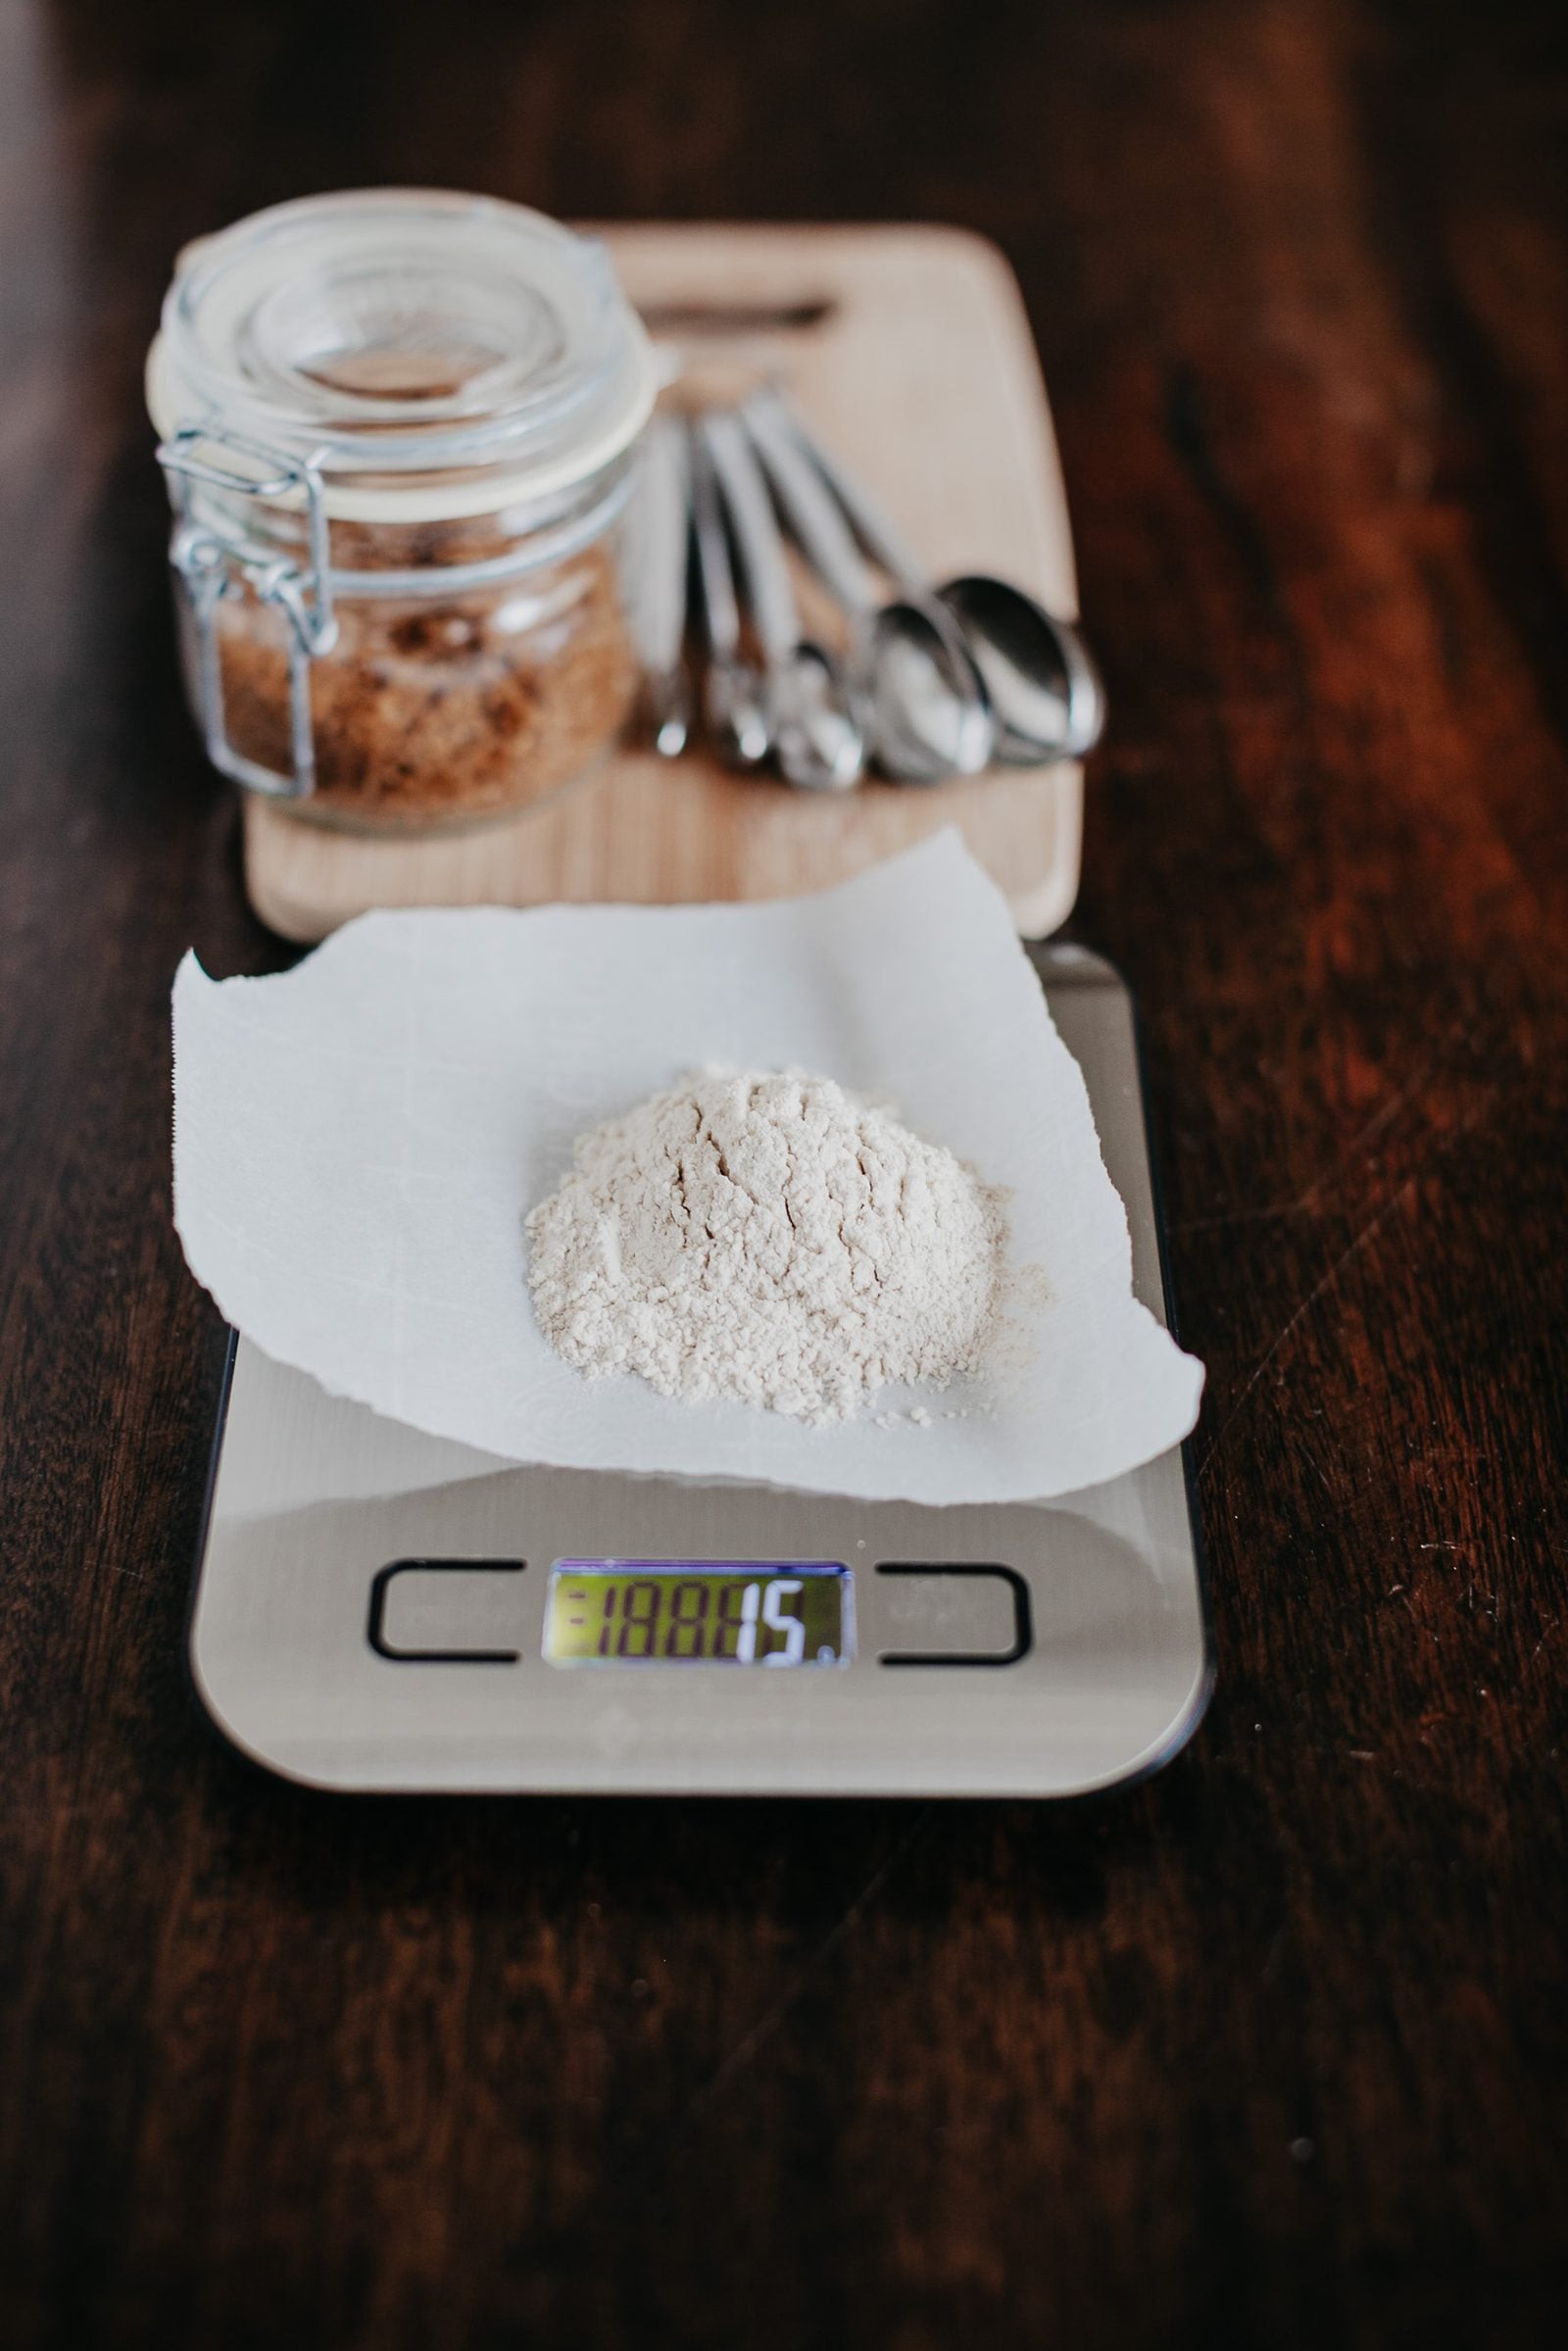
An excellent example of this recipe type is the one for sandwich bread. Because the list of ingredients is short, every choice really matters in how it shows up in the final slice. If you’ve ever baked a loaf that didn’t taste bad, but was stiff or dry, you were probably experiencing issues with the flour, the hydration, or rising time not being enough to allow the dough to relax.
- Bread flour (recommended) or all-purpose flour: Using bread flour will create a loaf that is taller, and has more structural integrity. Although all-purpose flour will create a loaf that is softer in texture, the loaf may not rise as high.
- Milk (warm): Warms it up to about 100-110°F, which is baby bottle warm, not hot.
- Water (warm): Keeps the crumb springy instead of cakey by balancing the richness of the milk.
- Instant yeast: Consistent and quick. Active dry yeast can work, but expect a longer rise time.
- Sugar: With just the right amount to gently activate the yeast and add to the taste. This is not bread for dessert, this is ‘pleasantly civilized’ bread.
- Salt: Key element of the taste and strength of the dough. If your loaf is tasting bland, it is most likely the salt.
- Butter (softened): Tenderizes and keeps the bread soft for days. You could use oil instead of butter, but butter is like a hug.
Master Ratio (Easy To Scale)
- 100% flour
- 68-72% total liquid (milk + water)
- 2% salt
- 3-6% sugar
- 5-8% fat (butter or oil)
- 1-1.5% instant yeast
Example: For 500 grams of flour, you will need 340-360 grams of liquid, 10 grams of salt, 15-30 grams of sugar, 25-40 grams of butter and 5-7 grams of instant yeast. The recipe in this article uses a method that is a little richer and works perfectly with a standard 9×5 inch loaf pan.
Ingredient Choices That Change Flavor
| Choice | What You’ll Notice | Best For |
|---|---|---|
| All milk (no water) | Richer crumb, slightly softer, a touch sweeter | PB&J, tea sandwiches, kid-friendly slices |
| Half milk / half water (recommended) | Balanced: tender but still springy; good toast | Everyday sandwiches, grilled cheese |
| All water | Cleaner wheat flavor; slightly sturdier chew | Savory sandwiches, soup-and-toast nights |
| Butter | Classic “bakery loaf” aroma and flavor | When you want the loaf to taste like something |
| Neutral oil | Softer texture, less flavor; stays tender longer | Ultra-soft slices, dairy-free needs (with water) |
| Honey instead of sugar | Floral sweetness, deeper browning | Toast, breakfast sandwiches |
Pan, Flour, and Yeast Notes
- Loaf pan: A 9 x 5 inch pan gives you a more traditional tall sandwich shape. An 8.5 x 4.5 inch pan works too but bake time may be a little longer and you may get a taller crown, so watch for that.
- Flour measuring: Spoon your flour into the cup and level it off if you are measuring flour with a cup. Scooping can lead to packed flour, which can cause the loaf to be dry.
- Yeast swap: If you are using active dry yeast instead of instant yeast, use the same quantity but expect to wait a little longer for the dough to rise. Dissolving the active dry yeast in the warm liquid along with the sugar helps to get the yeast activated.
Instructions
Makes: 1 loaf (approximately 12-14 slices)
Pan: 9×5-inch loaf pan
Oven temperature: 350°F
1) Mix the dough. Take a big bowl and add 3 cups (360 g) bread flour, 2 1/4 tsp (7 g) instant yeast, 2 tbsp (25 g) sugar, and 1 1/2 tsp (9 g) fine salt. Include 1/2 cup (120 g) warm milk and 1/2 cup (120 g) warm water, then mix until shaggy. Include 3 tbsp (42 g) softened butter and mix it in: it’ll be messy at first, but then it’ll become surprisingly agreeable.
2) As you knead the dough, knead until you feel the dough become smooth and elastic. When kneading by hand, this should take a total time of 8-10 minutes. When using a stand mixer with a dough hook this kneading time will be 6-8 minutes.
Try to avoid adding flour to the dough unless the dough becomes genuinely sticky. Ideally, the dough will be sticky but not overly sticky. That being said, it should be tacky enough that when you touch the dough it will stick to your finger but then release as noted previously. The finished dough should have a smooth appearance and springy texture. Additionally, it should be able to pass a basic stretch test by not tearing immediately.
3) First rise (bulk fermentation). Make a ball and place it into a bowl that has a bit of butter on the bottom so it doesn’t stick. Cover the bowl and let it rest until it doubles in size. This usually takes around an hour to an hour and a half, depending on the temperature. In the winter, I put the bowl next to the oven while it’s preheating, but in the summertime it acts like it needs to catch a train and rises a lot quicker.
4) Form for a sandwich loaf. Oil the loaf pan. Sprinkle some flour on your work surface. Shape your dough into a rectangle as wide as the pan and 8 to 10 inches long. Starting at the short end, roll it up tightly like a sleeping bag. Make sure to squeeze the seam shut, and tuck the ends under before placing it seam-side down into the pan. A tight roll gives you nice clean slices instead of a loaf with random air pockets.
5) Second rise (proof). Cover and allow to rise until the dough rises about 1 inch over the rim of the pan, 45-75 minutes. If you poke it gently, it should slowly spring back just above the poke. If it bounces back, it needs more time. If it deflates and collapses, it’s over-proofed. Still bakeable, just a bit shorter than the recommended time.
6) Bake for about 30-35 minutes at 350°F until deep golden brown. If you prefer certainty, the center should show about 190-195°F on an instant-read thermometer. If the top is browning very quickly, cover it loosely with foil for the last ten minutes.
7) Cool (we know how much this matters to you). Place the loaf on a cooling rack and leave to cool for a minimum of 1 hour before slicing. The warm bread smell is a trap; they are almost divine and the crust feels like butter. When the bread cools off you will get the reward of nice flexible, butterable slices that won’t crumble. (even if you butter a bit impatiently)
Spins and Swaps
- Honey-oat sandwich bread: Instead of using sugar, use honey. Also, brush some milk on the loaf and sprinkle some rolled oats on top before you bake it.
- Whole wheat blend: You can swap 30% of the flour for whole wheat flour. You may need to add 1 to 2 extra tablespoons of liquid.
- Soft potato bread vibe: For added tenderness, you can substitute 1/3 cup of flour (around 40 g) with instant potato flakes.
- Seeded crust: Use an egg wash and cover in sesame, poppy, or everything bagel seasoning.
- Dairy-free: Instead of using butter you can use warm water (or unsweetened oat milk) and neutral oil.
Good Company for This Dish
- Classic lunch: Turkey, sharp cheddar, mustard, and a pickle with sass.
- Toast situation: Try the following combinations to make a delicious sandwich! You can use salted butter and apricot jam or for a sweeter option, use ricotta, honey, and some flaky salt (believe me, it’s good!) and spread it on sandwich bread.
- Grilled cheese: Two slices of bread with mayo on the outside of the bread and cheddar and some grated parmesan on the inside for crispness.
- Breakfast: Cinnamon toast with some sugar on top or egg in a hole with a runny egg yolk and hot sauce.
- Soup partner: Tomato soup and a thick slice of toast for dunking.
When Things Go Sideways
- My dough is too sticky: Give the dough 2 minutes before adding any flour. Kneading will usually fix stickiness. If the dough is still gluey, add the flour slowly- one tablespoon at a time.
- My loaf didn’t rise much: Check the freshness of the yeast and make sure the liquids were warm and not too hot. Additionally, if your kitchen is cool, it can make the rising time take double as long.
- Dense or tight crumb: Typically, this is a result of either under kneading or under proofing the dough. The next time you bake knead the dough until it is elastic and then allow the dough to rise until it is at least one inch above the rim of the container.
- Big tunnels near the top: This happens when proofing is too short, or shaping is too loose. Try shaping the dough tighter and increasing proofing time.
- Loaf collapsed: Overproofed dough is still good; bake it! Next time try to cut down on the second rise, and bake when the dough springs back slowly to a gentle push.
- Pale crust: If needed, place the pan on a higher rack for the last 5 minutes or move the pan to a higher rack. Milk bread will brown nicely, but every oven has a personality.
- Dry bread on day two: If there is slightly too much flour or the loaf is overbaked, try weighing the flour. You can also try pulling the loaf when the internal temperature hits 190-195°F.
- Clean slices: Use a serrated bread knife and let the loaf cool fully before slicing. A gentle sawing motion beats pressing down.
How It Keeps
This is a classic white sandwich bread enriched with milk, butter, and a bit of sugar. It is softer and a bit richer than lean hearth breads, and not as sweet and mystery-ingredient-laden as most supermarket loaves. While we can’t provide precise nutrition information (as these change with the type of flour used and the thickness of the slices), we can say that you can feel good about this bread. You know what goes into it.
Storage: Once the loaf cools completely, you can put it in a bread bag or an airtight container and keep it for a maximum of 3-4 days at room temperature. If you would like to keep it for a longer period of time, slice the bread and put it in a zip-top bag in the freezer for up to two months. You can toast the slices while they are still frozen. I find storing bread in the refrigerator to be a strange and bad option because the bread goes stale and it seems to get stale more quickly!
Field Notes
Run one: One of my friends asked for a type of bread that would not “explode my kid’s sandwich at lunchtime.” We used all-purpose flour, and along with that, milk and water mixture, cooled the loaf all the way down and sliced it thin. The result was neat slices of peanut butter that folded over without breaking and didn’t become sawdust by noon. Quiet triumph.
Later, once more: One Sunday while it was raining, I got a little cocky and hosed down the second rise. The loaf looked good when baked, but it felt a bit dense, as if it were holding back. The next time, I waited for the dough to rise a whole inch above the rim of the pan. Same ingredients, but a completely different vibe with a lighter crumb, a better spring, and toast that really puffed instead of sitting like a brick.
The Short List
- Warm milk and water to 100-110°F.
- First combine the dry ingredients; add the liquid ingredients, followed by the butter.
- Knead the dough until it is smooth and elastic (it should be tacky, not sticky).
- First rise: double in size.
- Grease your pan and put the log shape with the seam side down in the pan.
- Second rise: dough should create domes approximately 1 inch above the rim of the pan.
- Bake 30-35 minutes at 350°F (190-195°F internal).
- Allow to cool for at least an hour before slicing. Freeze any extra slices.
Kitchen Words, Decoded
- Bulk fermentation: The first rise is the first period of time after the dough has been mixed or kneaded. This is when the flavors in the dough develop and the volume of the dough expands.
- Proofing: When the dough reaches about 1 inch above the pan rim, stop the second rise.
- Tacky dough: Ever so slightly tacky but not leaving a wet residue on your hands. Great for soft sandwich bread.
- Enriched dough: Dough that has fat and/or dairy (like butter and milk) tenderizes the crumb and softens the crust.
- Oven spring: The last increase in height during the first minutes of baking.
- Internal temperature: Sandwich bread typically registers as done when it reaches an internal temperature of 190-195°F.
FAQ
Can I make this sandwich bread with all-purpose flour? Yes. If possible, use the same amount by weight (360 g). About 3 cups of all purpose should be fine (by volume). You may expect a structure that’s a little softer and perhaps not as tall.
Do I need a stand mixer? I usually do it manually. Especially if I want to pretend that I am good at being an adult for a brief ten minutes. Knead the dough until it feels nice and smooth, and your hands will know when the dough has gone from lumpy to alive.
Why did my top split or burst? Most often this is due to either under-proofing the dough or a tight crust forming too early. Let the dough rise a little longer and make sure the oven is totally preheated. A light slash down the center can help, but the real fixes are shaping and proofing.
Can I cut sugar from the recipe? Sure. You can decrease it to 1 tablespoon and probably not run into serious issues. The loaf might be less tender and have slightly less browning, but it will still be perfectly acceptable sandwich bread.
How can I store homemade bread to keep it fresh and soft for a week? After the bread has completely cooled, slice it and put it into an airtight container. You may want to freeze half the loaf, then slice that up again. It will be easy to avoid day-four sadness by toasting from frozen.
Can I double the recipe? Sure! When mixing by weight, double all the ingredients. If you are using a stand mixer, make sure you have a strong enough bowl. The dough tends to ride out like it is trying to escape.
Closing Thoughts
I wouldn’t call it difficult, it just sticks to its nature. It demands a smudge of patience and a dab of focus, and you receive a loaf that elevates ordinary meals far more than is warranted. No other stressful week is made easier than one that comes with a loaf of bread cooling on the counter. That is unless someone eats the heel before you can rescue it for toast.
