For my first time cooking, I chose making pan fried chicken. I had a thermometer (which I lost mid-process), an apron I wore for the first and last time, and a stove cranked to an absurdly high temperature. I burned the crust before the inside cooked, and the smoke detector disagreed with my method too.
The solution ended up being much simpler. I had to use a moderate temperature and a thin coating of flour and just let the chicken sit there instead of poking it every twenty seconds.
This is the real version I created that is weeknight friendly. This recipe focuses on pantry spices that are easy and convenient to grab and go, while also guaranteeing crunchiness and juiciness as needed. It fills the kitchen with that nostalgic chicken-skillet smell that has people asking, “So when’s dinner?”
Contents
The Short Version
- Pan Fried Chicken, the bones of it: Bone-in or boneless chicken that is seasoned, lightly floured, and then pan fried until golden brown and juicy.
- Why it works: Using a light dusting of flour and keeping the heat at a consistent medium temperature will allow the food to get a nice crispy coating without the need to leave it in the frying pan for extended periods of time.
- Timing: 10 min prep, 5 min rest, 15-25 min cook (depending on cut)
- Flavor profile: While not overpowering, there is a prevalent peppery and garlicky flavor. The toastiness of the browned crust adds to the overall flavor.
- Key tips: Make sure the chicken is dried off, that you don’t put too much in the pan, and be patient until the crust releases before flipping.
- Best skillet: If you have cast iron, use it. Heavy stainless is also fine. Nonstick is acceptable, but it won’t brown as deeply.
Ingredients
This recipe is created for 4 servings but can be adjusted for more or less. The most important thing is the chicken as its thickness and moisture level will affect the ease of dropping and the coating will become crispy as you cook. Everything else is negotiable but keep it fun, not crazy.
- Chicken (about 1 1/2 to 2 pounds): The thighs will always maintain moisture. Breasts are good too but you have to pound them to make them even. Drumsticks and thighs on the bone also work but you will need to cook for longer.
- Kosher salt: I like kosher salt because it is easy to pinch and spread. If you use fine table salt, you should use a bit less.
- Black pepper: The crust has a pepper flavor, so freshly ground is worth it here.
- Garlic powder: Adds a savory quality and won’t burn like fresh garlic would at frying temps.
- Paprika (sweet or smoked): Sweet paprika has a more traditional taste while smoked adds a subtle note of campfire.
- All-purpose flour: The simplest and most effective way to build a crust. This is not a dredge thick crust; think of purposeful dusting.
- Oil with a decent smoke point: Oil that does not have much flavor such as canola, avocado, or grapeseed oil are the easiest choices to use. Although you can use olive oil, be careful to keep the heat at a lower setting.
- Butter (optional but recommended): The addition of some at the end gives the crust a rich, old-fashioned taste.
- Lemon wedges or vinegar (optional): A small acidic finish wakes everything up.
Master Ratio (Easy To Scale)
- Per 1 pound chicken: 3/4 teaspoon kosher salt
- 1/2 teaspoon black pepper
- 1/2 teaspoon garlic powder
- 1/2 teaspoon paprika
- 1/3 cup all-purpose flour
- For the pan: Use 2 to 3 tablespoons of oil (add more if your pan looks dry).
Example: If you want to use 2 pounds of chicken, you will need to multiple all the ratio ingredients by 2. I normally mix some salt, black pepper, garlic powder, paprika, and flour in a shallow bowl to prepare for the dredging part. This might not match your setup, but a no-effort system like this keeps you organized.
Ingredient Choices That Change Flavor
| Choice | What it changes | Best for | Notes |
|---|---|---|---|
| Sweet paprika | Classic warm color and gentle pepper sweetness | Traditional “diner-style” skillet chicken | Most flexible; doesn’t fight your sides |
| Smoked paprika | Smoky, deeper aroma | BBQ-ish vibes without sauce | Use a light hand or it can dominate |
| Buttermilk (quick soak) | Tenderizes slightly, adds tang, improves browning | Extra-juicy chicken with a gentle twang | Even 20 to 30 minutes helps; pat dry before dredging |
| Cornstarch (swap 1 to 2 Tbsp for flour) | Crispier, lighter crust | Sharper crunch | Don’t go all-in or it can get brittle |
| Butter finish | Nuttier flavor, glossy crust | “Why does this taste so good?” moments | Add at the end to avoid burning |
Secondary: Optional Finishing Sauce (2-Minute Pan Drizzle)
For a simpler restaurant style dish as an alternative to making a sauce, you can make a little pan sauce directly onto the chicken when it is done cooking. Just add some lemon juice (or vinegar) and a little nob of butter and cooking oil from the pan. It’s really that simple, and it adds incredible additional flavor to the crust.
Instructions
Skillet note: If possible, use a heavy stainless steel or cast iron skillet that is 12 inches in diameter. You need to be able to retain heat and permit airflow around the chicken. The biggest danger to clarity is crowding.
1) Start by seasoning the chicken. Use some paper towels to dry off the chicken. This is critical for having a crispy crust. It is a good idea to season both sides with a little salt and pepper, since the flour will get seasoned as well. If possible, leave it for 10 minutes at room temperature. This will help the salt dissolve and stick to the chicken better.
2) Combine the dredge ingredients. To do this, take a shallow bowl or pie plate and combine the whisked flour and rest of the salt, pepper, garlic powder, and paprika. For each piece, you want to press just enough for the flour to stick and so you can remove any excess dry flour. It is better to not look shaggy, and instead, have a more even coating. As you heat the pan, let the coated chicken rest on the plate for about 5 minutes. Resting allows the coating to adhere and absorb.
3) Make sure the cooking surface has reached the right temperature as this is the step most people impatiently rush through. To do this, put the skillet on the burner and set the heat to medium. Take your preferred cooking oil, measure 2 to 3 tablespoons, and pour it onto the surface of the skillet.
Wait around 2 to 3 minutes for the oil to warm up. You want a shiny surface of oil, not oil that is starting to smoke. When you pinch some flour and flick it towards the skillet, it should start to sizzle immediately and the flour should turn blonde within a few seconds.
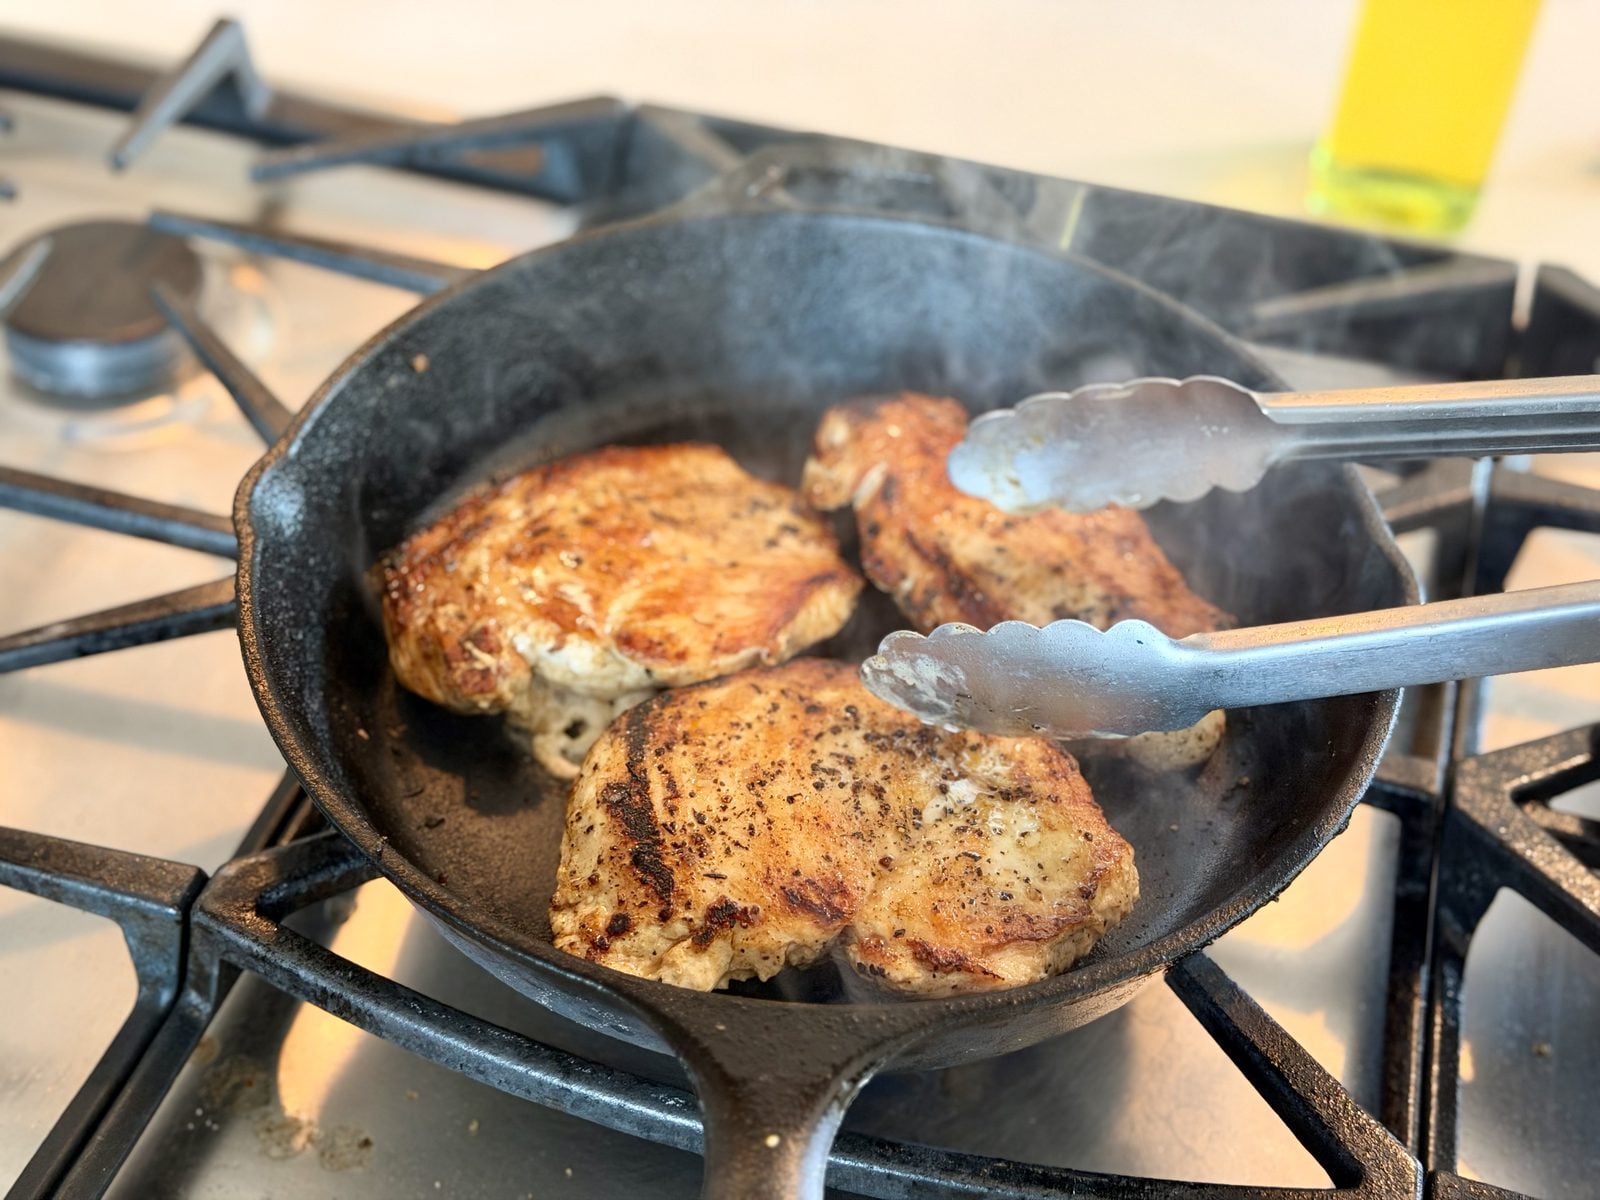
4) Fry, don’t fiddle. When you put the chicken in the pan, make sure to leave some space between the pieces. You should hear an even and confident sizzle. Cook times are about 6 to 8 minutes for boneless cutlets or thighs, and 8 to 12 minutes for bone-in thighs or drumsticks, but this could vary based on the size of the chicken.
Adjust cook times such that the bottoms are cooked to a dark golden brown and the chicken pieces can be pulled away from the pan without them sticking. If they are stuck to the pan, they are not ready. Back away and let the crust do its thing.
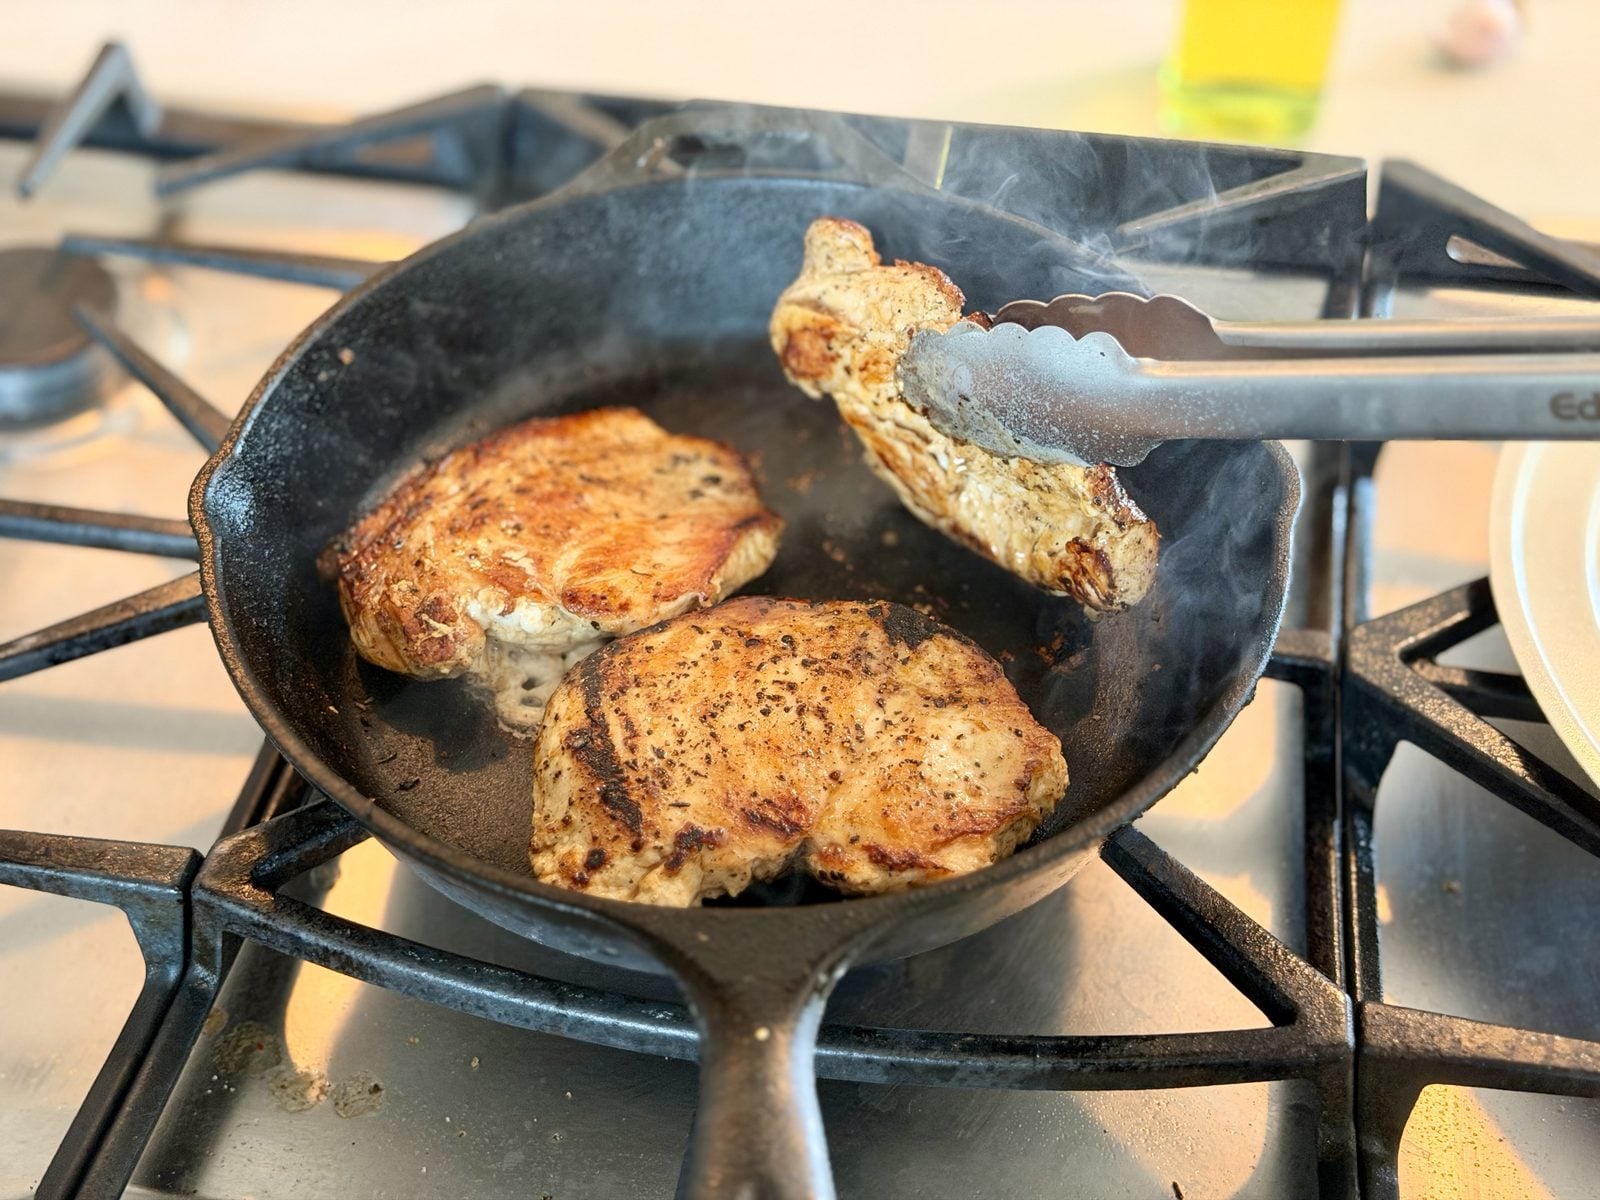
5) Finally, it’s time to flip. If your chicken is starting to look a little dark, flip it and lower the heat. You want to finish cooking until the thickest piece of chicken reaches 165°F. If you don’t have a thermometer, you can cut into the thickest part and look to see if the juices run clear. The meat will look opaque instead of translucent. I sometimes put a loose cover on the pan for the last few minutes on the bone-in cuts. This helps the heat penetrate the meat without burning the crust.
6) Optional Butter Basting (recommended if you are feelin it). If you want, in the last minute or so of cooking, throw 1 tbsp of butter in the pan and give it a swirl to make a basting liquid. You want to drizzle the buttery oil over the chicken 1-2 times. It’ll smell like Grandma is coming to judge your sides.
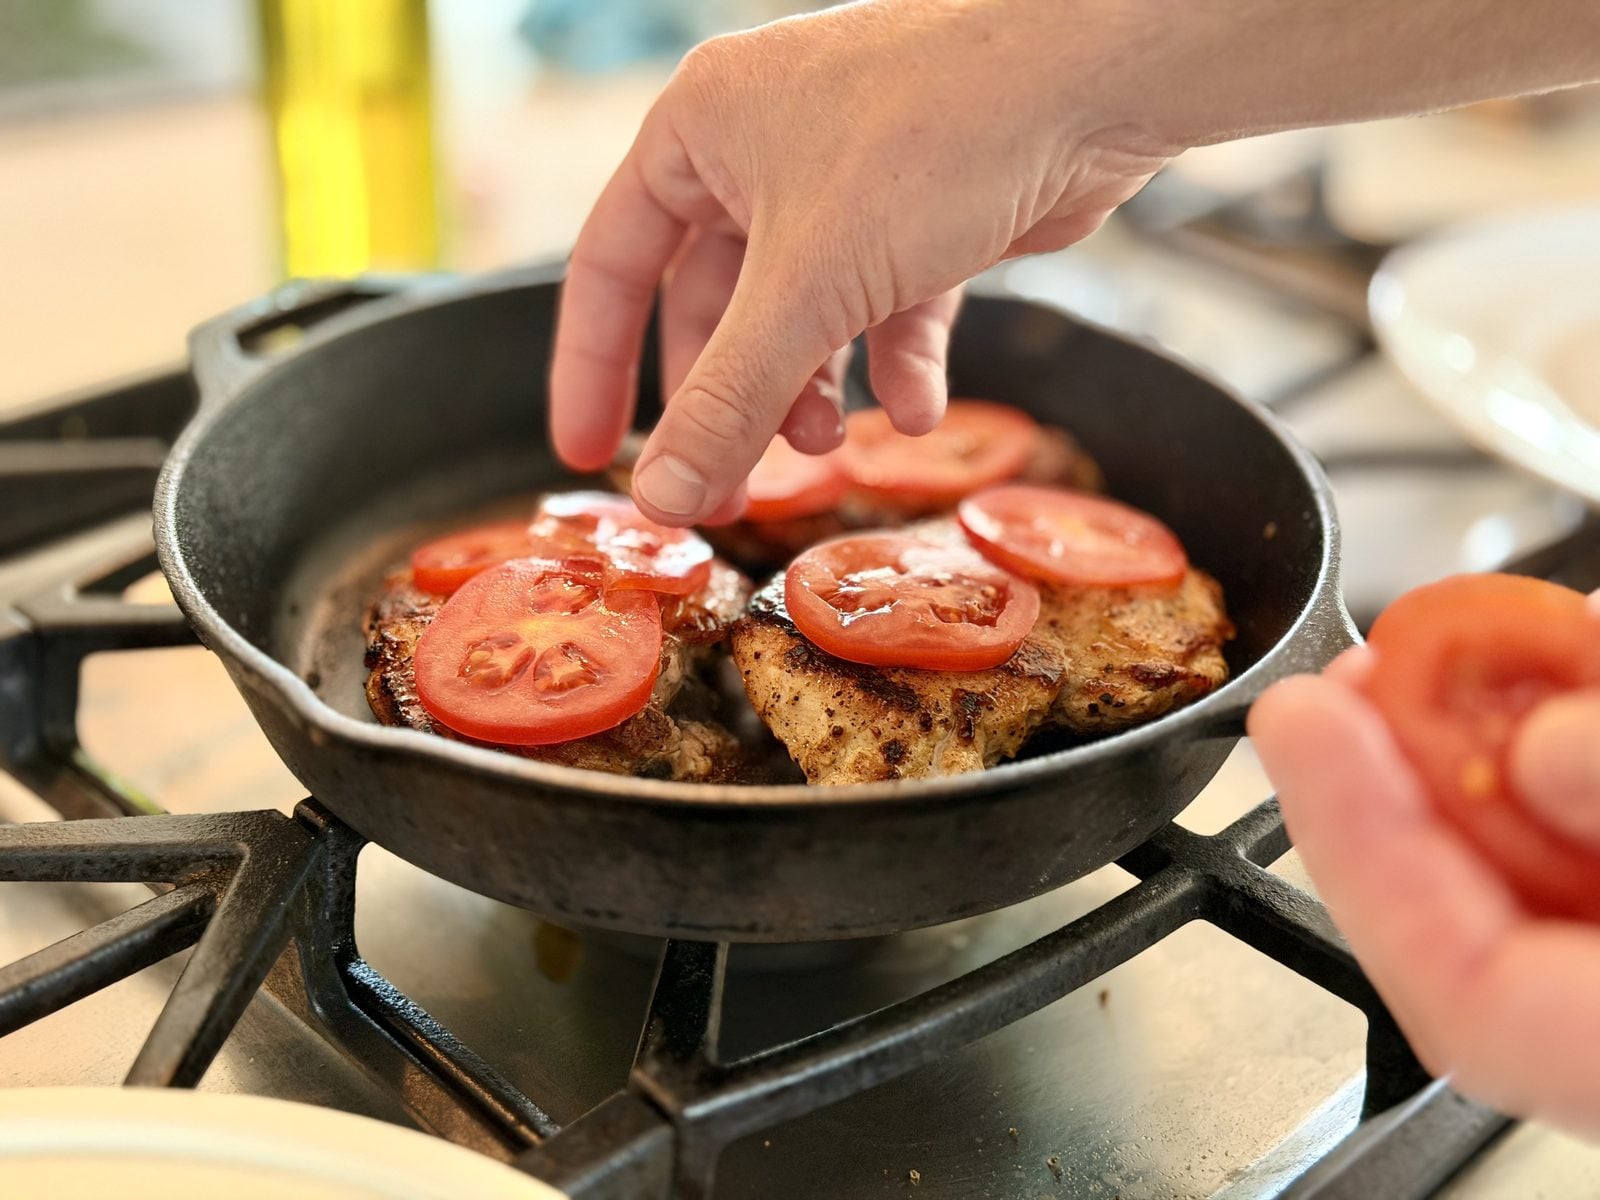
7) Rest, then serve. Do not cut into your chicken immediately. Instead, place it on a different plate or a wire rack to allow it to rest for 5 minutes. Finally, if you want, you can put in some vinegar or lemon. To get the best crust, it is best to serve the chicken hot.
Ways to Change It Up
- Spicy pan fried chicken: Include 1/4 to 1/2 teaspoon of cayenne into the flour mixture and complete your mixture with hot sauce and lemon juice.
- Herby skillet chicken: In the dredging mixture, add 1 teaspoon of dried thyme or oregano, and top with chopped parsley.
- Parmesan-crust vibe: Add 1/4 cup of finely grated Parmesan to the flour mix (be careful with the heat as it can brown faster).
- Buttermilk quick-soak: Soak chicken in buttermilk with a pinch of salt for 30 minutes, pat dry, then dredge.
- Gluten-free: For better crispness, use a 50/50 mix of rice flour and cornstarch. Be generous with your seasoning.
- Extra-thin cutlet style: Pound chicken breast to 1/2 inch, reduce cook time, and keep heat medium so the crust browns right as the meat finishes.
What Goes Alongside
- Something crunchy and acidic: Vinegary coleslaw, cucumber salad, or quick-pickled onions.
- Something soft: Mashed potatoes, buttered rice, or polenta (the crust loves a spot that is creamy).
- Greens: Spinach with lemon, green beans with garlic, or a large salad with a spicy mustard dressing.
- Comfort mode: Use biscuits, cornbread, or toast to mop up the pan drippings.
- Sauces that behave: Honey mustard, a fast dip made with ranch and yogurt, and simply add more lemon and black pepper to taste.
Common Stumbles, Easy Saves
- My crust is pale: The issue could be that your pan is not hot enough or the chicken is too wet. Make sure to pat the chicken dry, preheat the pan for a little longer, and only add the chicken to the pan once the oil is shimmering.
- My crust is burning before the chicken cooks through: If the heat is too high, or the pieces are too thick, lower the heat to finish cooking the thicker pieces covered for a few minutes. Alternatively, you can move them to a 375°F oven to finish.
- It’s sticking to the pan: Normally, all that it needs is just more time. Allow it to fry until it releases. Also, don’t skimp on the oil.
- The coating fell off: You may have used too much flour, flipped it too soon, or have been shuffling it around a lot. Tap off any over flouring, and wait for the crust to set before you flip.
- It’s greasy: Your oil wasn’t hot enough, or you overcrowded the pan and ended up steaming it. You may need to fry in batches to get a steady sizzle.
- Seasoning tastes flat: Lightly salt the chicken prior to dredging it and finish with some lemon or vinegar. Acid is the shortcut!
- Batch frying tip: Keep finished pieces on a wire rack instead of a paper towel. Paper towels trap steam and will make the crust soft.
Keeping It and Reheating It
Pan-fried chicken is obviously more rich than baked chicken, but there is a fine line between heavy and greasy. A moderate amount of oil combined with some flour will give a nice crispy coating without fully frying the chicken. While there may be different tenderness traits of breast and thigh meat, they also differ in fatness and composition of meat.
Thigh meat is more tender due to having higher fat content, while breast meat is leaner and tougher as a result of having less fat. From a numerical point of view, the main contributors are the cut of chicken meat, the amount of flour that sticks, and the amount of oil used in frying.
You can store leftovers in an airtight container and keep it in the fridge for three to four days. To reheat in the oven and to crisp it back up, heat the oven to 400°F and put it in for 10 to 15 minutes, or longer if stated. Just to be clear, the microwave can warm up the food, but it will also make the crust soggy. If that doesn’t bother you, then go ahead and do that. If it does, then you should use the oven or maybe the air fryer instead.
Kitchen Stories
After a crazy day when my kitchen looked like a disaster zone, I made this recipe using boneless thighs. All I used for seasoning was lemon, paprika, garlic powder, and black pepper. And I had to do this in 2 separate batches. Even with the phone call I received, the chicken stayed juicy. Well, thighs tend to be juicy that way.
Again, I took chicken breasts and pounded them thin to make cutlets. I do not want to deal with thick pieces of meat, also I wanted to get dinner done quickly. The chicken was cooked on each side for about six minutes, and surprisingly, they were all cooked evenly and browned and also tender. When cooking, it is important to keep the heat at a reasonable level because the cutlets that look nice and golden can easily be overburnt.
The Short List
- Pat chicken dry thoroughly.
- In a shallow dish, combine the flour and seasonings.
- Lightly dredge and tap off the excess. Let the coated chicken rest for 5 minutes.
- Set your stove to medium and heat your pan until the oil starts to shimmer.
- Fry in batches with space between pieces.
- Flip only when the crust releases easily.
- Cook to 165°F in the thickest part.
- Optional: butter baste in the last minute.
- Rest for 5 minutes. Finish off with lemon or vinegar and serve hot.
Words You’ll See Above
- Dredge: Before cooking, coating food (in this case chicken) with flour or a flour mixture.
- Shimmering oil: The oil should have a bit of a wavy appearance in the pan, showing that it is hot enough to begin frying.
- Release: The crust has formed when the browned food starts releasing from the pan.
- Carryover cooking: Food continues to cook for a brief time after being removed from heat. Here is why resting is important.
- Batch frying: Cook in smaller batches to prevent overcrowding and steaming.
- Wire rack rest: This idea is about allowing steam to escape and fried foods to keep their crispiness.
FAQ
Are boneless and skinless chicken breast okay? Yes. Make sure they are cooked evenly by pounding to a thickness of about 1/2 inch. If you treat them like thick thighs you will cause the breasts to dry out.
What is the appropriate amount of oil? The oil you use should be enough to create a thin, even coat across the entire bottom of the pan. Around 2 to 3 tablespoons should do the trick for a 12-inch skillet. If the bottom of the skillet looks dry, or if the oil seems to be soaking up flour, pour more oil.
Is it necessary to use a thermometer? It may not be necessary, but this could simplify the task at hand. If another means is not available, make an incision in the thickest area; the flesh should not be red and the accompanying liquid should be clear. For parts of the dish that contain a bone, a thermometer may prove particularly useful.
Why is my chicken not crispy? This could be due to wet chicken, low oil temperature, or too much chicken in the pan. Be sure to dry the chicken, preheat the oil until it shimmers, and fry in batches.
Can this be made in advance for a large crowd? Once fried, you can place it on a wire rack and leave in a 200°F oven for 30 to 45 minutes. It won’t be quite as crunchy as right out of the fryer, but will still have a good amount of crunch.
What kind of frying pan is best to fry chicken? For better results, cast iron is best because of its superb browning, and even heat distribution. Also heavy stainless steel is really good. Nonstick pans can be used, but the results will not be as good, the browning and crust will not be as good.
Closing Thoughts
An easy and enjoyable recipe is pan-fried chicken. Once you learn the basic steps (dredge chicken, season flour, hot pan, wait), it feels more like a dependable task than a ‘project’. The smell is strong enough to warrant the cleaning of the pan.