
There are two categories of nachos in the world. The First has a nicely melted and toasted cheese layer that sits over a sad pile of plain tortilla chips who are awaiting a destiny that will never arrive. The second has two layers, and all chips receive beans, cheese, and at least some of everything else. The difference between the two is one single step that takes about ten more seconds, but changes the whole game.
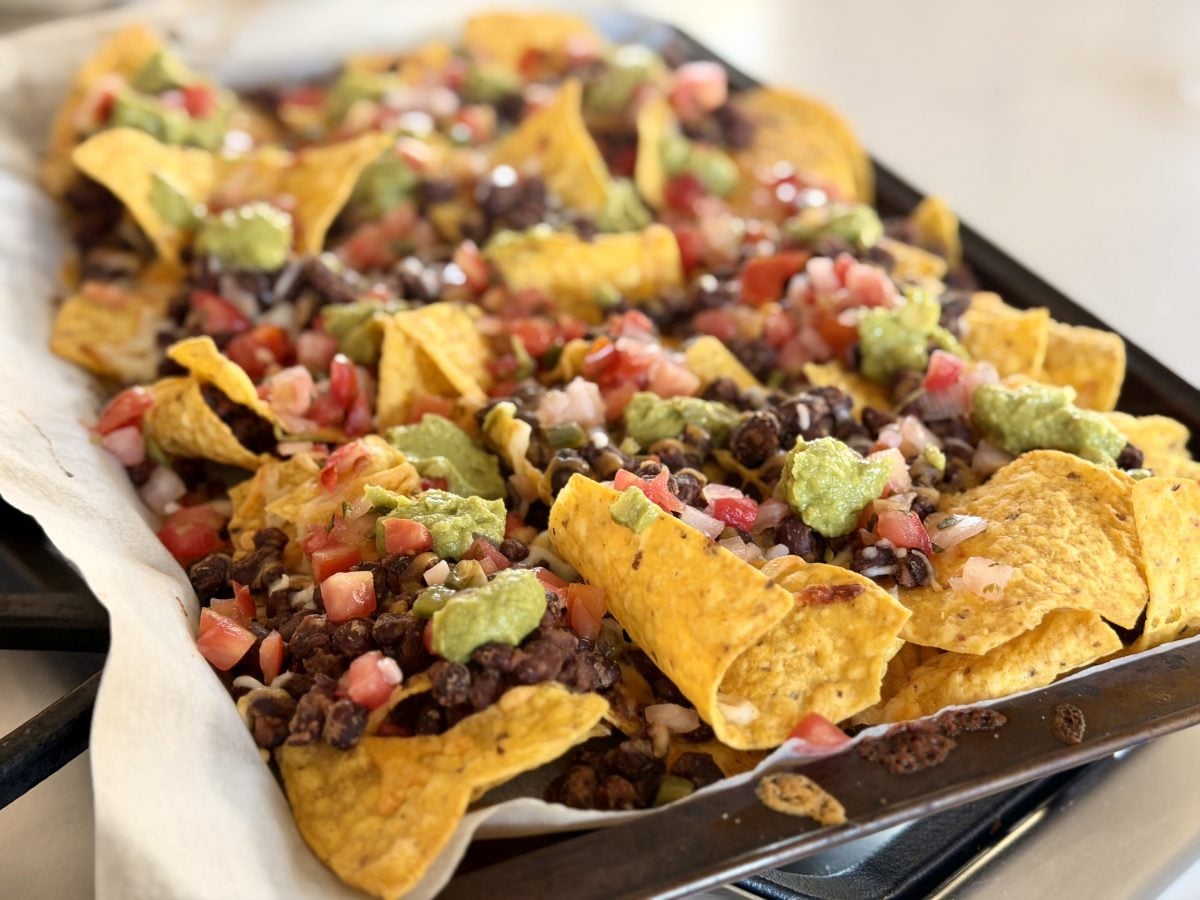
This is the second kind of black bean nachos recipe. In this case you’re doing double layers instead of single. Do half of the chips, half of the beans, half of the cheese, and then repeat. This creates a sheet pan where every square is used, so the bottom row isn’t a desert. It takes about 15 minutes and tastes like the nachos you used to get at a bar, but better, because you can broil them for the perfect amount of time at home.

At a Glance
- Two-Tier Black Bean Nachos, stripped to basics: Sheet-pan black bean nachos built in two tiers so every chip gets cheese, beans, and toppings. Place hot items in the oven and cold items on top just before serving.
- Reasoning: Mashing about one third of the beans assists in their adhesion to the chips. Two layers aid in the evenly distributed coverage. Combining the Cheddar and Monterrey Jack provides the flavor you want as well as the desired stretch when melted.
- Duration: Roughly 15 minutes from start to finish. The majority of this will be time spent in the oven.
- With one chip, you get an earthy flavor profile that combines black beans, cumin, and lime, as well as salt of melted cheese, freshness of diced tomatoes, avocado, and sour cream, plus the crunch and salt.
- Important tips include rinsing the beans until the water is clear, mashing a third of them so that they stick to the chips, grating your cheese fresh, and never leaving the broiler unattended.
Ingredients
Nachos are usually considered to be a dish that does not have rules. However, this should not be the case. When differentiating between good nachos and bad nachos, the five most important decisions to consider are: the type of chips, the type of cheese, treatment of the beans, the sequence of the toppings, and layering of the hot and cold toppings. If you get these decisions right, the rest are fair game.
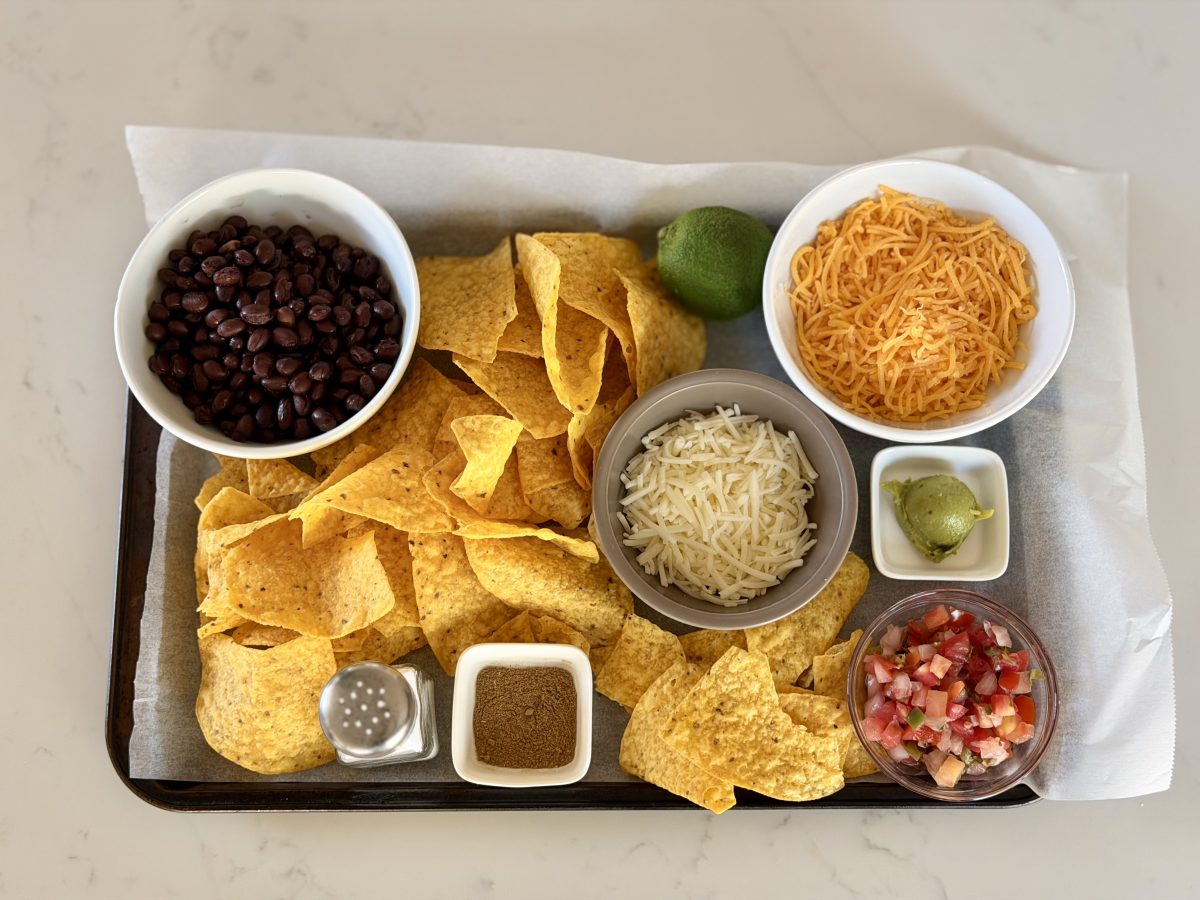
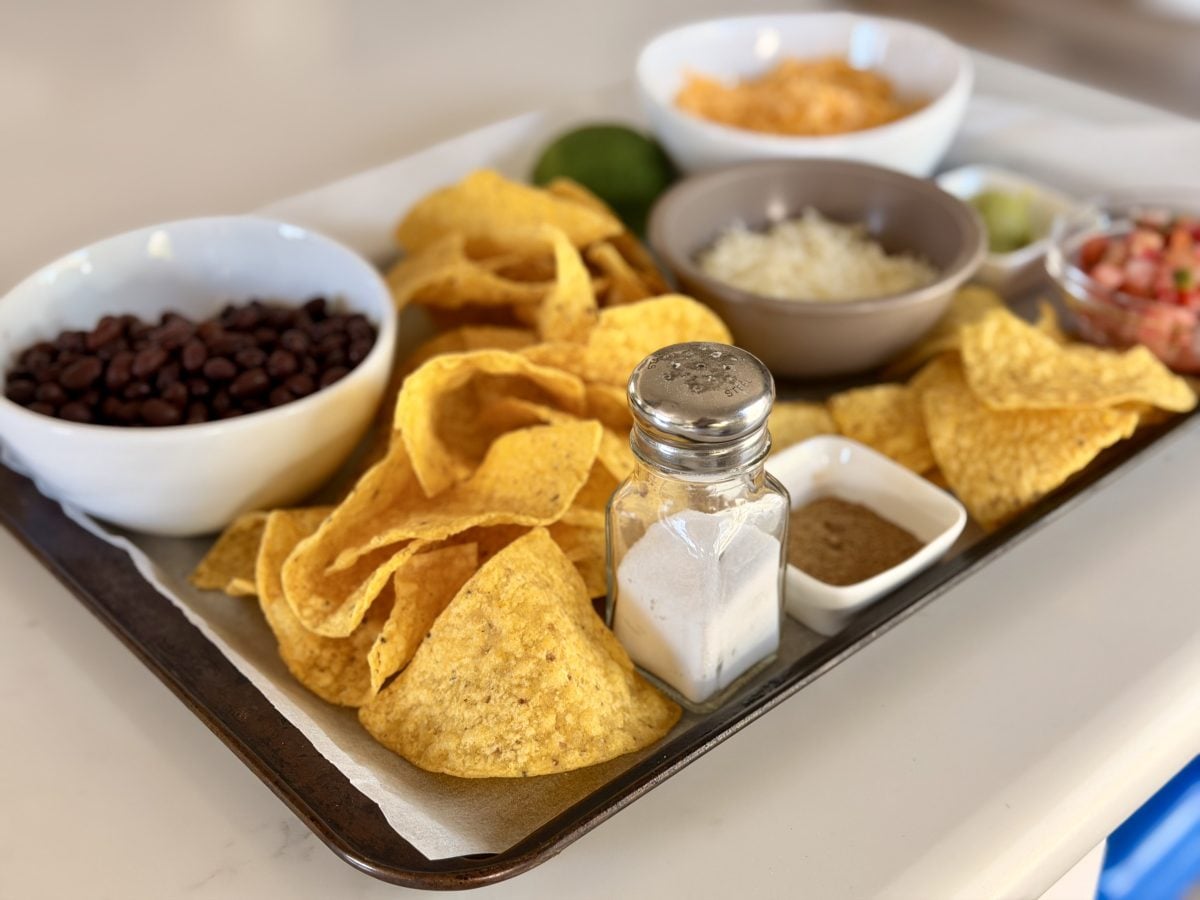
- Tortilla chips (1 large bag, around 10 oz): Select a bag labeled as restaurant-style, as they are thicker and more durable. Thin chips from the grocery store are more likely to break and become dust as you serve the toppings. Look for a bag of chips that are sturdy enough to hold a scoop of beans without collapsing.
- Black beans (1 can, drained and rinsed): To eliminate the metallic taste, rinse the beans thoroughly after removing them from the can. Don’t skip the rinse and dump the beans in straight from the can. Use pinto beans as an alternative. If you want maximum stickiness, you can even use refried beans.
- Cumin (1/2 teaspoon): The earthy essential of any quick bean seasoning. Toast it briefly in a dry pan for added warmth and depth.
- Lime (1, juiced and zested if you want extra): Use a squeeze in the beans and a squeeze over the top at the end. If you want to use lime juice from a bottle, you can, but it tastes flat compared to fresh juice.
- Salt: Add a small amount to the beans. The chips are salted, cheese is salted, toppings are salted, so it accumulates quickly. Season the beans lightly and adjust at the end.
- Shredded cheese (2-3 cups): The combination of sharp cheddar cheese and Monterey Jack cheese is the best choice. Cheddar adds the flavor, while Jack adds the stretch and melt. Make sure to grate the cheese fresh from the block. When cheese is bagged and pre-shredded, it gets coated in an anti-caking starch (either potato or cellulose), which causes the cheese to melt in a noticeably less smooth way.
- Hot toppings (optional): Sliced pickled or fresh jalapeños, thinly sliced red onions, leftover taco meat, carnitas, chorizo, shredded chicken, sautéed corn…. Any of these toppings that benefit from oven heat should be added before baking.
- The optional cold toppings that could be added post-oven include: salsa or pico de gallo, diced avocado or guacamole, sour cream or Mexican crema, chopped cilantro, sliced scallions, and lime wedges; as well as a small bowl of pickled jalapeños for the heat seekers.
Master Ratio (Easy To Scale)
For 1 large bag of chips (approximately 10 oz), you will need: 1 can of black beans, 2-3 cups of shredded cheese, 1/2 tsp of cumin, 1 lime, and a pinch of salt.
If you are now feeding 6-8 instead of 3-4, then you will need to double the ingredients and utilize two sheet pans on two different oven racks. Make sure to swap the two pans halfway through the cooking time.
What are the instructions for cooking for two people in a 10 inch cast iron skillet? Use half a bag of chips, half a can of beans, approximately 1 cup of cheese, and the same amount of cumin and lime as before. Since cast iron pans retain heat very well, check it at 6 minutes rather than 7.
Ingredient Choices That Change Flavor
| Choice | What you’ll notice | Best for |
|---|---|---|
| Black beans | Earthy, hearty, holds shape | The classic; most flavor depth |
| Pinto beans | Milder, creamier when mashed | A softer, less assertive bean |
| Refried beans | Spreadable, sticks like glue | Easiest layering; less bean texture |
| Sharp cheddar | Bold, salty, classic | The flavor anchor |
| Mild cheddar | Softer, kid-friendlier | When the heat from jalapeños is already on |
| Monterey Jack | Stretchy, smooth melt | The “stretch” pull in every bite |
| Pepper jack | Same melt, a low burn | When you want the cheese itself to bring heat |
| Oaxaca or queso quesadilla | Stretchier, milder, more authentic | The most Mexican-style melt |
| Restaurant-style chips | Sturdy, hold up to toppings | The default; what you want |
| Thin grocery chips | Snap under weight, turn dusty | Avoid for nachos; fine for dip |
| Blue corn chips | Sweeter, slightly grittier | Color variety; same structure |
| Fresh jalapeños | Sharp, grassy heat | If you want fresh bite |
| Pickled jalapeños | Tangy, mellow heat | The diner-bar classic |
| Pico de gallo | Bright, chunky, fresh | The default cold topping |
| Salsa verde | Tomatillo-bright, mildly tart | A different acid; great with chicken nachos |
Optional Add-Ins (To Make It a Real Meal)
- Cooked shredded chicken (1 cup): Turns nachos into a full meal and adds protein. Toss with a little salsa before adding it, to prevent it from drying out under the heat.
- Carnitas or chorizo (1/2 lb, cooked): To be crumbled or shredded and scattered on the second layer.
- Roasted corn (1/2 cup): provides some sweetness and visual appeal. For best results, quickly char in a dry skillet first.
- Black olives (1/4 cup, sliced): Nostalgic. Salty bite is especially good with cheddar.
- Pickled red onions (1/4 cup): Add with the cold toppings at the end. They are bright and sharp and provide an excellent contrast to the rich cheese.
- Adding a spoonful of taco seasoning to the beans brings the flavor closer to a taco. Even a half teaspoon is enough to do the trick.
Instructions
Please gather the following items before we get started: a sheet pan (ideally with a lip around the edge, as this will help prevent the beans from rolling off), some parchment paper or foil to make cleanup easier, an oven that has been preheated to 400°F, and a flexible serving spatula. If you are working with a smaller batch, you can use a cast iron skillet. It has a nice appearance and can go from oven to table, so you won’t need a serving dish.
1) Line a rimmed sheet pan with foil or parchment and set your oven to 400°F.
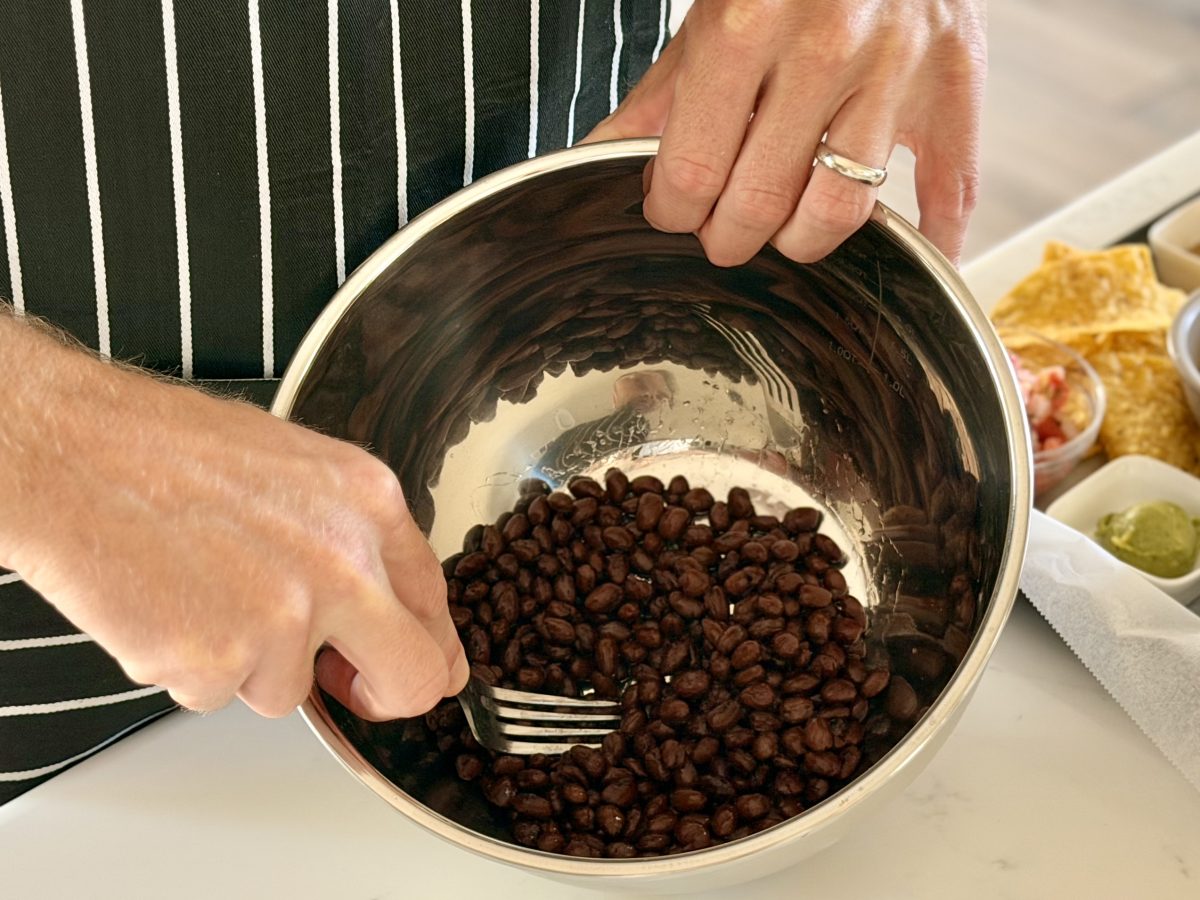
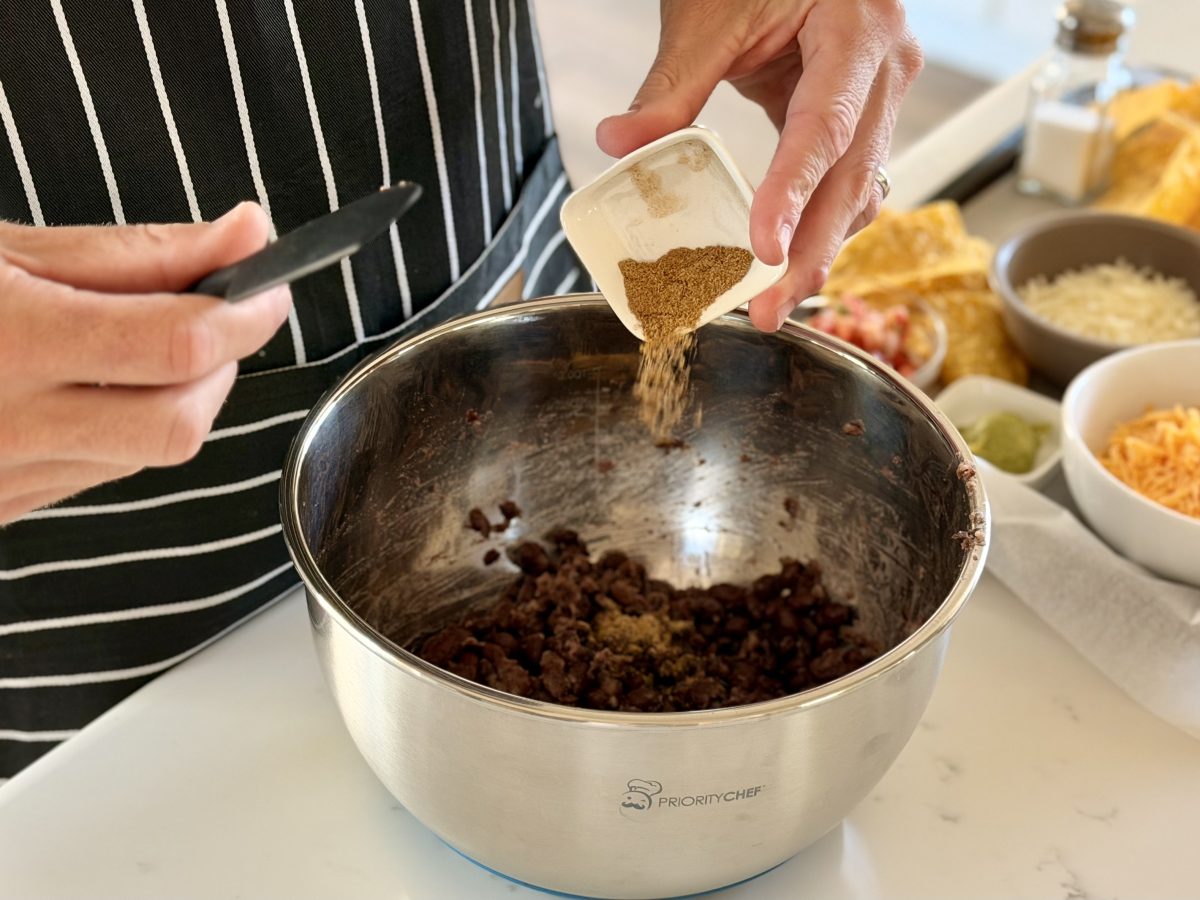
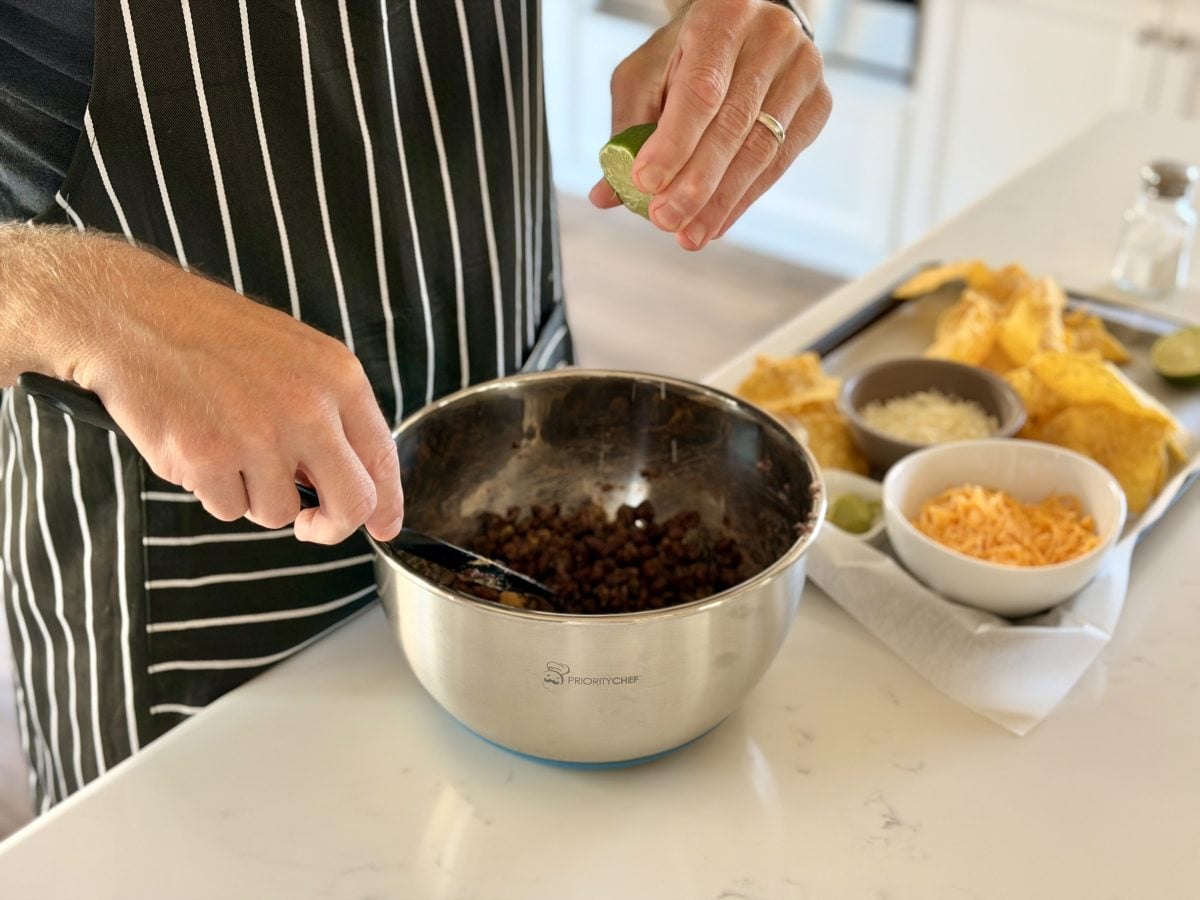
2) Season the beans after draining them. The reason nachos have a slight metallic flavor is due to the liquid found in the can, so drain, rinse, and wash your beans until the water is clear. Dump them in a bowl, and mash approximately a third of the beans with a fork so that they stick to the chips instead of rolling off. Then add a little bit of salt, half a teaspoon of cumin, and a squeeze of lime.
3) Construct the first layer. Place half of the chips down on the pan in what will be a mostly single layer. Then, distribute half of the beans, and top it with half of the cheese.
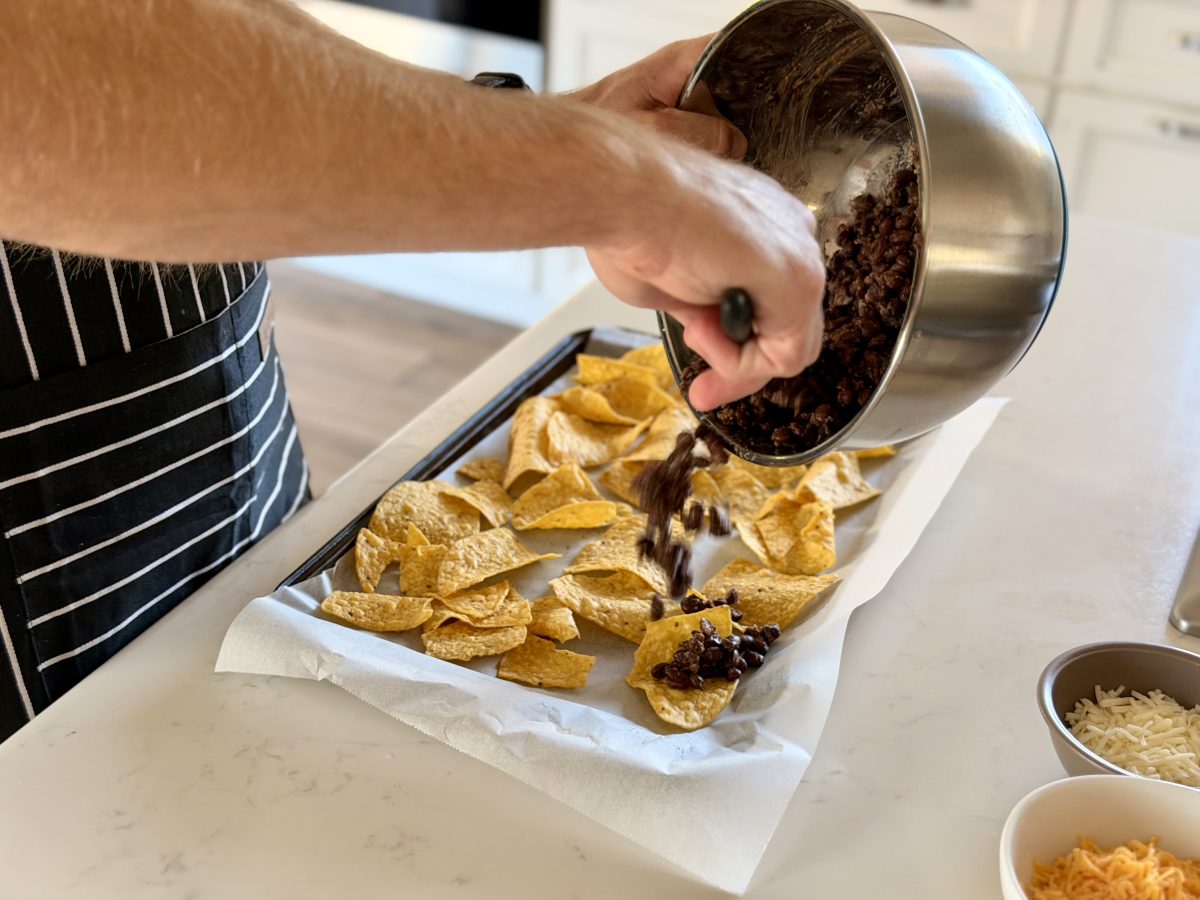
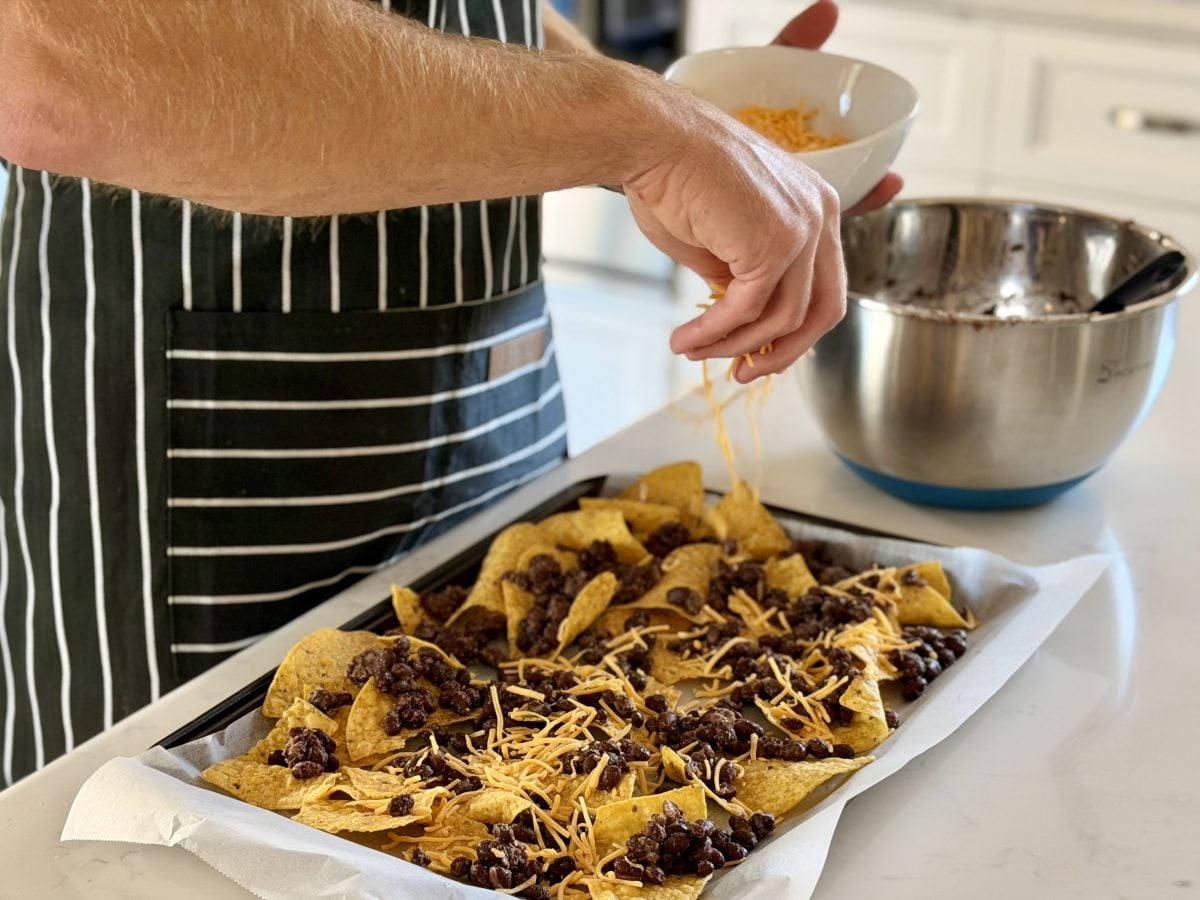
4) Construct the second layer. Use the remaining chips, beans, and cheese to finish the layer. Double layers mean every chip gets cheese; single layers mean one dry and sad bottom chip. For best melting cheese, mix sharp cheddar and Monterey Jack. White cheddar is great for flavor, but Monterey Jack gives the needed melt and stretch.
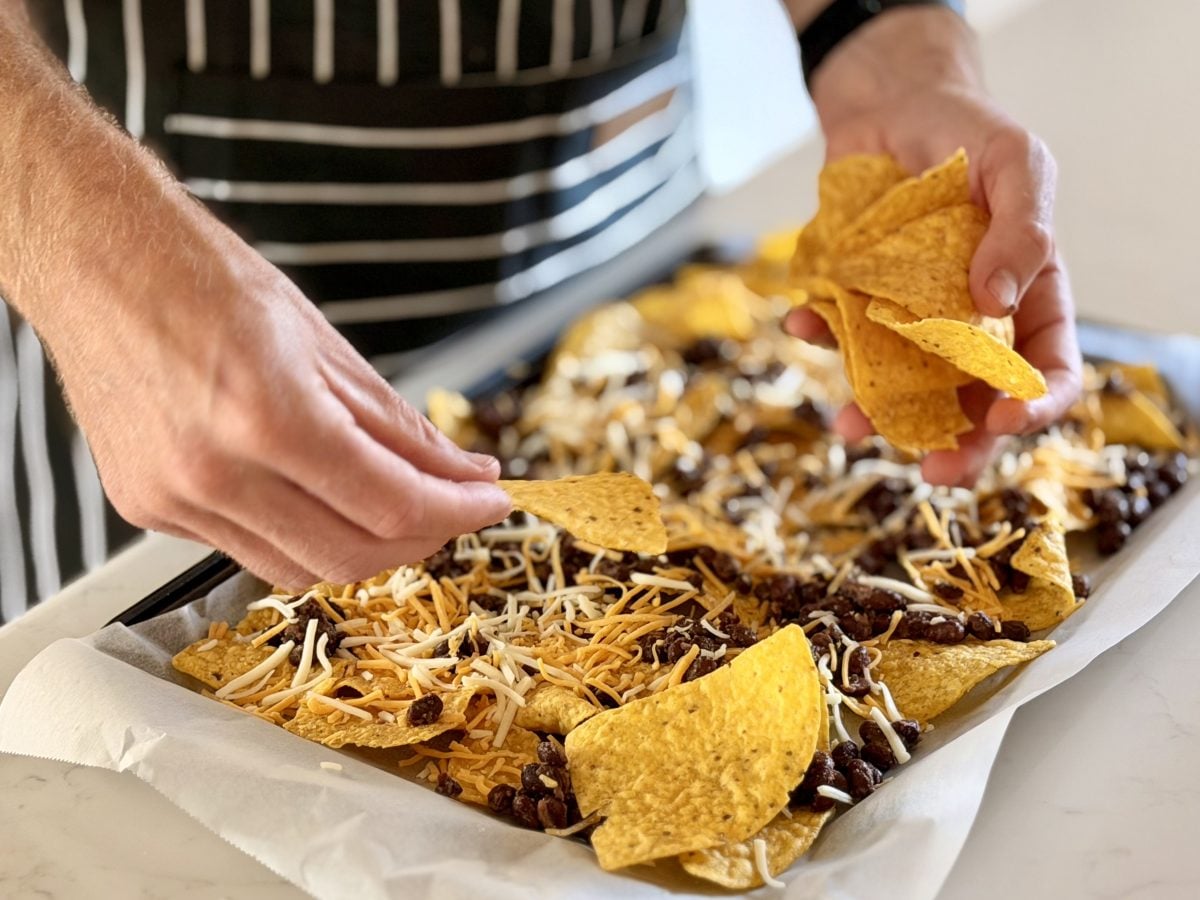
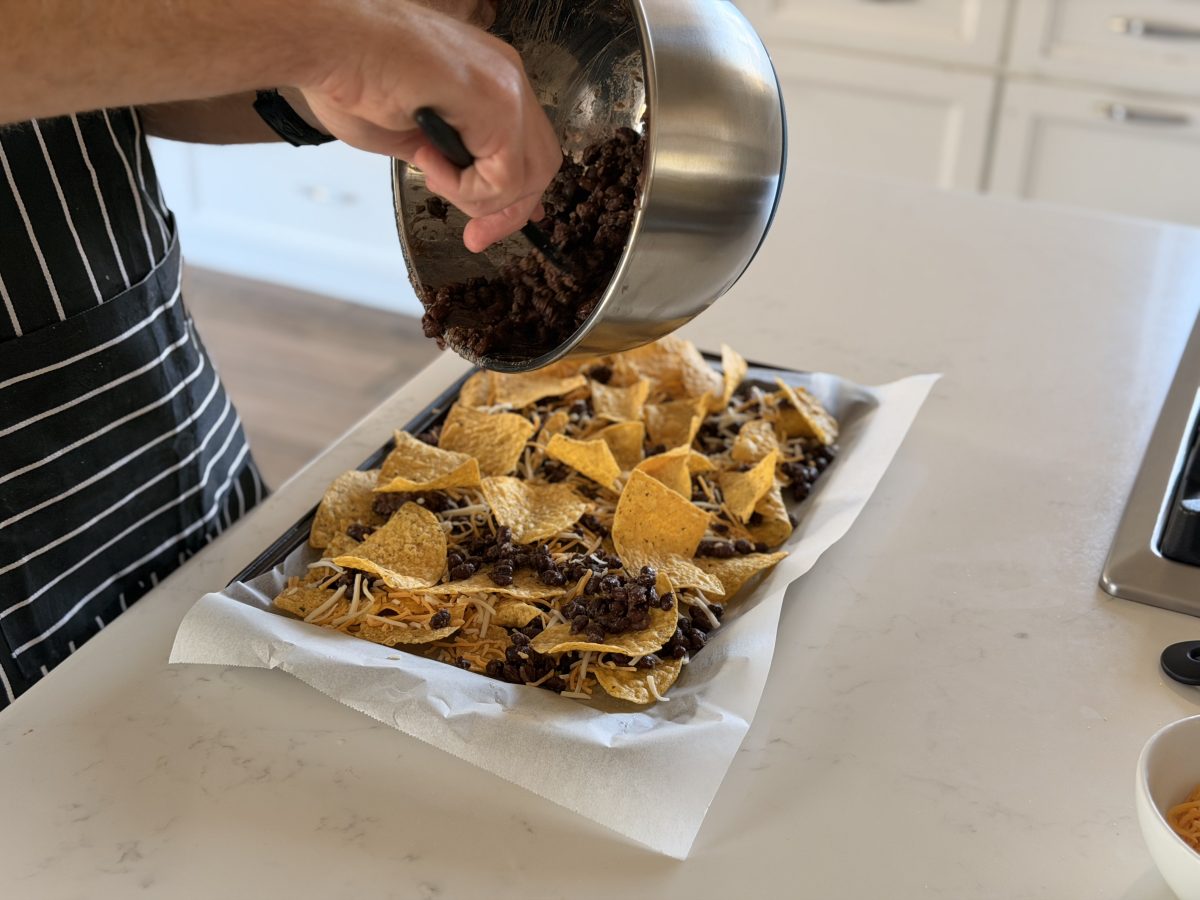
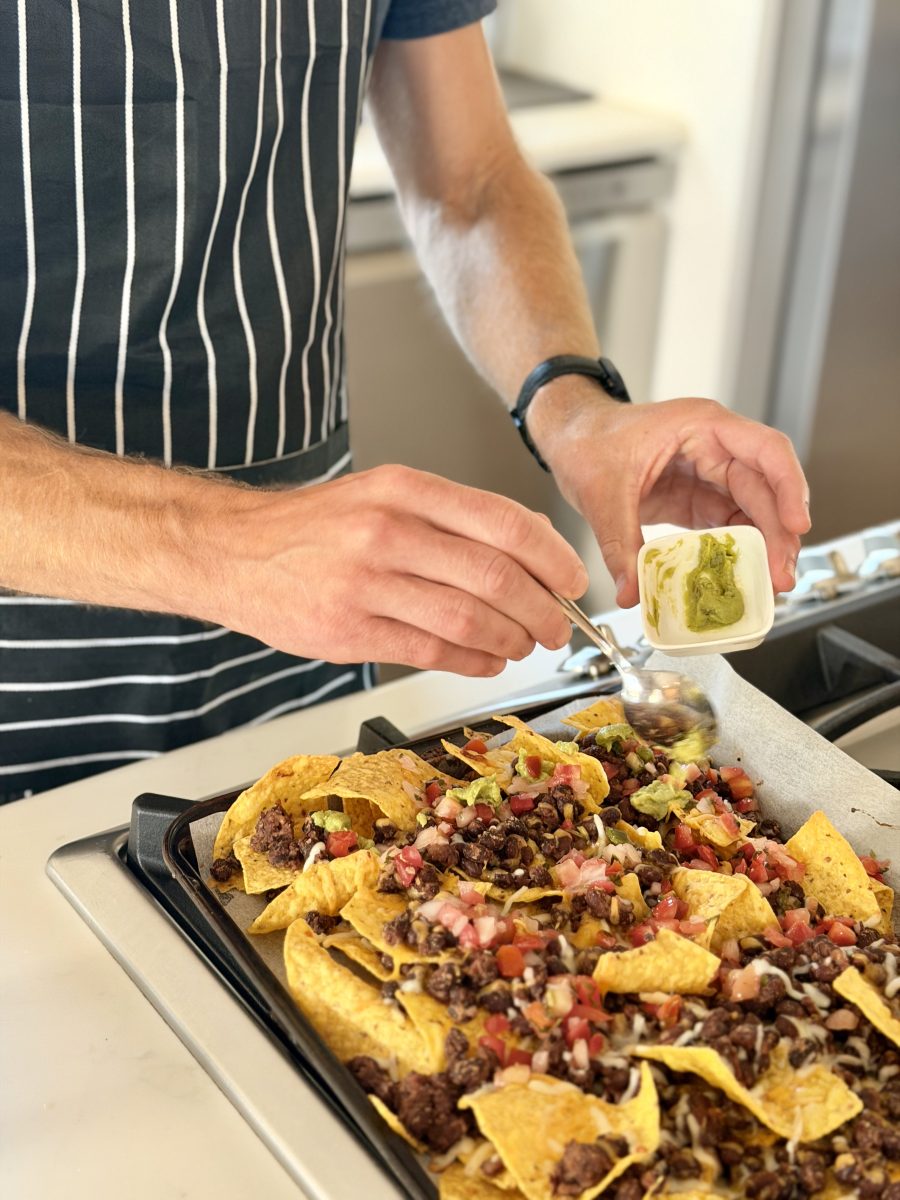
5) Incorporate the warm toppings. At this point, add any items that will be heated by the oven such as sliced jalapeños, red onion, or any remaining meats such as carnitas, chorizo, or shredded chicken.
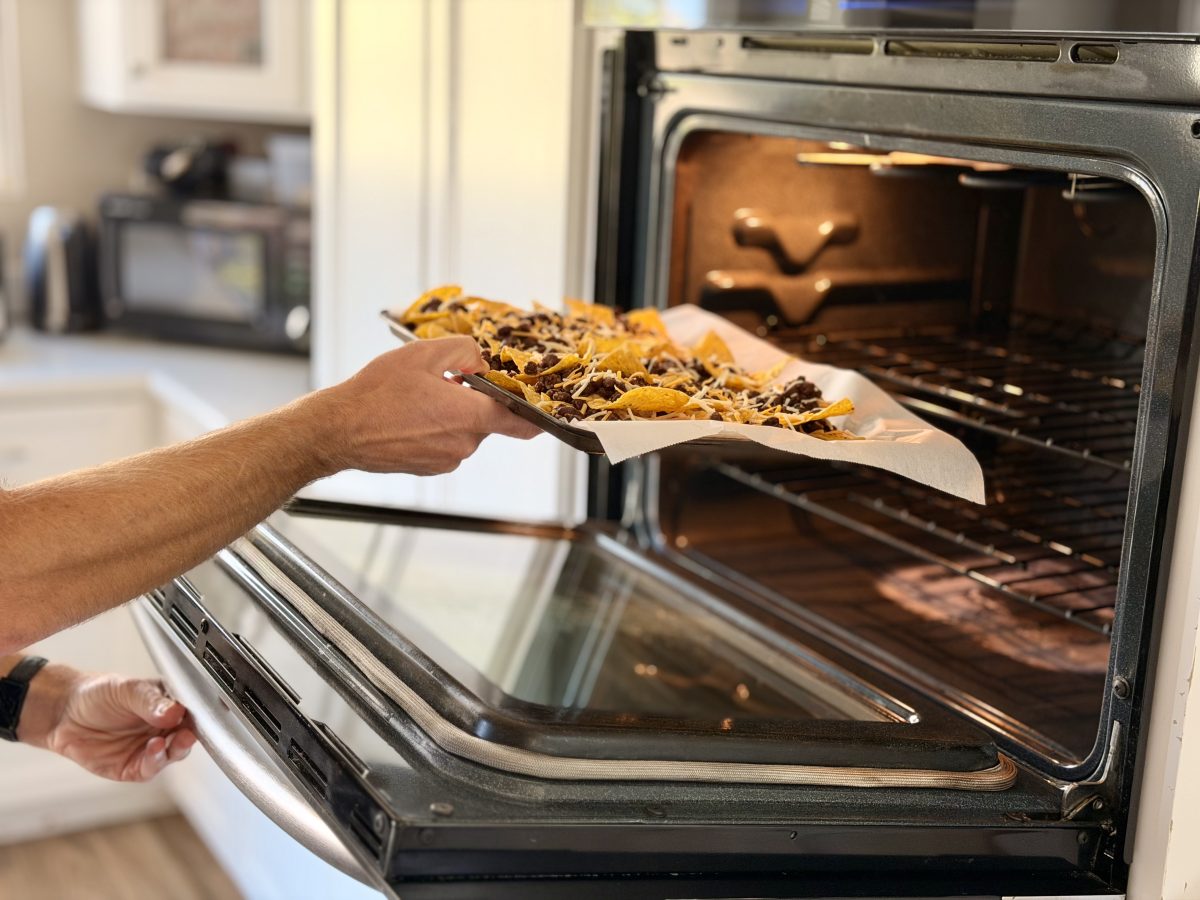
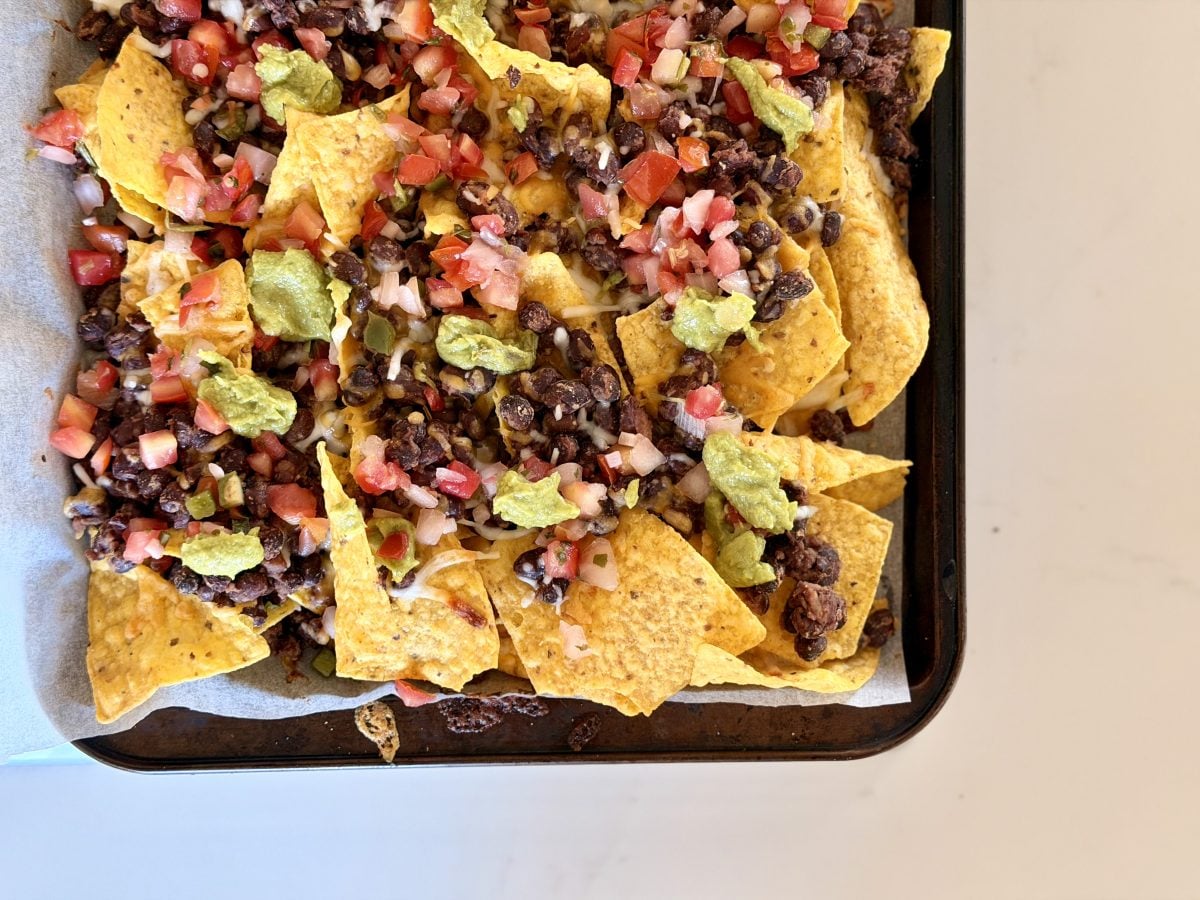
6) Bake until bubbling. This should take around 7 to 10 minutes or until the cheese is fully melted and scallops are bubbling at the edges. If you would like the tops to be browned, finish under the broiler for 30 to 60 seconds. Just be sure to watch the whole time as broilers and nachos are not a great combo.
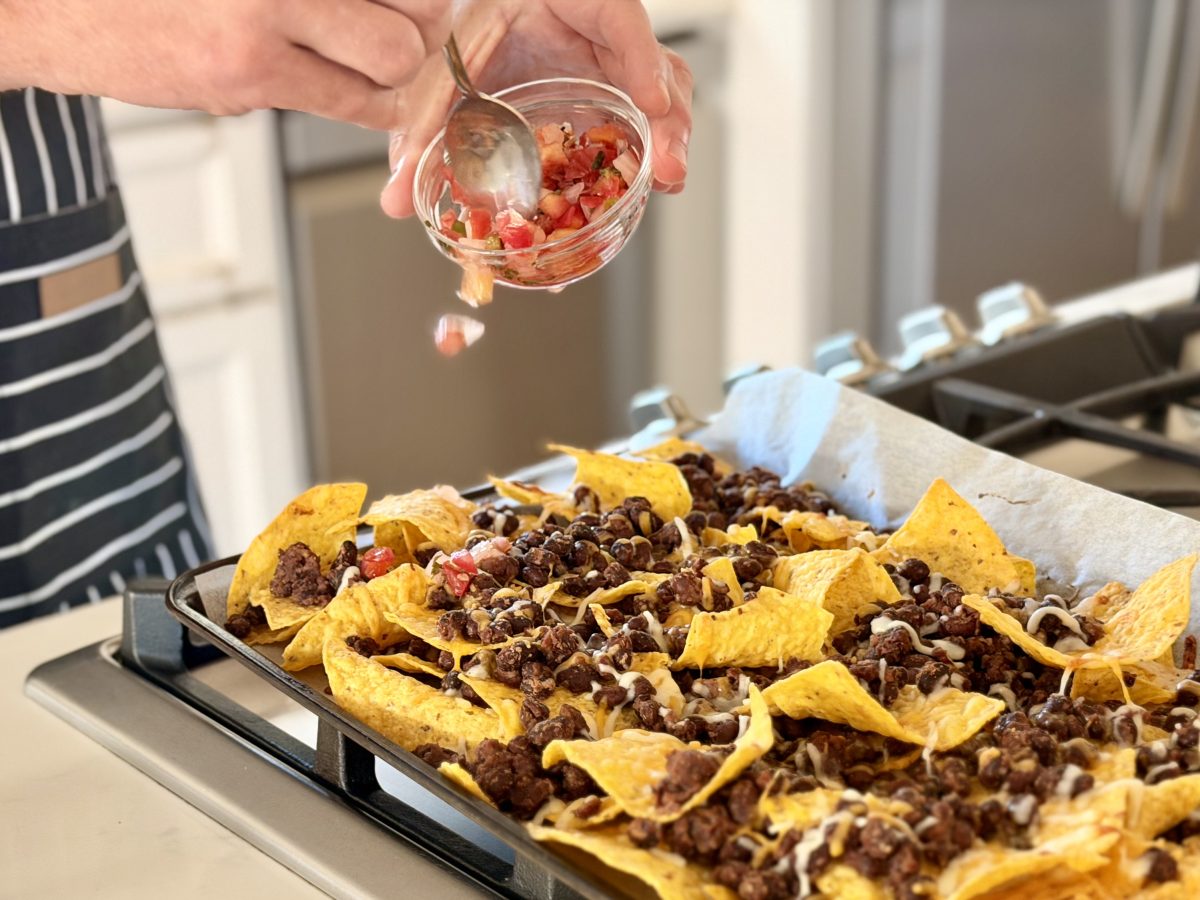
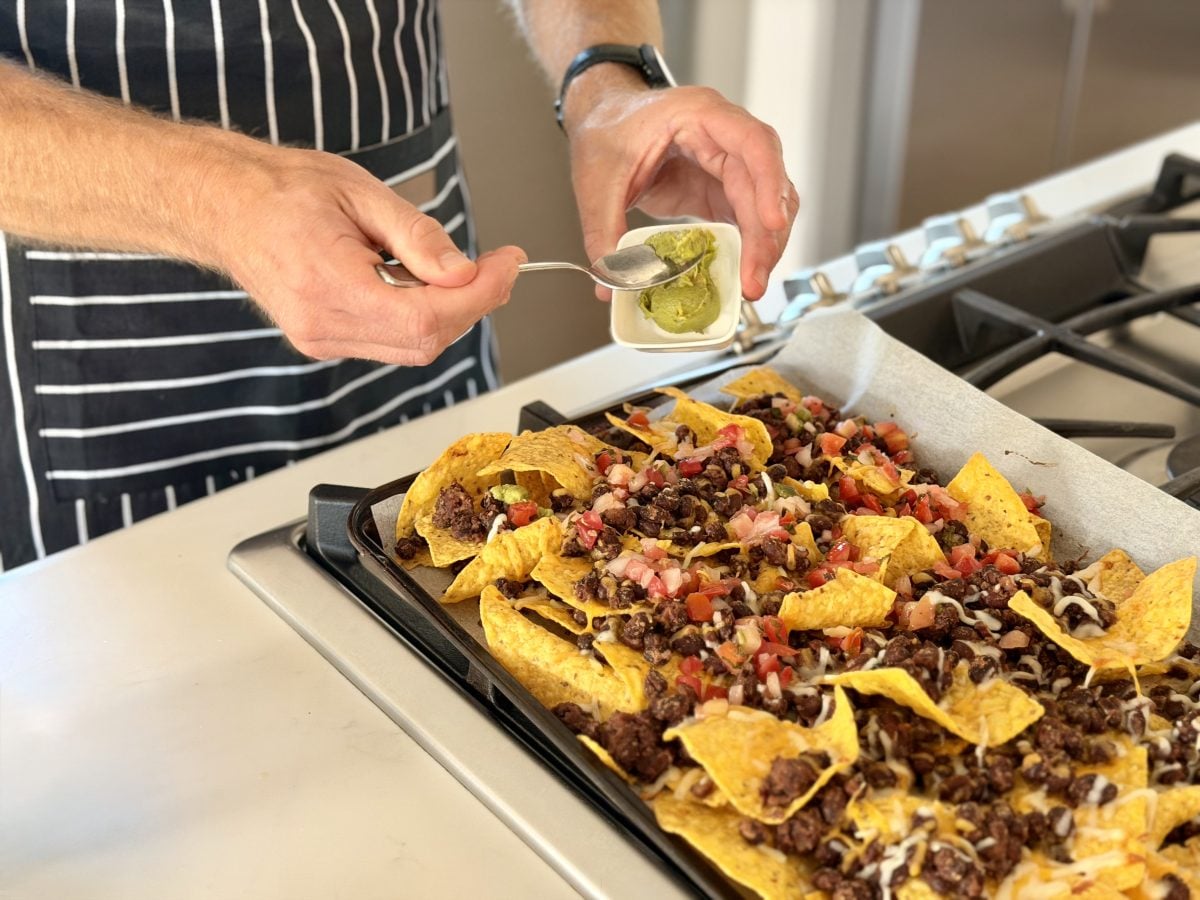
7) To complete the dish, add the remaining cold toppings and serve in the pan. These include salsa, pico de gallo, avocado or guacamole, sour cream, cilantro, green onions, and lime. In a culturally appropriate move, take the pan to the table and allow people to serve themselves from the stack of individual plates. Sharing the nachos is much more satisfying than being served individually plated nachos, which feels disappointing.
Spins and Swaps
- Loaded chicken nachos: For the second layer, include 1 cup of shredded rotisserie chicken mixed with a couple of tablespoons of salsa, and transform this into a complete dinner.
- Carnitas Nachos: After baking, crumble 1/2 lb. of cooked carnitas across all layers. Then, add a small handful of the pickled onions.
- Breakfast nachos: Bake as written, then top with two fried eggs and a few crumbles of cooked bacon. Brunch’s loud cousin.
- For vegan nachos, you can use a decent vegan shredded cheese like Violife or Daiya as they melt relatively well. Instead of sour cream, add cashew crema or more guacamole.
- Sheet pan to skillet: Construct the entire dish in a 10-inch cast iron pan if serving 2 people. Less food means less mess, plus an impressive presentation on the table.
- Tex-Mex bean nachos: Combine black and pinto beans and mix with 1/2 tsp of chili powder and some cumin. This will give them a bolder, more diner-style flavor.
Rounding Out the Plate
- A margarita and a Mexican lager is the obvious pairing, for obvious reasons. A salt-rimmed margarita and nachos are one of the most universally accepted dinner combinations in the country.
- A green salad with lime vinaigrette provides a refreshing balance and cuts the richness of the other dishes being served, especially if this is a dinner service rather than a snack service.
- Elote or street corn off the cob: Includes charred corn with mayo, cotija cheese, lime, and chili powder.
- A bowl of black bean or chicken tortilla soup, alongside. Nachos can be considered the bread course of a Mexican-inspired meal.
- For those who want additional crunch and acidity at the table, we have pickled jalapeños and a small bowl of pickled red onions.
- A bowl of chunky guacamole and another bowl of pico. Even though the pan already has both, more is always welcome. No one complains about a pile of fresh guac.
Trouble Spots and Tips
- The bottom layer of chips is dry because you went with a single-layer construction instead of a two-tier build. In the future, try a half-the-chips / half-the-beans / half-the-cheese, and then repeat. The two-tier construction is the single greatest differentiator between outstanding nachos and just warm nachos.
- The cheese failed to melt correctly. It’s almost always pre-shredded bag cheese. The anti-caking agents keep it from flowing properly. Grate from a block, you’ll see the difference immediately.
- The cheese burned without melting all over. Either your oven runs hot, or you hit the broil button with reckless abandon. Set it to 400°F for a few, then broil for 30 seconds max, and keep an eye on it the whole time. Under the broiler, cheese goes from “almost there” to “smoke alarm.”
- The beans have a metallic taste. You probably didn’t rinse them enough. Drain the beans, and rinse them under cool water until the water becomes clear. It usually takes more rinses than people expect.
- Because the toppings made the chips soggy, it seems like you added cold toppings prior to baking, or used wet toppings (salsa, pico, etc.) too liberally. Be sure to save salsa, pico, sour cream, and avocado for AFTER the oven. The oven should only be used for cheese and bean nachos, everything else that is best cold goes on the table.
- You pooled the cheese. You should sprinkle the cheese instead of making a pile. The cheese should be spread across the entire chip layer, including the edges. If the edges remain uncovered by cheese, they will be dry. Additionally, cheese that is piled in the middle will burn.
- If you don’t want to look for specialty cheese for a smokier taste, you can add 1/4 tsp of smoked paprika to the beans or, as a hot topping, you can use some crumbles of cooked chorizo.
- The size of the bag of chips is larger than the size of the pan. Instead of using one overloaded pan, use two sheet pans on two racks. Overloading the pan will cause the contents to bake unevenly.
- I plan to complete some of this work in advance. You can prepare the beans and cheese the day before. However, do not layer any of the chips or cheese in advance, as the cheese and cold chip layering will create steam that causes the chips to become soggy. Bake it just before serving.
Leftovers, Storage, and Reheating
Nachos aren’t meant to be healthy but you can make a healthier version at home compared to the bar. At home you can control how much cheese you want to put on the nachos and you can make it a lot healthier by not using a deep fryer. Black beans are also great because they have a lot of protein and fiber.
A reasonable serving would be about a quarter of the pan. If you add a generous spoon of pico and a quarter of an avocado on top you would get about 25 grams of protein and a good amount of plant fiber. If you are watching your sodium levels you can use unsalted or lightly salted chips and cheese. Pre shredded cheese and chips have a lot of sodium so that can be a problem.
Leftovers do not keep well. Chips will lose their crunch as soon as they get wet toppings. If you want to keep some, take the meat and beans off the nacho pan and put them in separate containers. You can rebuild it on new chips tomorrow.
If you used parchment paper, the cheese should pull off nicely; however, if you used foil, it may stick. You can also freeze the seasoned beans (without chips or cheese) in an airtight container and they will stay good for 2 months. You can then reconstruct fresh nachos in 15 minutes.
Stop following recipes. Start understanding them.
20 video cooking lessons from Nathaniel. $27 one-time, lifetime access.
Times I’ve Made This
First attempt: On Friday night, a couple of families came over, unannounced, which was both a logistical surprise and exactly the kind of dinner emergency a sheet pan of nachos was invented for. Luckily, I had a block of cheddar, a can of black beans, and chips.
Nacho time! I put the pan down on the kitchen island and three kids and four adults formed a semicircle around it with their small plates. Fifteen minutes later, everyone served themselves and the pan was empty in twenty minutes. We never made it to the living room.
I had a friend who had been very loudly trying to ‘eat better’ and had declined a snack I offered him every time, so I brought these for him to try to eat better. I said they were ‘mostly beans’, which they sort of are, and he ate maybe a quarter of the pan. The next day he texted me wondering if it is appropriate to have nachos for breakfast. I said it definitely was. Because of the beans, it feels more like a meal than a snack, and you can eat a lot of them without feeling guilty.
The Short List
- Preheat the oven to 400°F and line a rimmed sheet pan with foil or parchment paper.
- Drain and rinse one can of black beans until the water runs clear.
- Mash approximately one third of the beans, then add some salt, half a teaspoon of cumin, and a small amount of lime juice.
- Grate two to three cups of fresh cheese (sharp cheddar and Monterey Jack).
- Layer one includes: chips, beans, and cheese.
- Layer 2: remaining chips, beans, cheese.
- Add any hot toppings (jalapeños, meat, onion).
- Bake for 7-10 minutes and then broil for 30-60 seconds to achieve desired color.
- Finish with shredded cheese, cold pico de gallo, guacamole, sour cream, chopped cilantro, sliced scallions, and lime.
- Carry pan to table; eat communally.
Cook’s Vocabulary
- Pico de gallo is a thick, uncooked salsa that consists of tomatoes, onions, jalapeños, and cilantro, as well as lime juice.
- Carnitas: Shredded, slow-cooked pork that is seasoned with spices and citrus, and perhaps crisped on the edges in a hot pan before being served. It is a classic topping for nachos.
- Cotija is a cheese type from Mexico. It is dry and crumbly while having a salty taste. It is akin to feta cheese. It is used as a finishing cheese and added on top.
- Crema is a Mexican style sour cream. It is thinner and more tangy than American sour cream. If you can’t find it, sour cream is a suitable substitute.
- Two-tier build: Each layer is built as follows: half the chips, half the beans, and half the cheese, then repeat. This is why each chip gets cheese.
Common Questions
Why two layers instead of one?
A single stack of nachos with cheese on top reveals the lower half of the nachos. A double tier construction (chips, beans, cheese, chips, beans, cheese) ensures every chip receives a portion of everything. It takes an extra ten seconds, but changes the whole game plan.
Can I make these in a microwave?
Yes, however, the cheese will melt differently than it would in the oven and the chips will not be as crispy as the oven does. If the microwave is your only option, use less cheese, microwave the dish in 30 second intervals at a higher setting, and understand that it will turn out softer as a result.
What’s the best cheese for nachos?
Monterey Jack and sharp cheddar are two cheeses that can be used. Cheddar provides the flavor but Jack provides the melt and stretch. For a more authentic flavor, use Oaxaca cheese or quesillo. Avoid pre-shredded bag cheese; it will not melt as smoothly as cheese that you grate yourself.
How do I keep nachos from getting soggy?
There are three main principles for this dish. First, drain the beans thoroughly and do not mash more than a third of the beans. Finally, make sure to add the cold toppings last. The wet ingredients will be placed in the oven and will cause the chips to become mushy.
Can I use refried beans instead of black beans?
That is correct, and they are easier to distribute uniformly across the chips. To aid in the spreading of the refried beans, you can add 1-2 tablespoons of water or salsa to the beans. This will result in a smoother consistency and less of a detectable bean particulate.
Can I prep this ahead?
Preparation can be done in advance! You can prepare the beans and shred the cheese. However, please do not pre-assemble the nachos. Tip: For best results, wait to layer the chips and cheese until just before baking. You will have to assemble and bake them right before serving.
What’s the ideal pan size?
Typical half-sheet pans measure about 13 x 18 inches and can accommodate an entire bag of chips. A cast iron skillet that is 10 inches wide is best for 2 people. If you have a smaller pan, divide the contents between 2 pans and try to use 2 racks instead of overloading 1.
Can I make these gluten-free?
Almost all tortilla chips are typically gluten-free, but it’s best to double-check the packaging. Everything else in this recipe is gluten-free as written.
Why does the broiler need so much attention?
Broilers can be inconsistent even when using the same oven. In a matter of seconds, cheese can go from “nearly golden” to “actively burning.” Place the oven rack about 6 inches under the broiler, turn the broiler to HIGH, and stay near the oven door. 30 to 60 seconds appears to be the optimal time range.
Closing Thoughts
Nachos are one of those foods that get worse the fancier you try to make them. Just put your faith in the simplicity of nachos. Believe me, the final product is worth it and you will turn a regular Friday night into an unforgettable at-home restaurant quality meal.
The best nachos can even be eaten at dinner, as an appetizer, or even a 10 p.m. snack, and only take 15 minutes to make! The two tier nacho pan is a little slice of joy and something you will end up using way more than you would think.
