To be completely honest, I wanted this to fail. I thought I could just throw some chicken into a pan and act as if the fast food gods haven’t made a nugget that is creamy and pillow like, with a fabric coated sweet and savory breading that clings to the nugget like it’s going into battle. So, after countless attempts (one batch I would prefer not to discuss, some over-salted pickle juice, and a small fit), this recipe is dead on for the bullseye I was aiming for.
There isn’t just one secret and it seems a little bit conspiratorial. In addition to the quick pickle juice brine, you have powdered sugar in the breading and a proprietary flour-starch combination that gets all crispy and crunchy when you fry it, but without the bready coating. You may even end up doing things like keeping pickle brine in the fridge “for nuggets.” Not a bad habit to pick up.
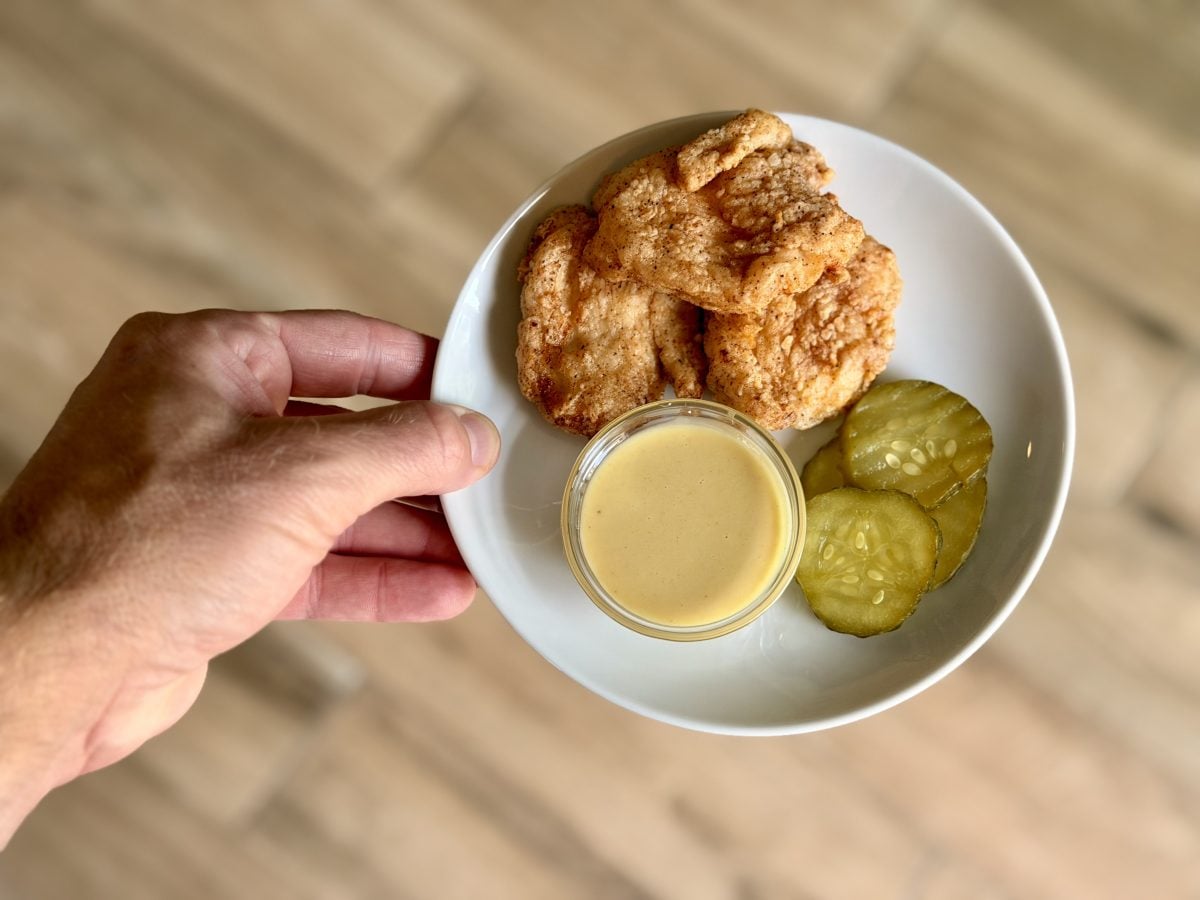

The Quick Rundown
- What you’re making: Bite-sized and pressure-cooker-adjacent (but not required) copycat Chick-fil-A style nuggets offer juicy chicken and a lightly sweet and savory crust, with a clean crunch.
- Why it works: The brine made from pickle juice deeply seasons the meat, while powdered sugar makes a slight contribution to the distinctive flavor. The combination of cornstarch and flour results in a light, crispy coating.
- Time: 15 minutes active time plus 30 minutes brine time (or up to 4 hours), plus 10 to 12 minutes of frying in batches.
- Flavor profile: spicy, slightly sweet, and tangy (not pickley just bright).
- Key tips: Maintain the temperature of the oil at 350°F. Avoid excessive brining. Firmly press the coating onto each piece of chicken. Fry the chicken in small batches and allow it to rest on a rack instead of paper towels.
- Best sauce move: Pair with Chick-fil-A sauce, honey mustard, or a simple combination of mayo with BBQ and a touch of mustard.
Ingredients
The nuggets consist of chicken, brine, and breading. If you have made fried chicken before and it was good, but didn’t have that ‘crave’ factor, it was probably due to chicken seasoning being overdone on the outside of the chicken, or the crust was too thick and doughy. We are solving for both of those issues.
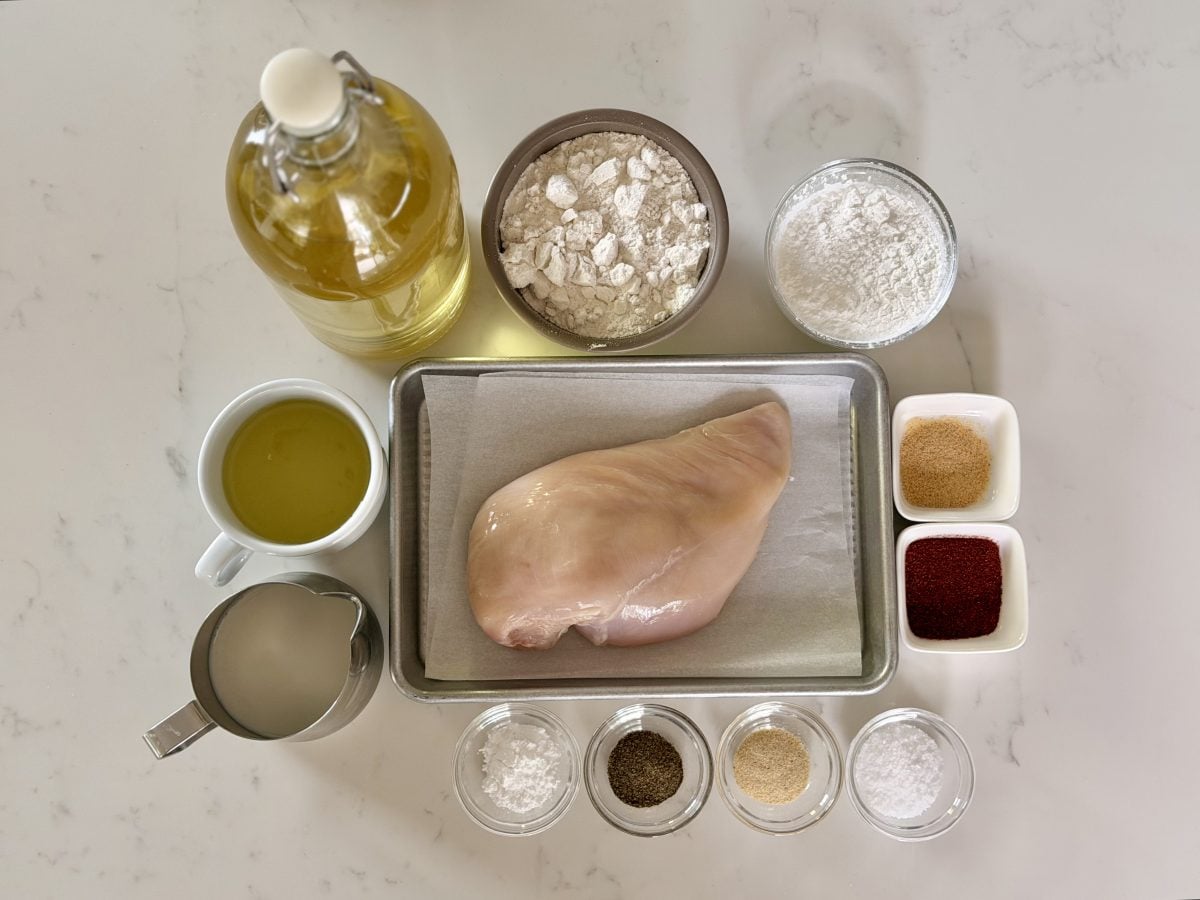
Master Ratio (Easy To Scale)
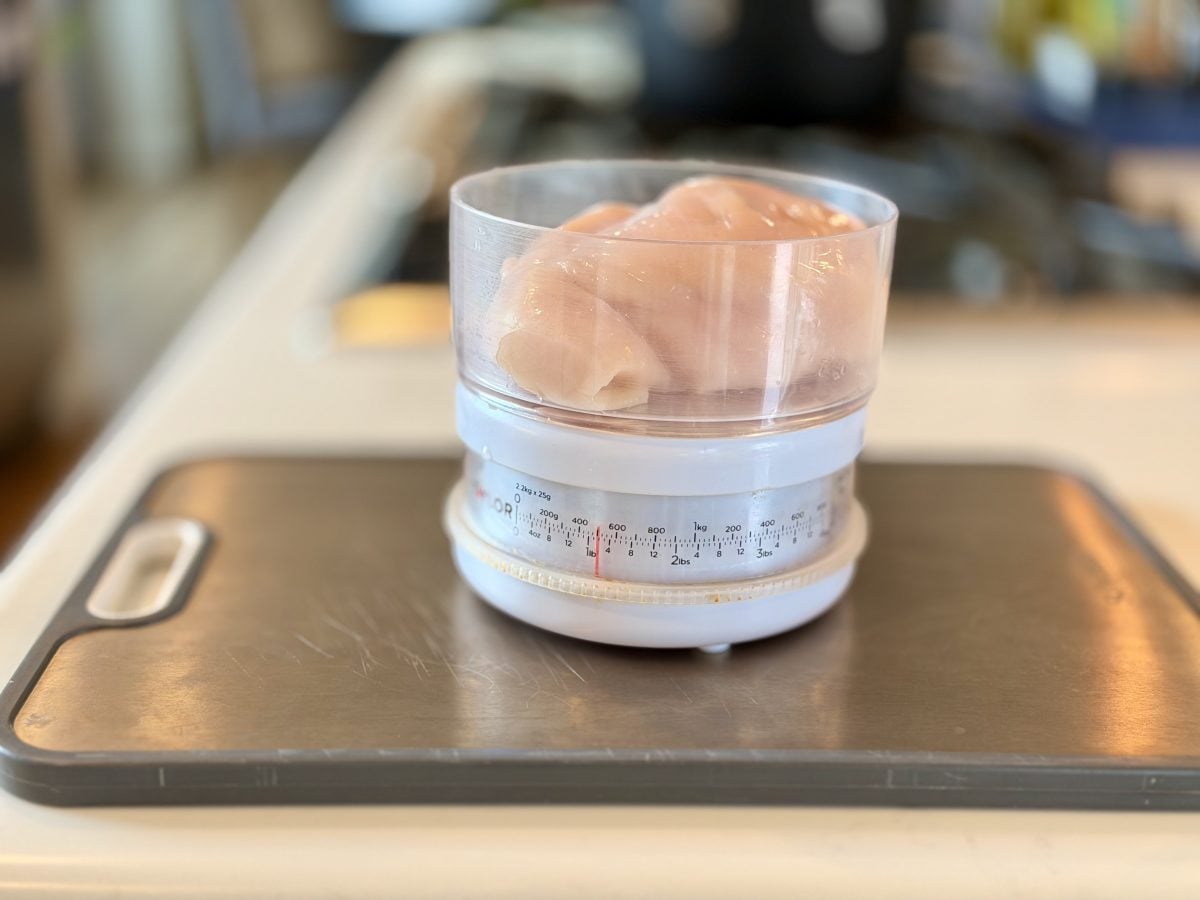
- Chicken: 1 pound boneless skinless chicken breast (or thighs), cut into 1-inch nugget pieces
- Brine: 1/2 cup of buttermilk combined with 1/2 cup of dill pickle juice
- Coating: 3/4 cup all-purpose flour and 1/4 cup cornstarch
- Seasoning: 1.5 teaspoons of kosher salt, 1 teaspoon of paprika, 0.5 teaspoons of black pepper, garlic powder, and onion powder, and 1 teaspoon of powdered sugar.
- Frying: Peanut oil or canola oil to a depth of 1 1/2 – 2 inches
Scaling example: A party-sized batch would require 3 lbs of chicken, 1.5 cups of pickle juice, 1.5 cups of buttermilk, and then you would have to triple the amount of coating/seasoning. When frying make sure you don’t crowd the pot, keep the same frying temperature, but you will have to increase the frying time due to the number of batches.
Ingredient Choices That Change Flavor
While customizing your nugget, you can choose “closest to the original” or “my house version.” I usually go with breasts because they are more ideal for a lean bite, but I do think that thighs make an unbelievably good nugget because they are juicier and a tad richer.
For Serving (Optional but Not Really Optional)
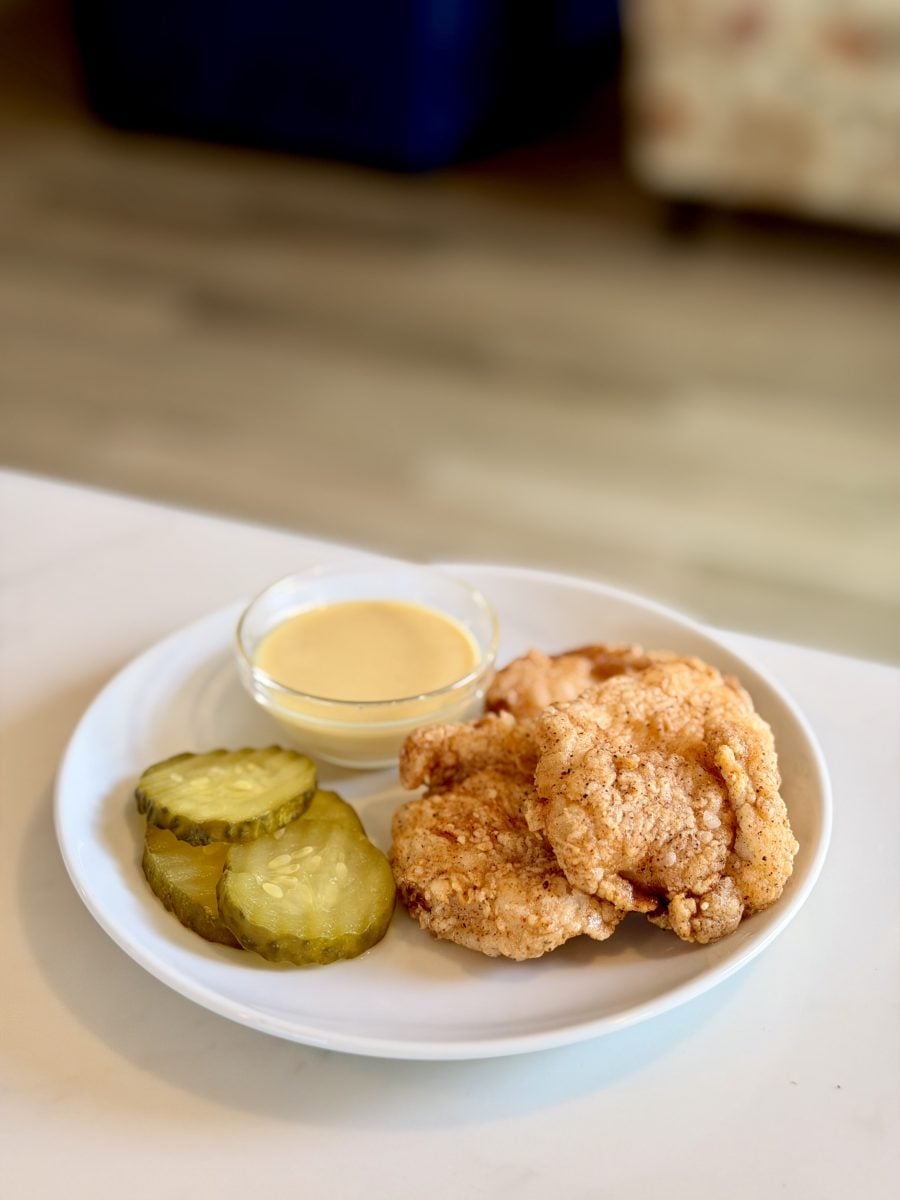
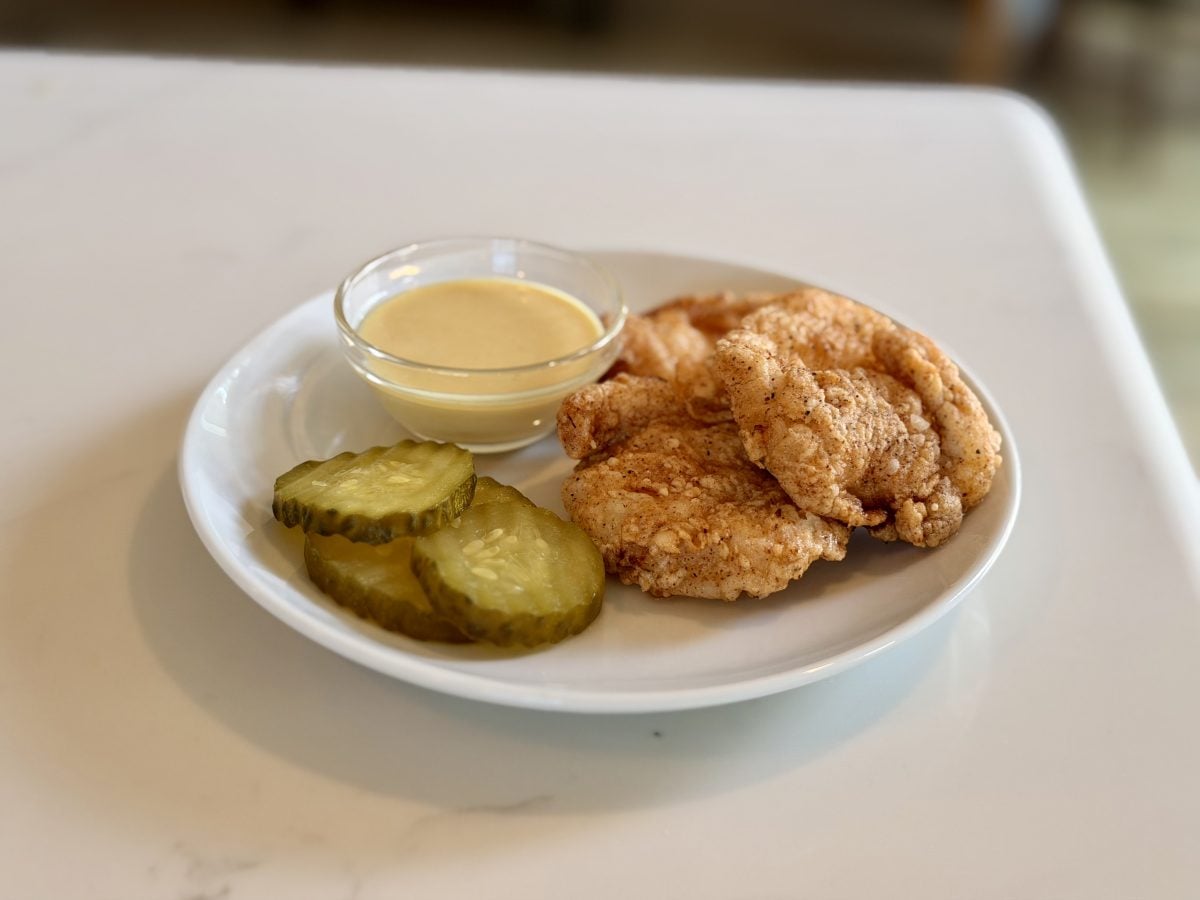
- Chick-fil-A style sauce shortcut: Mix together 1/4 cup of mayonnaise, 1 1/2 tablespoons of barbecue sauce, 1 tablespoon of honey, 1 teaspoon of yellow mustard, and 1 teaspoon of lemon juice.
- Pickles: Dill chips or sandwich slices? The cold pickles next to the hot nuggets is the entire point!
- Finishing salt: flaky salt; add a pinch directly after frying
Instructions
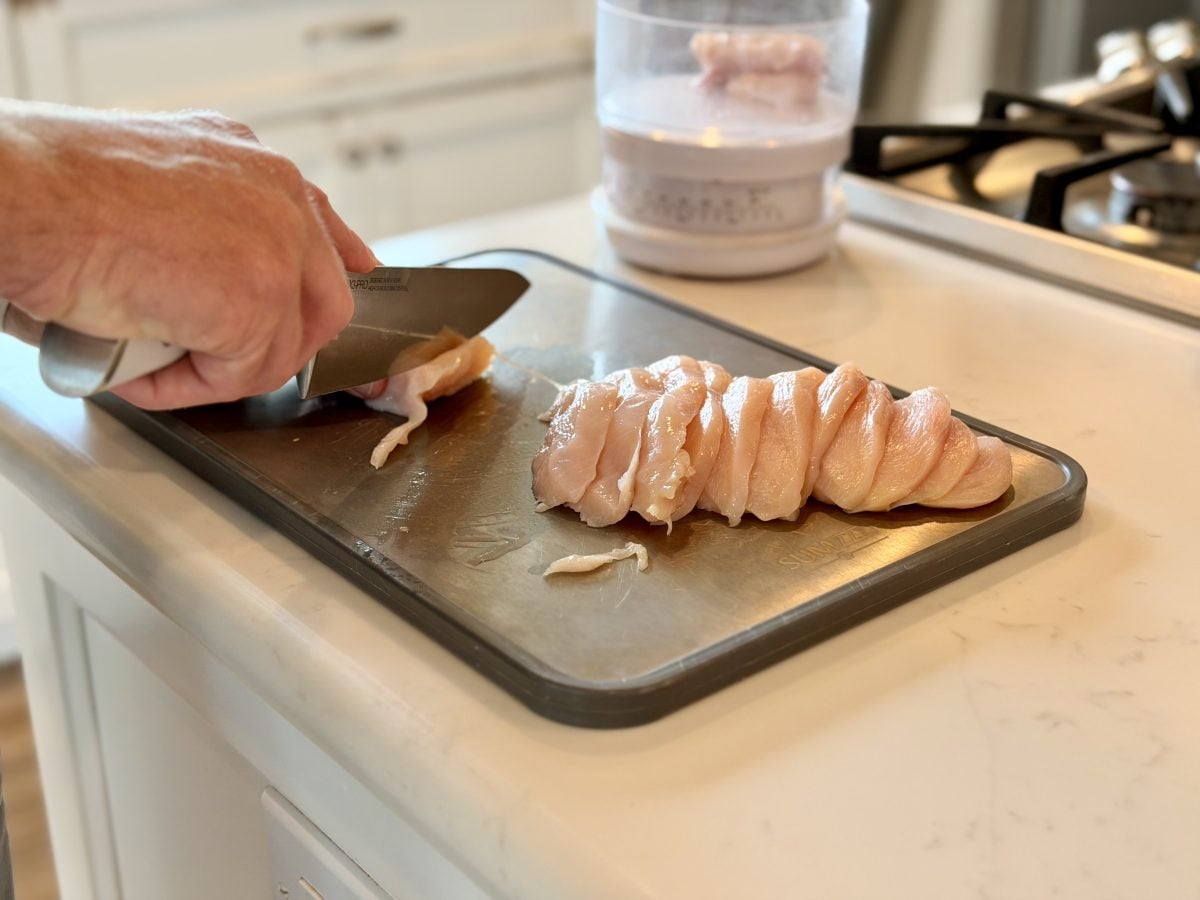
1) Above all else, it is important to trust in your abilities when it comes to cutting up the chicken. Aim for pieces about 1 inch thick. More even sizes will result in more even cooking. One nugget that is twice the size of the others will almost definitely remain raw while the rest are cooked! (Believe me on this.)
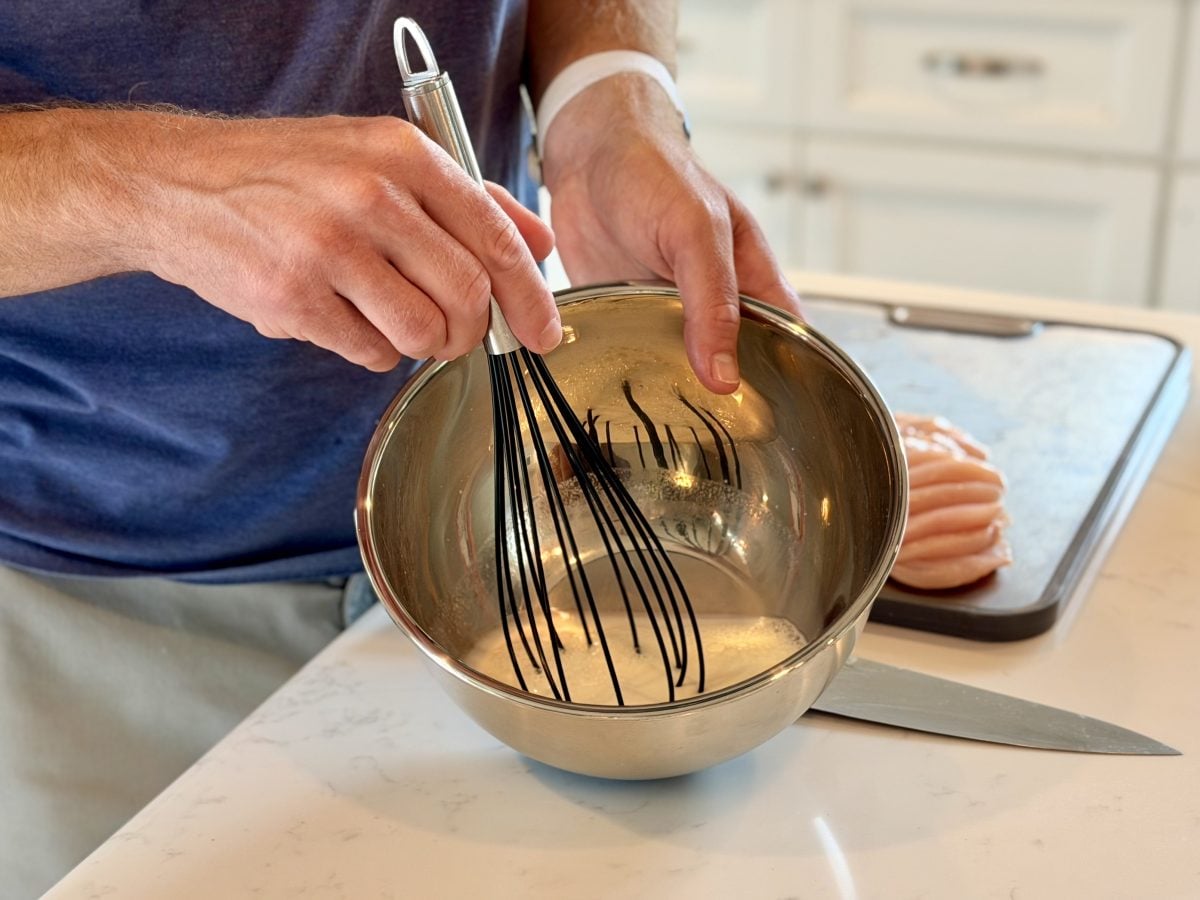
2) Brining is essential, and here, the brine will have the most effect with the least amount of time. To do this, you can mix some pickle juice with buttermilk in a bowl. Then, put the chicken pieces in so they are all coated, and chill for 30 minutes (this is the most desired time). You can brine for as little as a couple of hours, or as long as 4 hours, but this is seldom recommended. If you exceed this time, the chicken will most likely become too “cured”, and the pickle juice will be too overpowering.
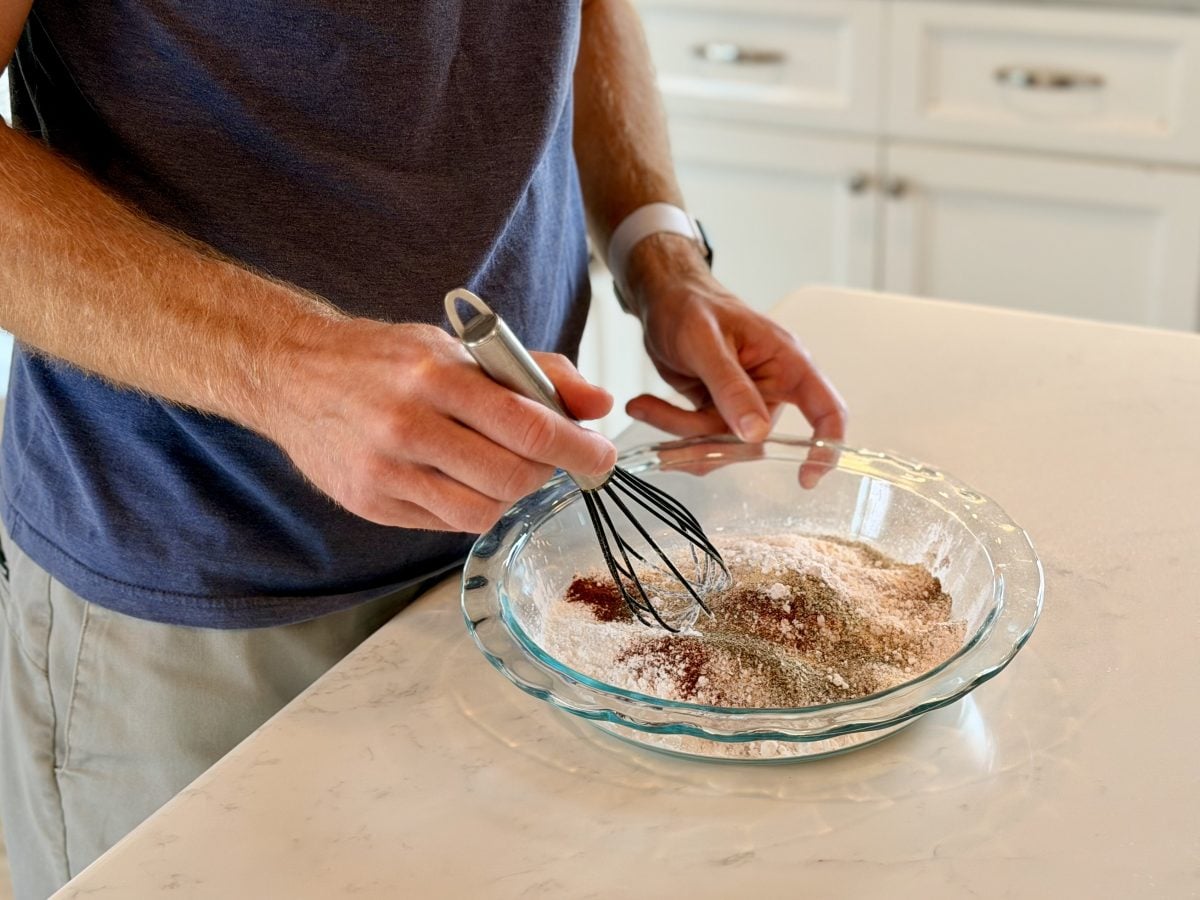
3) Preparing the Coating and Organizing Your Workspace: Take a shallow container (you can use a pie dish) and combine some all purpose flour, cornstarch, salt, paprika, black pepper, garlic powder, onion powder, and powdered sugar. Mix all of these ingredients together. To prep the nuggets for frying, place a wire rack on the sheet pan. This is how you prevent the crunch from becoming soggy.
4) In your Dutch oven or large heavy saucepan, preheat the oil to 350°F (aim for 1 1/2 to 2 inches deep) and try to maintain the temperature. If you don’t have a thermometer, drop in a pinch of flour (gently, not aggressively); if it sizzles right away, the oil is hot enough.
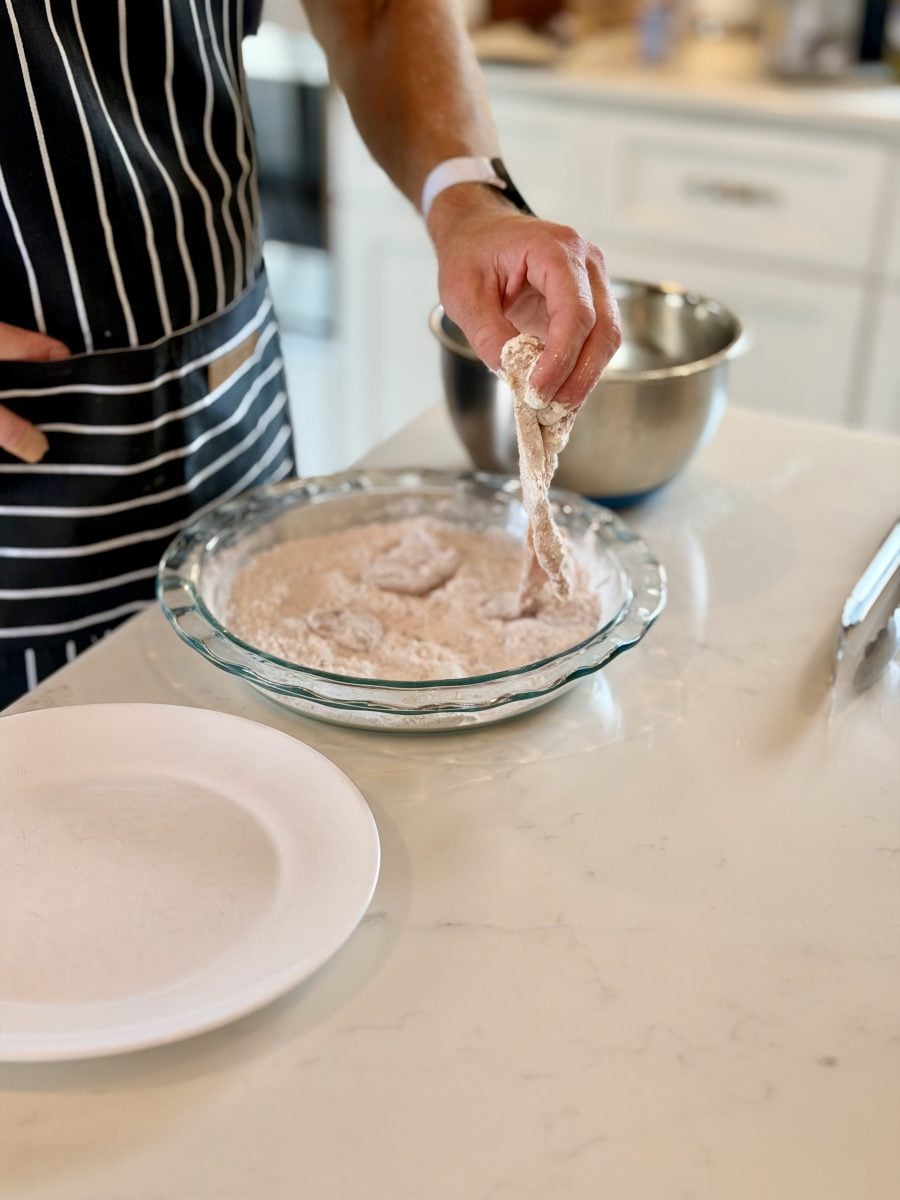
5) Nugget Coating: First, retrieve the chicken from the brine and allow it to drain, but do not dry it. Then, take several pieces and, using a pressing motion, cover the chicken in the flour mixture. If there is excess flour on the chicken, that can be dumped onto a second plate. Repeat this for the remaining pieces. Once finished, allow the chicken to rest for 3-5 minutes, as this will allow the oil to reach the correct temperature. This resting period helps the crust stick better when frying.
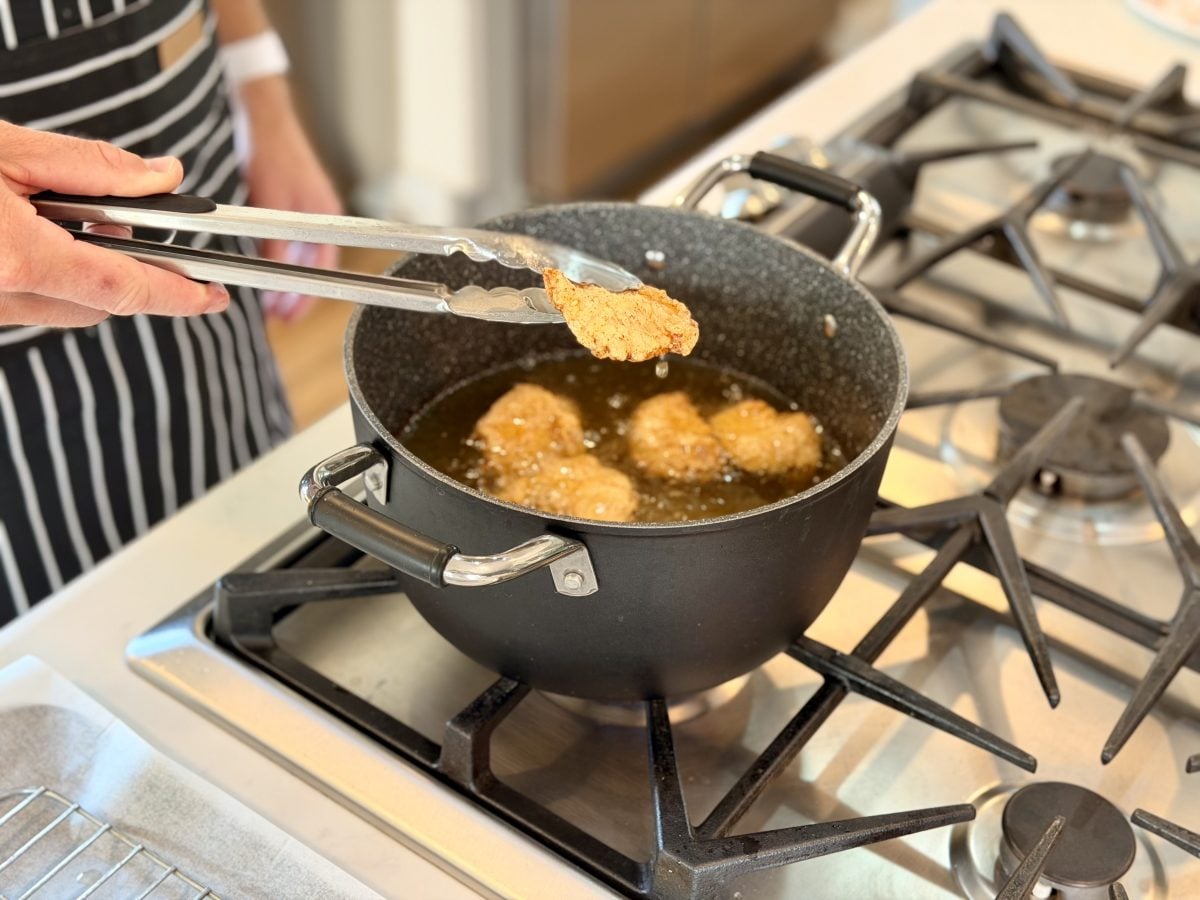
6) In fried chicken preparation, please take your time doing it in batches. After the frying oil is heated to the ideal temperature, which is 350°F, add 8-10 pieces (depending on the size of your pot) and fry them for about 3-4 minutes.
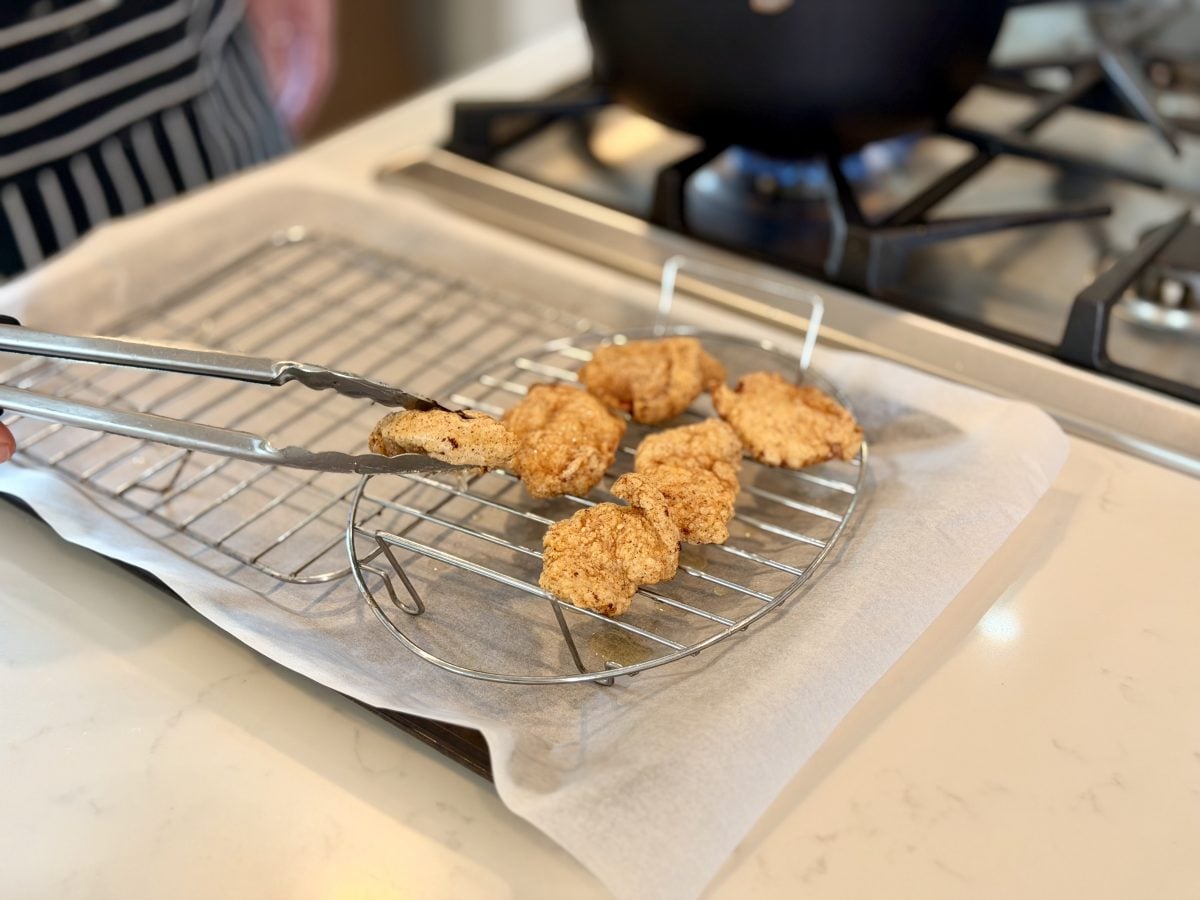
During the time they are being fried, make sure to turn them so that all pieces get that nice golden brown color. Once finished frying, make sure the piece’s internal temperature is 160-165°F. Once this has been achieved, you can allow the chicken to cool on a wire rack. For each chicken piece that is added to the frying pot, allow the oil to return to the ideal frying temperature before placing the next piece. This may take some time.
7) Completing the dish and serving instructions: Coat the nuggets with the glaze while they are still warm.
You can also add a light sprinkle of flaky salt if you prefer. Serve the pickles and sauce while warm. If you are making fries, you can keep the nuggets warm in the oven at 200°F. Place the nuggets on the rack and they will stay warm until you finish frying.
Variations Worth Trying
- Spicy copycat nuggets: Include up to 1 teaspoon or half a teaspoon of cayenne to the coating and 1 teaspoon of hot sauce to the brine.
- Extra-crispy “sandwich-style” crust: substituting 2 tablespoons of flour with 2 tablespoons of sugar-free pancake mix (seriously) gives the crust a slightly puffier texture.
- Gluten-free: Use a 1:1 gluten-free flour blend along with cornstarch. Maintain a steady temperature for frying to avoid a gritty coating.
- Air fryer finish: Shallow fry the nuggets for 2 minutes to set the crust, then air fry at 400°F for 6-8 minutes, shaking halfway.
- Thigh nugget deluxe: In the coating, you may add a small amount of MSG (if desired) for a more fast-food rich taste. Use boneless skinless thighs!
On the Table Together
- Classic tray: Nuggets, waffle fries, dill pickles, and Chick-fil-A style sauce.
- Salad situation: Place the nuggets on top of a crunchy romaine salad with honey mustard vinaigrette and croutons.
- Wrap it up: Place the nuggets in a flour tortilla with some shredded lettuce and a drizzle of sauce (a “nugget wrap” that is surprisingly good).
- Kid (and adult) snack plate: Nuggets, carrot sticks, apple slices, and a small sauce cup? That’s low effort and high morale.
- Brunch move: Try them with biscuits and honey (sweet + salty + fried is basically a holiday).

Trouble Spots and Tips
- My coating fell off: You may have had too much brine (let it drip) or skipped the 3-5 minute resting period after you coated them. Also, don’t stir right after you drop them in the oil, give them about 20 seconds to set.
- Nuggets are pale and greasy: The frying oil temperature is too low. Please return it to 350°F and adjust frying to smaller batches.
- Nuggets are dark but undercooked: The oil temperature is too high, so please lower the heat. Additionally, use a thermometer and cut the pieces smaller and more evenly.
- They taste “too pickly”: If pickles are brined for too long or if a very strong brine is used, the resultant flavor can be unappetizing. Try brining for 30 minutes to see if this improves flavor, and consider cutting the pickle juice with additional buttermilk.
- Crust is thick and bready: There is excess flour. Shake off the excess. For this style, do not double-dredge.
- Seasoning tastes flat: Consider adding a touch more salt to the coating, or finishing with flaky salt immediately after frying the food. The timing of when you add the salt is important.
- Want a cleaner fast-food crunch: substitute 2 tablespoons of flour for 2 tablespoons of rice flour.
Storage and Leftovers
The nutritional value of these nuggets will also rely on serving size and the quantity of oil that gets absorbed by the breading, owing to the fact that these nuggets are fried. Cut thigh meat is typically more flavorful and richer than the meat from the chicken breast that is more lean. If you are watching your sodium intake, be mindful that the pickle brine and the seasoned coating contain sodium: you can request no salt added and, for finishing, pinch it, only if it is necessary.
Cooled nuggets can stay fresh in your fridge for a maximum of 3 days. You can reheat them using a wire rack to bake them at 400°F for 8-12 minutes, or air fry them at 380-400°F for 4-7 minutes. They should come out of the oven crisp and hot all the way to the center. Do not expect the quality of the nuggets to improve because you microwaved them to soften the nuggets. You can freeze cooked nuggets for a maximum of 2 months. To do this, freeze them in a single layer on a sheet pan before transferring them to a bag. Wait until the nuggets are hot and the oil is sizzling in the pan to reheat them.
Your Game Plan
Each weeknight begins with a phone call that ends at 5:40 pm. I started working on my homework while also trying to cook chicken nuggets. While I was cooking, I had a race with my dog to see who could retrieve a pickle from the bottom of the jar first.
My siblings and I laughed at this and called ourselves “sophisticated raccoons” because we started eating warm chicken nuggets at 6:20 off a serving tray. The brining step is more of a nuisance than the other prep steps because it’s 30 minutes of waiting where you can’t do much else.
As for the double batch, we will consider it a “learning experience.” On game night, I was trying to speed the process up by adding double the nuggets. It also meant that the coating on the nuggets was soggy, and people were grabbing the dipping sauces to try to cover up their sauce-marinated chicken finger situation.
After that batch, I changed my strategy for the subsequent ones (making smaller batches so the oil would cool down to 350°F quicker) and all of a sudden I had a crowd in the kitchen. You know you have a hit on your hands when people start flocking around the food.
- Cut chicken into uniform 1-inch pieces.
- Soak in a solution of buttermilk and pickle juice brine for 30 minutes (up to a maximum of 2-4 hours).
- Combine the flour, cornstarch, spices, and powdered sugar in a shallow bowl.
- Maintain the temperature of the oil at 350°F.
- Dredge the chicken, press the coating on, and let it rest for 3 to 5 minutes.
- Fry small batches for 3 to 4 minutes until the internal temperature reaches 160-165°F.
- Place on a wire rack to drain and lightly sprinkle with salt while still hot.
- Serve immediately with sauce and cold pickles.
Words You’ll See Above
- Brine: a salty (and at times, acidic) soak that seasons, while aiding in the retention of moisture in the chicken.
- Dredge: prior to frying, coat the wet food in a mixture of dry flour and starch.
- Wire rack draining: Allowing vapor to escape so the crust remains crispy and the steam doesn’t settle by letting fried food rest on a rack.
- Carryover cooking: If you are being cautious regarding the cooking process, you may want to cook the chicken to 160°F and then pull the chicken to allow it to carryover cook to 165°F.
- Oil temperature recovery: When food is added to hot oil, it will take time to get back to the frying temperature, and if there is too much food put in at once, it will take longer to heat up and will become greasy as a result.
Your Questions, Answered
Are these nuggets similar in flavor to Chick-Fil-A nuggets?
Not exactly, but they get close. Unless you have their food-prep gear and supply chain in your pantry, there’s no way to perfectly replicate their nuggets. These have Chick-fil-A-like vibes and help take the itch away from the drive-thru.
Would omitting the pickle juice be effective?
Though the nuggets may taste more favorable, they will lose some of their signature taste. If the taste of pickles is not to your liking, you can make a gentler brine. Two other substitute suggestions would be combining buttermilk and lemon juice, or using half pickle juice and half water.
Which oil works best for frying these nuggets?
I prefer to use peanut oil because it has a more neutral flavor and higher smoke point than the others, though you could use vegetable or canola oil as well. I wouldn’t use olive oil myself because it is not suited to high-heat cooking and has a poor flavor.
Can you bake them instead of frying them?
Yes, although the baked version will not be as crunchy as the fried version, you can still achieve something satisfactory. To do this, you will need to coat the nuggets with some oil. Oil can be sprayed onto the nuggets, or you can toss the nuggets in oil in a bowl. Then, you will bake the nuggets on a rack at 425°F for 14 to 18 minutes, flipping them halfway through the cooking time. Do not expect copycat nuggets; expect “crispy baked chicken bites.”
What is the best way to keep nuggets warm when cooking for a crowd?
You could preheat your oven to 200°F and place a wire rack on a sheet pan. Cover the nuggets with foil, but not too tightly or they will steam and become soggy. If you have a large quantity of nuggets, stagger your trays in the oven to keep them warm and do the frying in batches.
Is powdered sugar a requirement?
In the case of the “copycat” goals, yes, and just one teaspoon is enough. It does not add to the sweetness but rather, it helps to coat the uneven parts. It also imparts a weird fast food sweetness to the nuggets that is hard to put your finger on.
Final Remarks
The nuggets may seem simple, but they are great and easy to make. You only need to prepare the chicken by seasoning it. The combination of the crunchy coating and the chicken is so good that it is the reason I have an open jar of pickle juice in my pantry. If you make a batch of these nuggets and have a guest in your home, you will see the transformation of ‘I will only take a couple’ to a person standing at the counter and sink devouring them all.