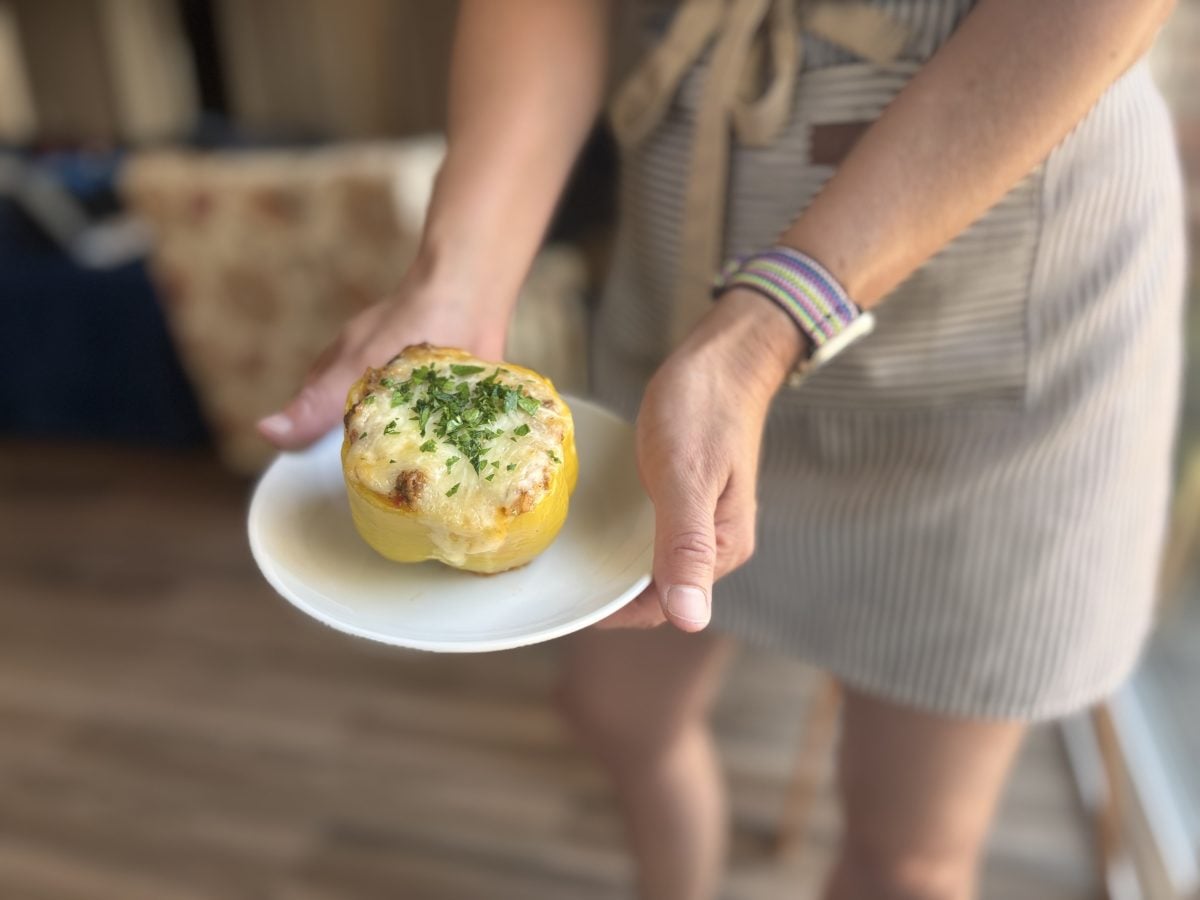
For years, I turned down stuffed bell peppers. I thought they were just sad, floppy veggies with a sad mound of rice and a puddle of sauce (that was probably just orange grease). But then, I tried prepping stuffed bell peppers with actual good seasonings, a slight kick, and a cheesy enough filling to justify the price. Best of all, the peppers end up tender and not all sad looking.
This recipe is super easy. Simply brown some meat, mix in the aromatics, add a little tomato and rice along with some smart seasonings. Then stuff the mixture into the peppers and bake them with foil on top so they steam together.
One small trick (pre-baking the peppers just a little) results in the peppers becoming sweet and smooth but still hold their shape. Even if your kitchen is a mess and you have to eat standing up, this meal will make you feel accomplished and grateful the first time you “test” one.
Contents
The Quick Rundown
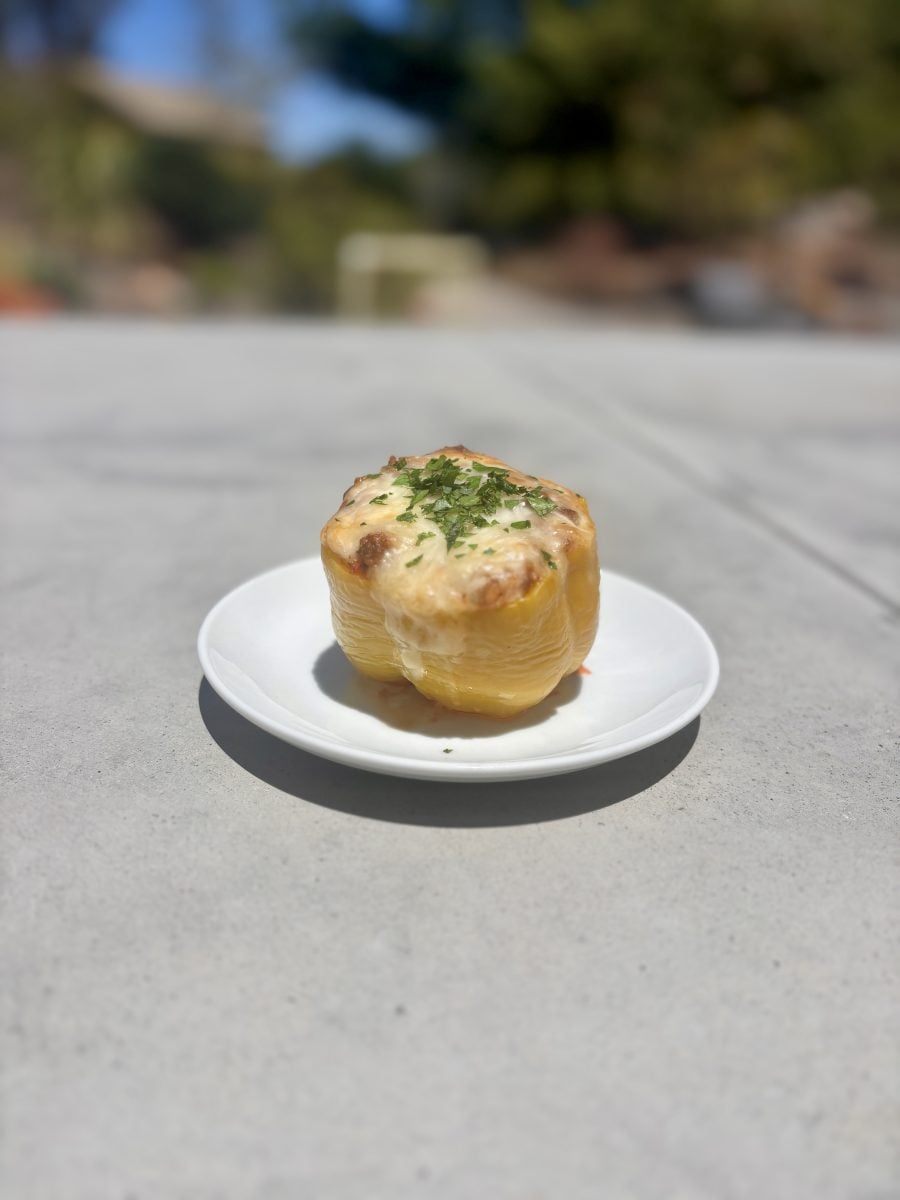
- Stuffed Bell Peppers, in a sentence: Bell peppers loaded with a meat-and-rice filling and topped with cheese and a saucy tomato mix.
- Why it works: To keep the peppers tender, a quick par bake is done, the filling is pre-cooked so it isn’t ever underdone, and the foil keeps everything nice and juicy.
- Time: Prep should take about 15 minutes, and cooking will take 35 to 45 minutes (depending on the size of the peppers).
- Flavor profile: Cheesy with sweet pepper edges, cozy, smoky (if you use paprika), and tomatoey with garlic.
- Key tips: When packing the peppers leave a bit of space to allow the rice some room to expand. Also add a splash of water or broth to the pan to keep the bottoms from drying out.
- Best make-ahead move: You can make the filling up to 3 days in advance; stuffing and baking is then just assembly.
Ingredients
Stuffed peppers can be easy, but there are small details that can be important. Pick peppers that can stand on their own (the short, four lobed ones tend to be the most compliant). For the filling I like a meat and rice base that is moist enough to be spooned, but not soupy. Tomato paste is key here; it adds depth to the filling without making it watery.
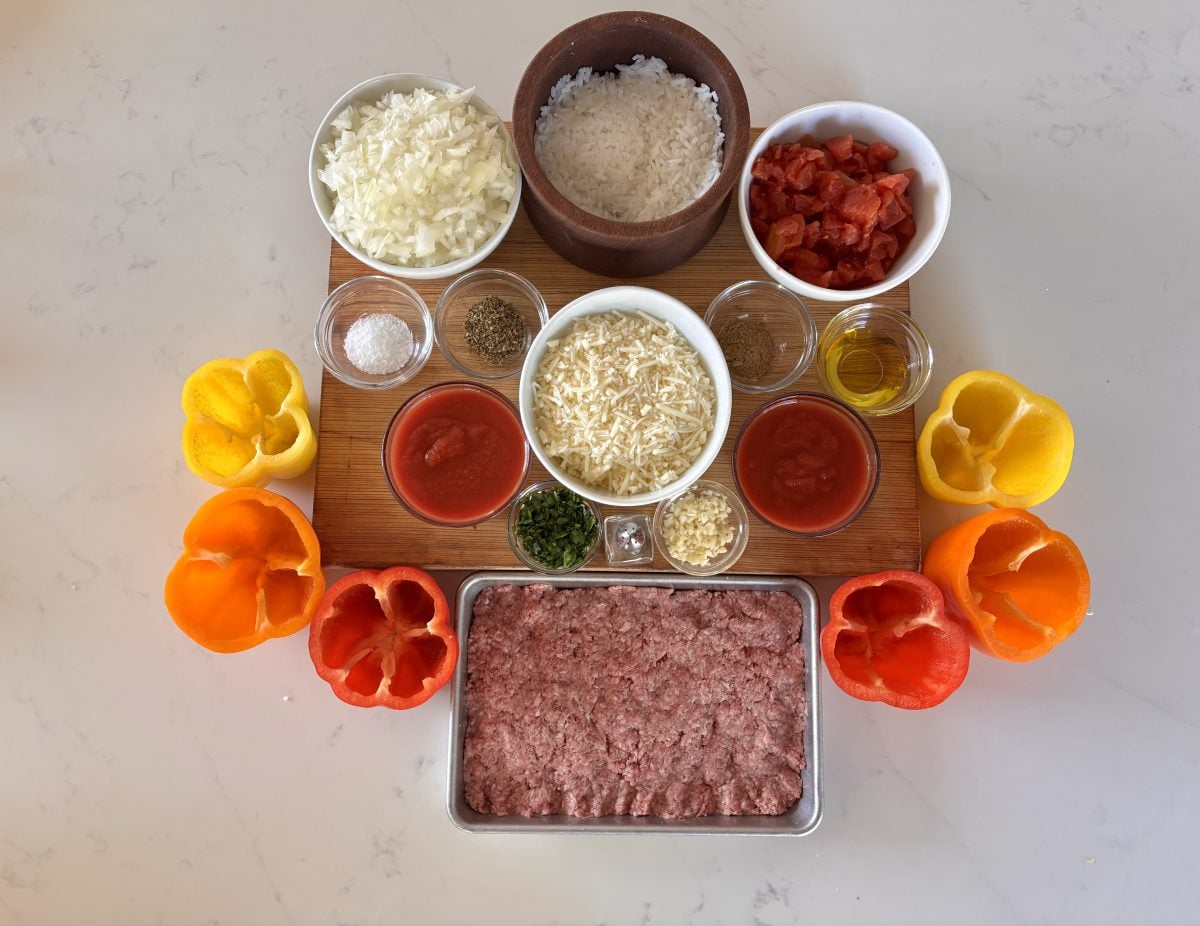
- Bell peppers: 6 medium-sized (any color). Red, yellow, or orange are sweeter; green is a little more bitter and “peppery” in a good way.
- Ground beef: 1 lb is fine. You may use 80/20 but if there’s a lot of grease, just drain it. Ground turkey is an option as well but you may need to add more seasoning and perhaps more olive oil.
- Cooked rice: 2 cups of cooked white, brown, jasmine, or basmati rice, cooled slightly (Cold leftover rice is oddly perfect).
- Onion: 1 medium, diced. Adds sweetness and body.
- Garlic: 3 cloves of minced garlic. I’d love more.
- Tomato paste: 2 tbsp. Concentration and a slight caramel hint if cooked for a minute.
- Diced tomatoes: 1 can (14.5 oz), with juices. This goes into the pan sauce as well.
- Worcestershire sauce: 1 tbsp. The “what makes this taste grown up?” ingredient.
- Italian seasoning: 1 teaspoon (or a combination of dried oregano and basil).
- Smoked paprika: 1/2 teaspoon (optional, but we recommend it for a subtle and cozy smokiness).
- Salt and black pepper: Season in layers.
- Cheese: 1 to 1 1/2 cups of shredded cheese, mozzarella for melting, cheddar for flavor, and for middle ground add Monterey Jack.
- Olive oil: 1 tbsp for sautéing.
- Broth or water: 1/2 cup for the baking dish (Keeps things saucy and prevents scorching.)
- Fresh parsley: It may be optional, but once you do the finish, it will look like you put in a fair amount of effort.
Master Ratio (Easy To Scale)
- Per 1 bell pepper: approximately half a cup of filling plus two to three tablespoons of cheese
- Per 4 peppers: 2 cups of cooked rice plus 2/3 lb of ground meat, 1/2 can of diced tomatoes, and 1 tbsp of tomato paste
- Seasoning baseline (per 4 peppers): 1/2 teaspoon of Italian seasoning, 1/4 teaspoon of smoked paprika, 1 teaspoon of Worcestershire sauce, plus salt and pepper to your preference.
For 2 people, cook 3 peppers, 1 1/2 cups of cooked rice and 1/2 lb of meat. Use approximately 1 tbsp tomato paste and 3/4 of a can of diced tomatoes (or just use the whole can and let it be a little saucier: nobody will complain).
Ingredient Choices That Change Flavor
This recipe is one of those that shows a little more about you as a person. My neighbor uses salsa which I respect him for not complicating things. Me, I usually go for a more “Sunday sauce” even if it’s a Tuesday.
| Swap / Choice | What You Get | Best With | Notes |
|---|---|---|---|
| Ground turkey instead of beef | Lighter, cleaner flavor | Smoked paprika, extra garlic, a touch more salt | Add 1-2 tsp olive oil while sautéing to keep it juicy. |
| Brown rice instead of white | Nutty, hearty texture | Cheddar or Jack | Brown rice can feel drier: add a splash more broth or tomatoes. |
| Quinoa instead of rice | Fluffier, slightly earthy | Lemon zest + parsley finish | Quinoa absorbs sauce fast; don’t skimp on pan liquid. |
| Cheddar instead of mozzarella | Sharper, more assertive top | Green peppers | Cheddar browns faster; uncover late to avoid over-darkening. |
| Salsa instead of diced tomatoes | Instant Tex-Mex direction | Cumin + pepper jack | Watch salt; salsa can be aggressive. |
Optional Finishes (Worth It)
- Acid pop: Stir in 1-2 tsp of red wine vinegar into the pan sauce after it has finished baking, or squeeze some lemon over the top.
- Heat: You can add some red pepper flakes to the filling or provide pickled jalapeños at the table.
- Crunch: Buttered panko on top for the last 10 minutes (maybe a little ridiculous, but sooo good).
Instructions
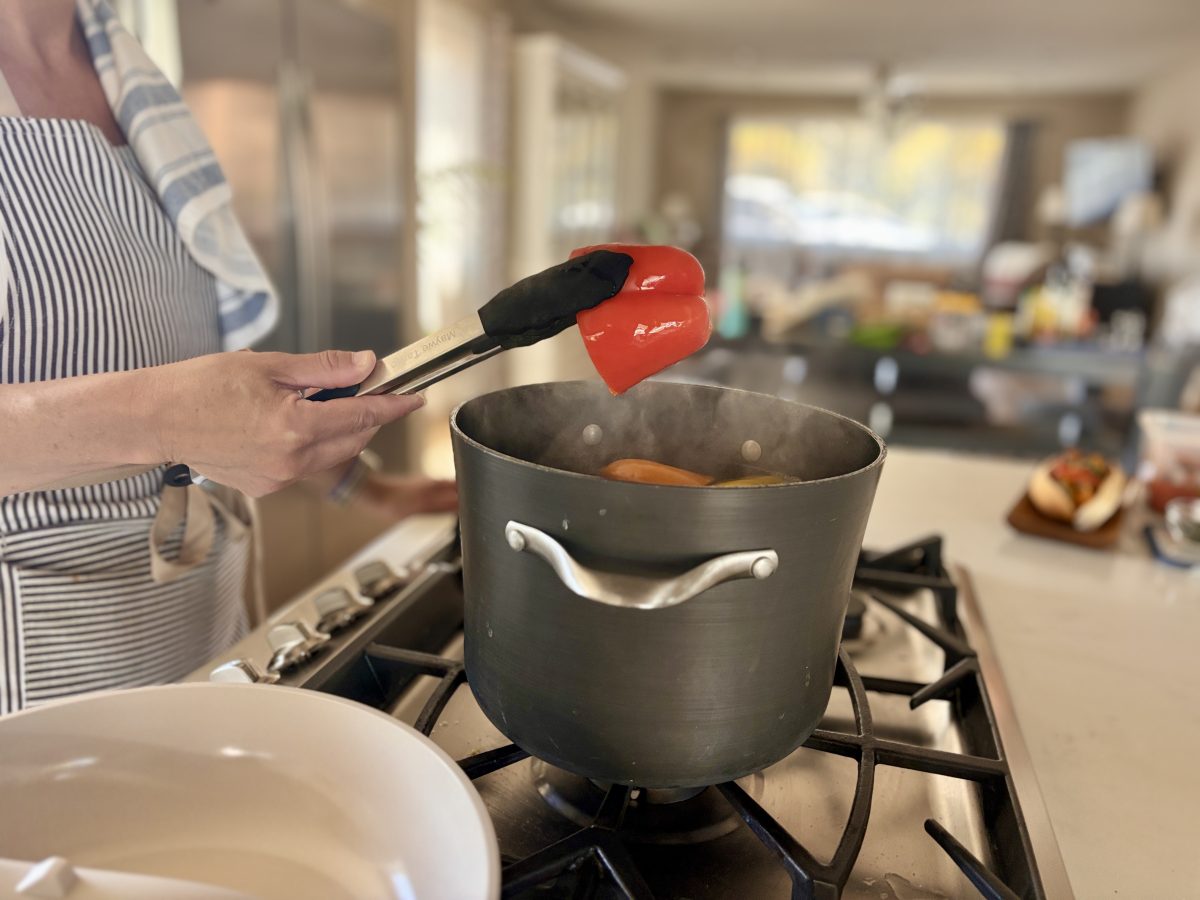
1) Start by preheating your oven to 375°F. While that warms up, fill a large pot with water and salt, and bring to a boil. Once it does, add the trimmed peppers and parboil for 4 minutes. The peppers should soften slightly but still hold their shape. After 4 minutes, drain the peppers and turn them upside down to dry on a towel.
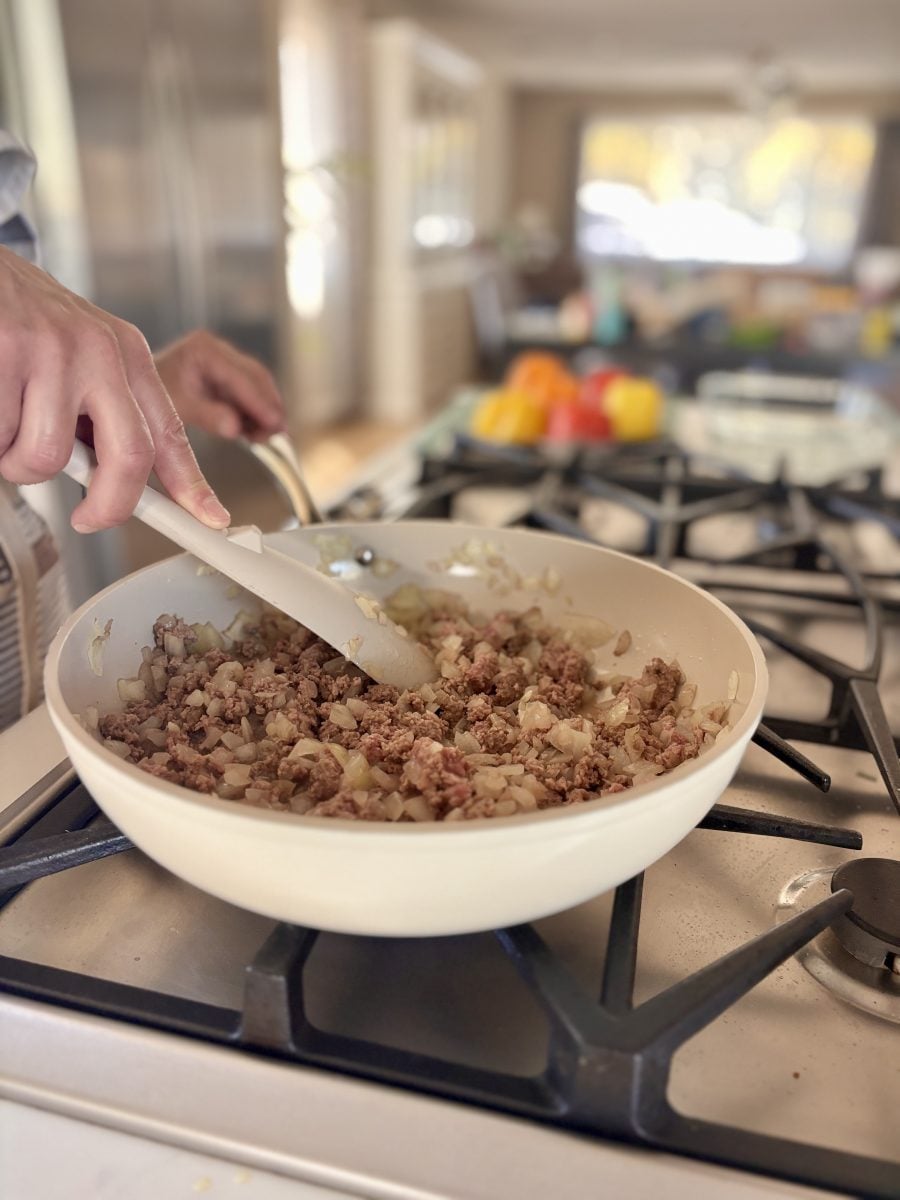
2) Heat the olive oil in a large skillet over medium to medium-high heat. Once the oil is heated, add the onion and cook for about 4 minutes until softened. Next, add the ground beef and break it apart using a spatula. Cook for another 6 to 8 minutes until browned. If the beef is greasy, drain any excess fat that is more than about 2 tablespoons.
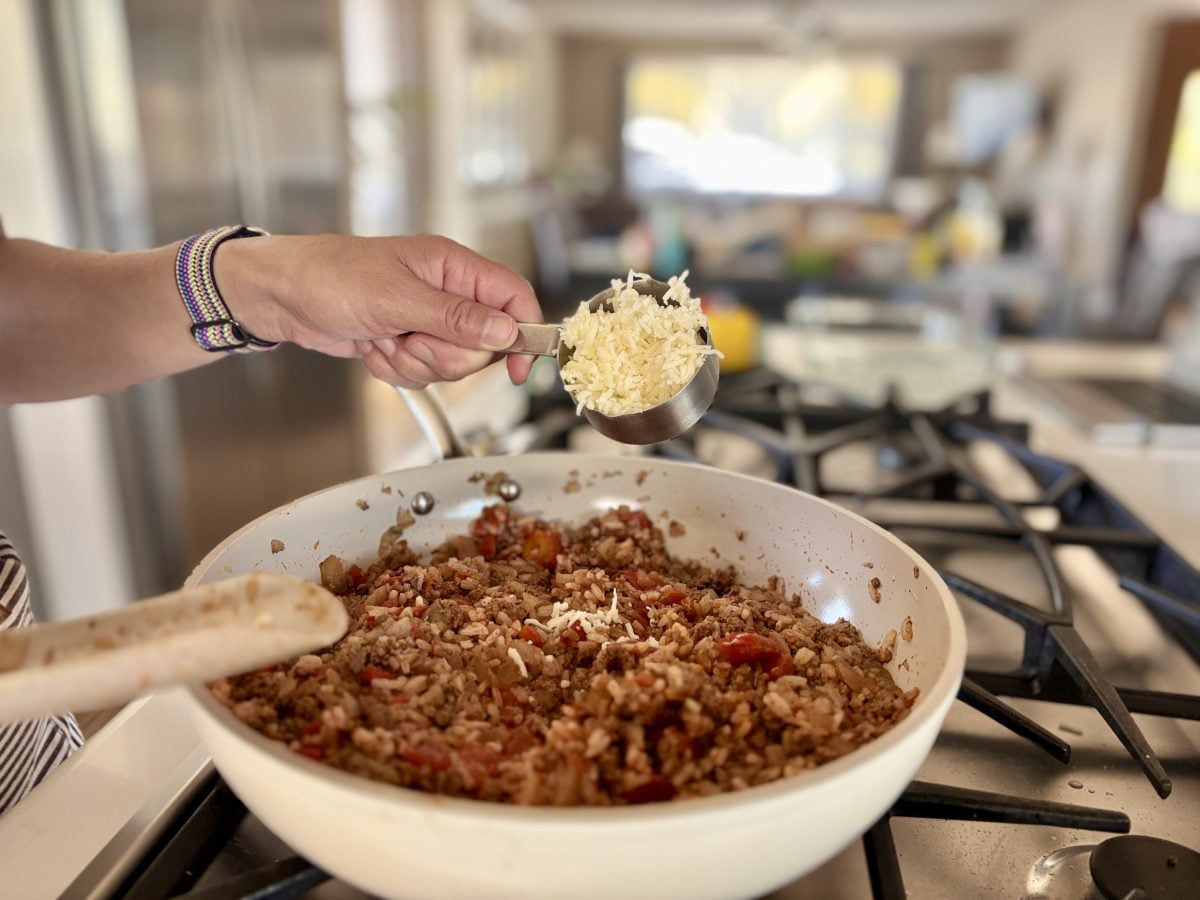
3) Add the garlic, oregano, and cumin along with half a teaspoon of the salt and some pepper. Stir and cook for about 1 minute. Then add the drained and diced tomatoes along with the cooked rice and half a cup of tomato sauce. Stir until it is all combined. Remove from the heat then add half a cup of cheese. Stir to combine.
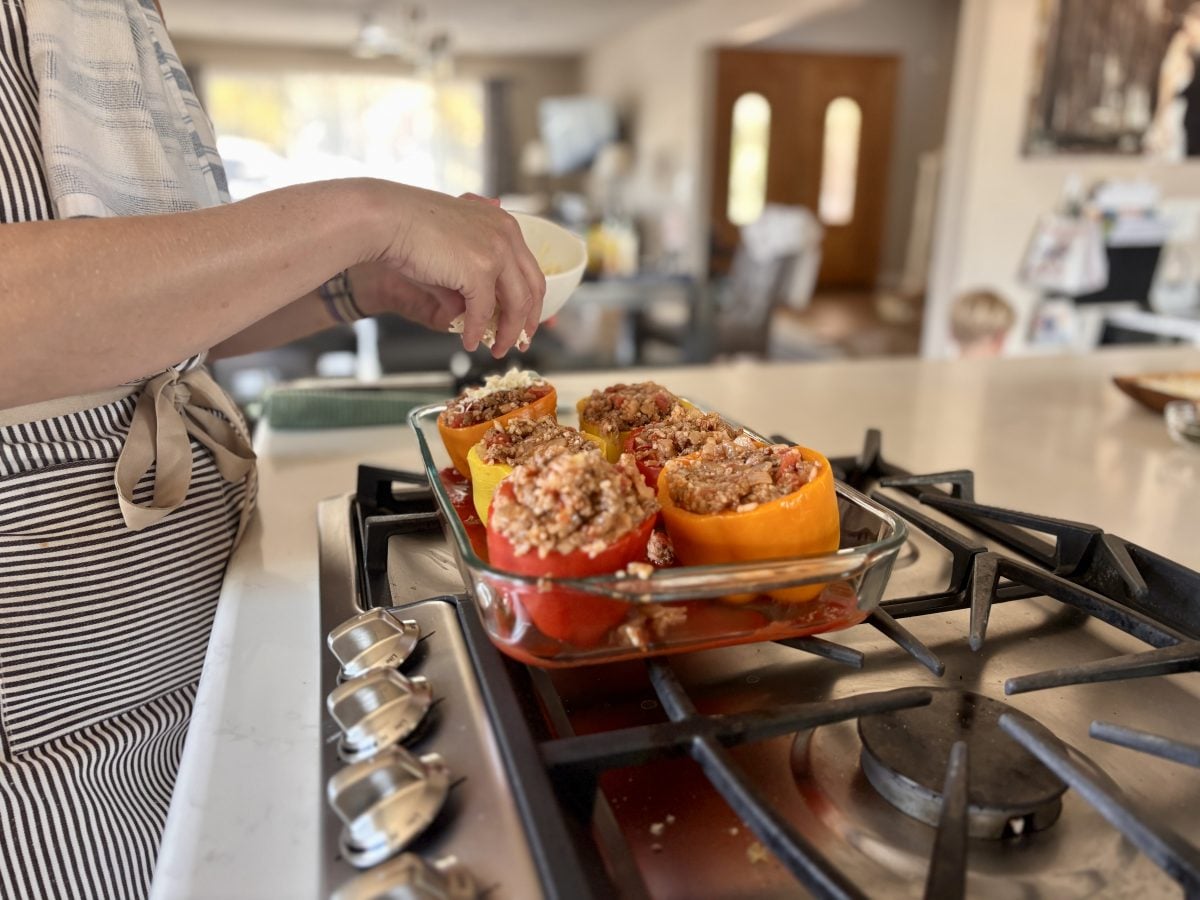
4) Evenly distribute the rest of the 1/2 cup of tomato sauce on the bottom of a 9×13 baking dish. Place the parboiled peppers, cut side up, in the dish. Lightly season the inside of each pepper with the remaining 1/2 teaspoon of salt.
5) Distribute the filling evenly to each pepper making a generous mound for each one. Place the remaining cheese on top of each of them.
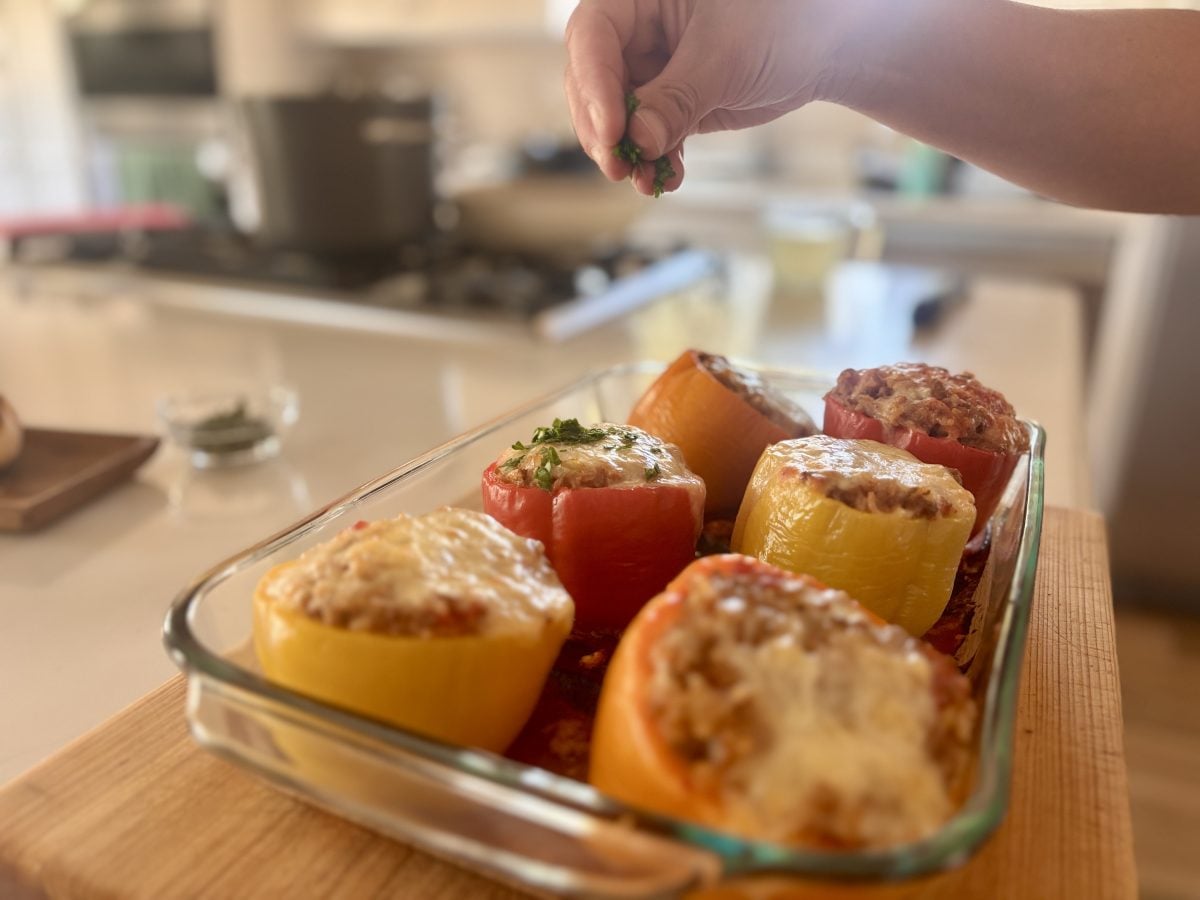
6) For 25 minutes, cover the dish with foil and bake. Remove the cover and continue to bake for an additional 12 to 15 minutes until the cheese is bubbling and lightly browned, the filling is hot, and the peppers are tender. Before serving, let it rest for 5 mins and then garnish with parsley.
Variations Worth Trying
- Mexican-inspired: Instead of diced tomatoes, use salsa, and add black beans and corn. Top with Pepper Jack cheese and finish with cilantro and lime. You can also use taco seasoning or cumin and chili powder.
- Italian-ish sausage: Replace half (or all) the beef with Italian sausage; use mozzarella + parmesan; add chopped basil at the end.
- Vegetarian: Consider using lentils or a meatless crumble and add depth by using sautéed mushrooms. You could also increase the Worcestershire substitute (soy sauce + a little balsamic works).
- Low-carb: For added substance, you can substitute rice with cauliflower rice (sauté it for just a minute to get rid of some of the moisture) and throw in a bit more cheese or some chopped nuts.
- Extra saucy: At the end, stir the liquid from the pan and 1 cup of marinara and spoon over like you mean it.
What Goes Alongside
- Simple green salad: Lemon vinaigrette and crunchy cucumbers give a nice crunch.
- Garlic bread: Not necessary, but emotionally correct.
- Roasted broccoli or broccolini: The charred edges combined with a bit of chili flakes work really well together.
- Potato situation: Crispy roasted potatoes are perfect for going into full comfort mode. If it’s been that kind of week, then mashed potatoes are the way to go.
- At the table: Sour cream (especially Tex-Mex), hot sauce, extra parmesan cheese, or a spoon of pesto.
Fixes and Pro Moves
- My peppers are still crunchy. Perhaps they were large or your foil wasn’t sealed properly. Cover and bake for an additional 10 minutes, adding a little more broth to the pan.
- The filling tastes flat. First add salt. If it’s still dull, you can add 1-2 tsp of vinegar, a squeeze of lemon, or a pinch of red pepper flakes.
- Watery filling. Cook the tomato mixture for a few more minutes before you add the rice, or use less liquid in the pan next time. (And also, some canned tomatoes are just… wet.)
- Dry filling. While baking, make sure to cover the dish tightly so steam will do its job. You can add some broth, tomato sauce, or even a tablespoon of olive oil.
- Peppers tipping over. Level the bottoms and pack them tightly in the container. Remember, empty space is your enemy.
- Cheese browning too fast. Add cheese in the last 10-15 minutes of cooking, or you can loosely cover it with foil.
- Make it less messy: Use a small measuring cup (1/2 cup) to use as your “scoop” for filling. It’s strangely satisfying.
Storage, Reheating, and Nutrition
Because protein, carbohydrates, and vegetables are included, there is no need to think about portion sizes, as one pepper equals one serving. Depending on how lean the meat is, how much cheese (I’m not judging) and what kind of rice you use, nutritional value can change quite a bit. If you want to make it lighter go for ground turkey and part-skim mozzarella and if you want to make it richer you can use beef and cheddar and no shame in that.
Storage is where these shine. Cool leftovers and store them in an airtight container in the refrigerator for up to 4 days.
Heat in the microwave with the cover on (this will steam the pepper) OR heat in the oven at 350°F until they’re warm.
They also freeze nicely; wrap and freeze individually for up to 3 months. For optimum texture, thaw in the fridge overnight. Then, reheat covered to avoid drying out.
Times I’ve Made This
Example 1 (Weeknight salvage mission): I once started these at 6:10 with exactly one pot of leftover rice and a pack of ground beef I’d been side-eyeing all day. To begin par-baking, I placed the peppers in the oven while the meat was still browning. By 7:05, with the cheese bubbling and pan juices drizzled, dinner was ready. It smelled like I had a plan in the whole kitchen. It was a miracle to me that my child began to eat the pepper part first.
Example 2 (Make-ahead for guests who “don’t eat much”): A friend mentioned she wanted a meal that was “something light.” I made the filling the night before and stuffed the peppers in the morning. While we were eating, everyone, one way or another, needed seconds and the “light” person asked if there were more peppers hidden in the fridge. Sadly, I did not have any more and I regretted that.
The Short List
- Purchase pepper plants that have straight stems (or are okay with trimming the stems).
- Cook rice ahead (leftover rice is ideal).
- Par-bake peppers 12 minutes under tight foil.
- Sauté the onion and meat. Stir in and toast the tomato paste. Then, season and cook with the tomatoes.
- Stir in rice; adjust moisture and salt.
- Stuff peppers gently; top with cheese.
- Bake covered 20 minutes, uncovered 8-12 minutes.
- Rest for five minutes, spoon the pan sauce over the top, and finish with herbs and/or acid, if desired.
Cook’s Vocabulary
- Par-bake: Pre-cook an ingredient slightly so it can finish cooking later without overcooking the other components of the dish.
- Toast tomato paste: To enhance the flavor and lessen the raw acidity, cook the tomato paste in hot fat for about a minute.
- Tent with foil: Cover loosely to keep the heat in but let steam escape. This helps avoid over-browning.
- Pan juices: The collection of delicious liquid in the baking pan is your sauce built right in.
- Carryover cooking: When you take food out of the oven, the food keeps cooking, and resting helps keep it juicy and helps stabilize it.
Questions I Get
Do I have to par-bake the peppers?
You can skip it, but most of the time the filling is overbaked or the peppers are still crunchy. A twelve minute head start can really make the difference between “fine” and “great.”
Can I use uncooked rice in the filling?
I would not recommend this method. Uncooked rice has to have a precise ratio of liquid and a precise time to bake, and there is a lot of variation with the peppers. Use pre-cooked rice to guarantee a consistent texture and relieve stress.
What type of cheese is most ideal for stuffed peppers?
When looking for a cheese that melts smoothly, mozzarella is the best choice. For a cheese that has more flavor, cheddar is the way to go. If you want a cheese that has a good balance between smoothness and flavor, try Monterey Jack. It is always a good idea to add a bit of parmesan on top.
How do I keep the bottoms from burning?
To keep the bottoms from burning, you can add broth or water to the baking dish. Also, cover the dish for most of the cooking time, and don’t use a baking dish that is too big, so the liquid doesn’t evaporate too quickly.
Can I prepare these for a party in advance?
Yes, the filling can be made up to 3 days in advance. Alternatively, for up to 24 hours before service, you can assemble the peppers and keep them in the fridge (covered). If the dish is starting from a cold state, increase the baking time by 5 to 10 minutes.
My peppers turned out bitter: why?
Between the different colored peppers, green ones are usually the most bitter. If that is a concern, you can choose different colored peppers for a sweeter option or balance it with more tomato, cheese or a tiny splash of vinegar at the end.
One Last Thing
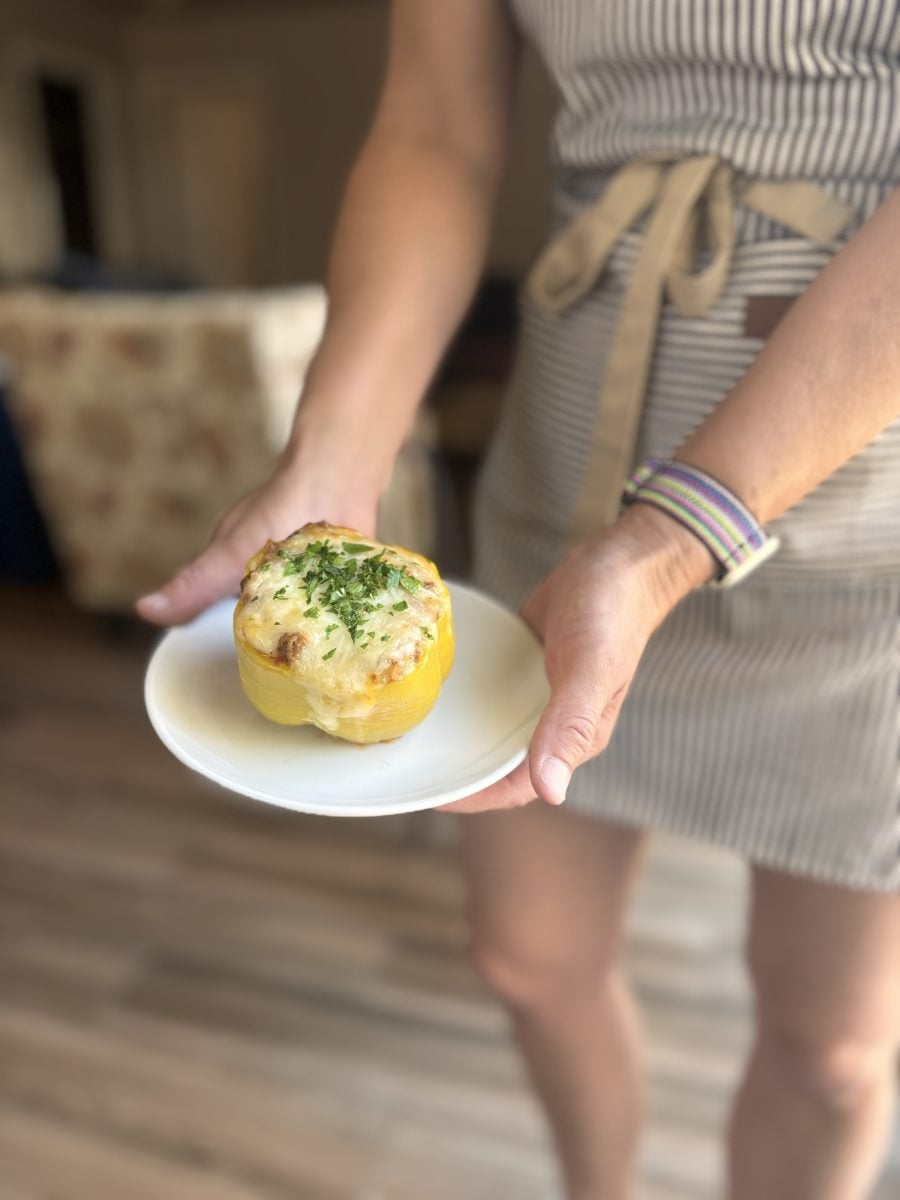
There is definitely a secret genius to how stuffed bell peppers are a meal. It is so satisfying to pull them out of the oven because they look like little edible bowls. My version is just soft peppers with a great saucy filling plus ooey gooey cheese to top it off and make it feel like a dessert. There is no fuss and no dry filling with hollow disappointments. It’s just the best.