
Place two chicken thighs in the skillet with the skin side down, and don’t even turn the burner on yet. There’s no oil in the pan, no preheat, and consequently, no sizzle. It seems like a mistake the first time you do it, similar to how an empty highway makes you question whether you’ve made the right turn. Then, you turn the dial to medium and the quietest sear of your life begins.
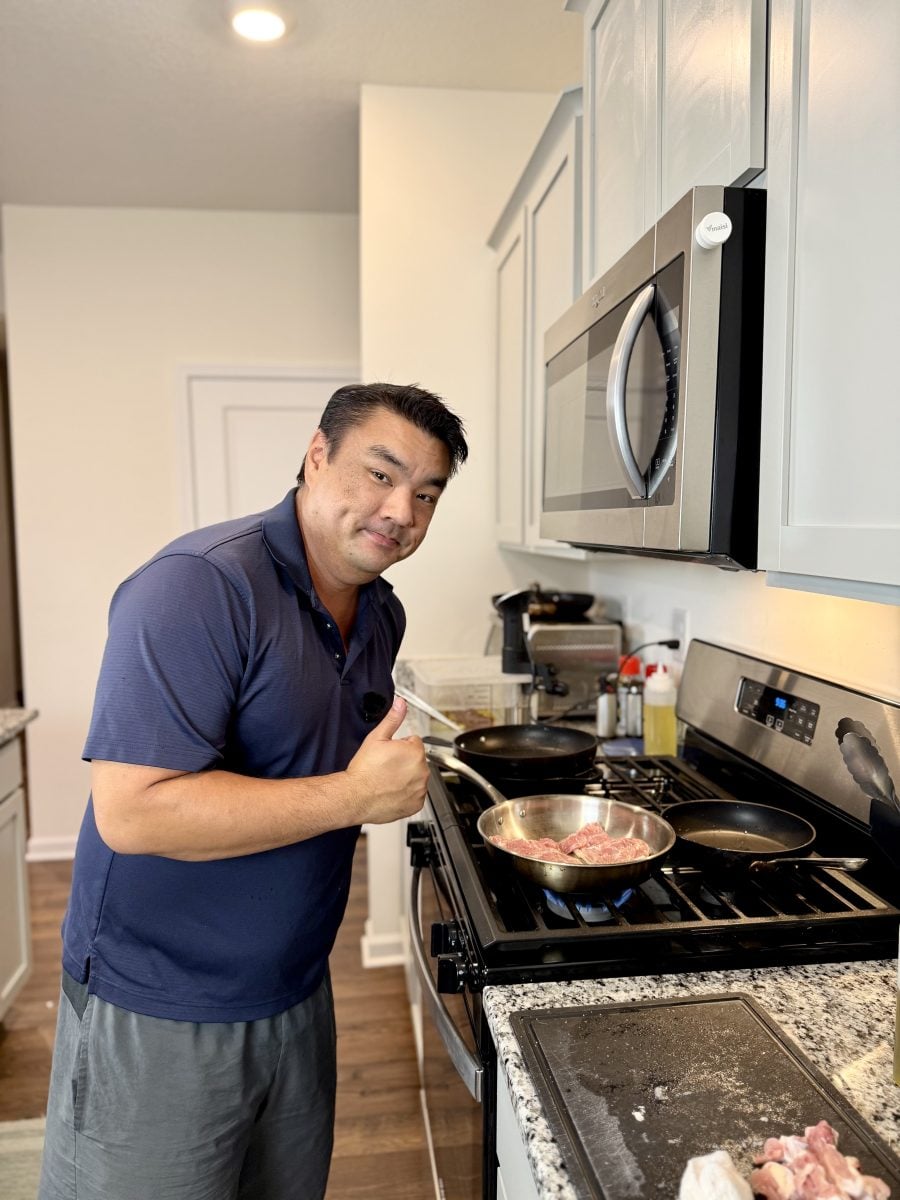
This is the cold pan approach, and when it comes to fatty cuts with skin-on, it beats the scorching-hot skillet every time. The trick is to allow the fat under the skin to render before the surface is able to burn.
Prior to any contact with the pan, prep the skin by patting it dry and salting it. Clean skin renders more effectively and drying the salt gives it time to penetrate the meat while heat is applied. A substantial skillet will assist as well. Both cast iron and stainless steel retain and distribute the gentle heat that this method relies upon.
The quiet start
The first few minutes are practically devoid of action, and that’s intentional. The pan heats up gradually, and the fat underneath the skin begins to turn to liquid well before the top reaches a temperature sufficient to cause a burn. If you were to drop that same thigh into a searing hot pan, the outer layer would sear shut while the fat remains solid. This results in skin that is spotty blackened and rubbery underneath.
No extra oil is needed since chicken will render its own fat. By the time the pan is heated, the skin will be in a small amount of rendered fat and will fry evenly across the entire surface rather than just where it touches the pan.
At roughly five minutes, you will hear it: a subtle, soft sound that starts to develop into the consistent and calming sizzle. It is the sound of water leaving, and fat entering; this is the only progress report you require.
The render
The next segment will last from ten to fifteen minutes, depending on how thick my thighs are. I know it’s tempting to poke, lift, and peek, but please resist the urge. The thighs need uninterrupted contact with the pan to render properly, and every lift sets back the crust.
Maintain medium heat. If the sizzle gets loud and the fat starts smoking, reduce the heat further; you want to do a slow fry, not a hard sear. Dry skin and an uncrowded pan matter here for the same reason they matter in any sear: trapped moisture steams the skin instead of crisping it.
By tilting the pan you can see the pool of rendered fat collecting at one end. The fat serves a dual purpose; it is frying the skin that is above it and creating the foundation for a later pan sauce.
The flip cue
The chicken indicates when it is ready. Raw meat attaches to the grill, but will release automatically once a proper crust is formed. To test a thigh, slide it. If it moves easily, give it a flip. If there’s any resistance, wait a minute or two. No need to wrestle with a spatula.
Once it becomes nice and crispy, it’ll actually release on its own.
Nathaniel, HomeViable
Once flipped, the hard work is completed. The skin side is finished, so the second side just has to bring the meat up to temperature. Pull it a few degrees early and let carryover finish the job while the thighs rest.
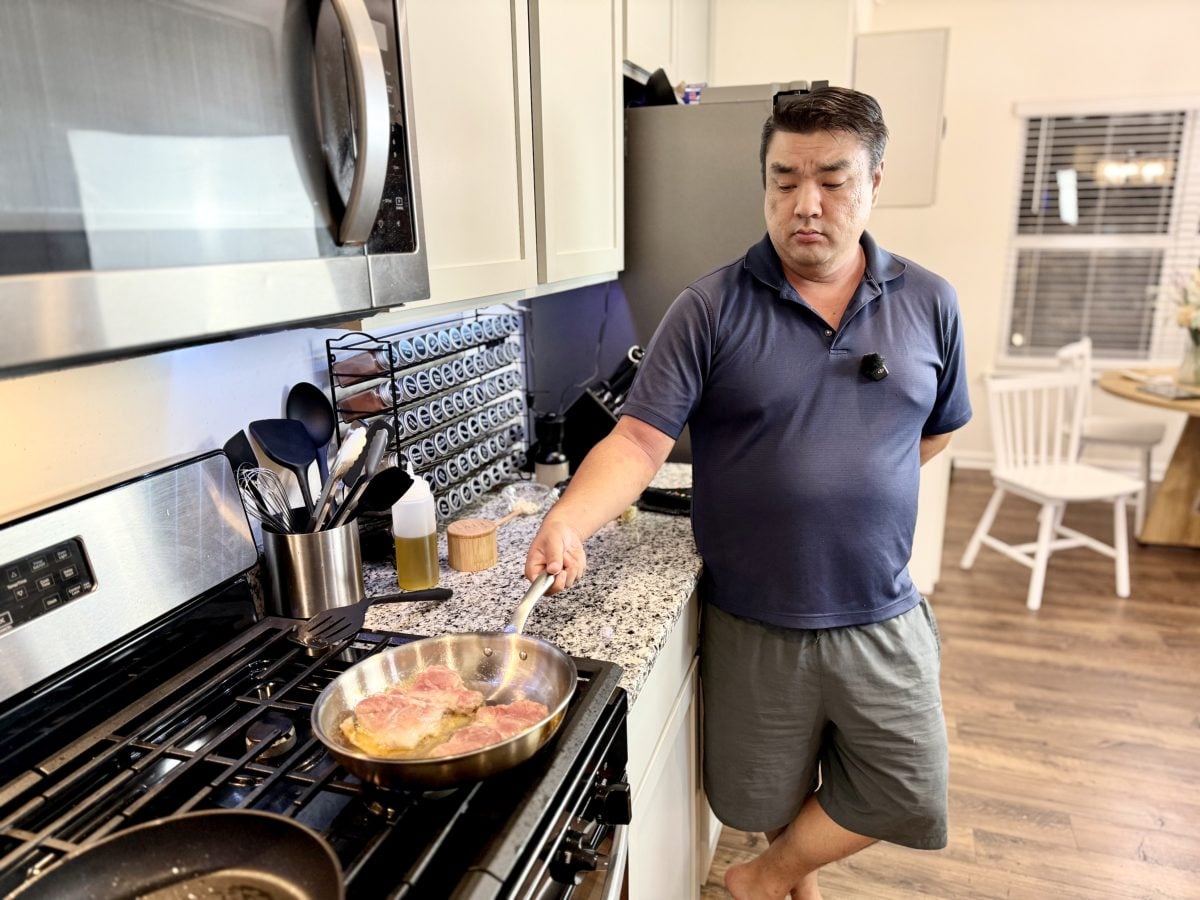
When you plate, make sure not to pour off the pan. The fat and bits that have stuck to the bottom are the beginning of dinner’s best moment: a spoonful of fat to fry tomorrow’s eggs and the fond are deglazed with a splash of stock or wine for a two-minute sauce while the chicken rests.
This method works for duck breast and bacon as well – any meat with a layer of skin that contains fat. And the patience it teaches scales up: the crispiest skin on our roast chicken comes from the same principle of letting fat render before the surface takes color.
The one-line rule goes as follows: ‘cold pan for skin, hot pan for crust.’ Lean cuts like steak and scallops, still want the preheated sear as there is no fat layer to render and the “race is to build a crust” before the inside is overcooked. However, for anything that has its own fat, start with a cold pan, bring the heat up to medium, and leave it alone until it starts to release.
